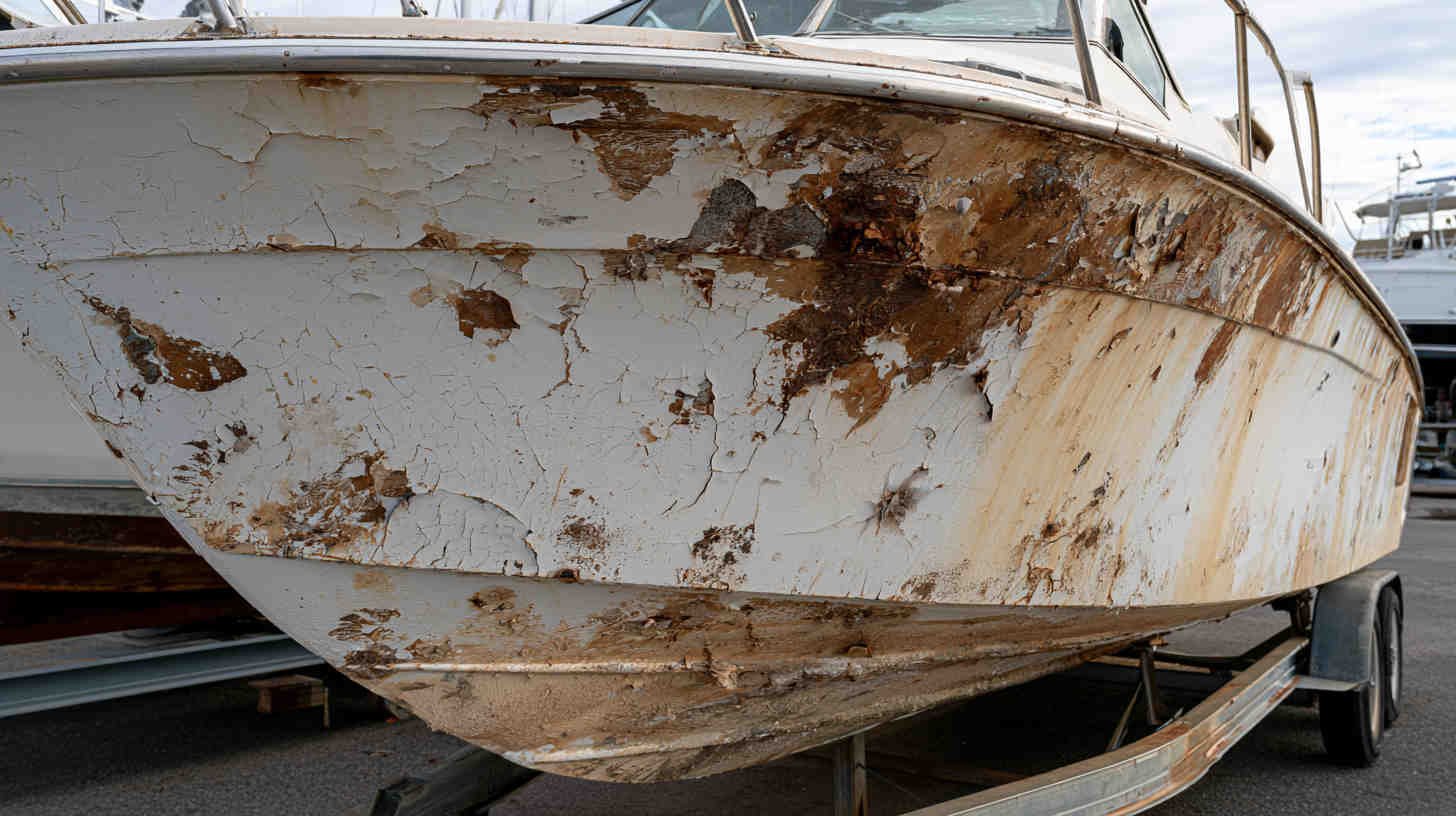
If you own a boat, you already know that gelcoat takes a beating. Sun, saltwater, trailer scrapes, dock rash, and the occasional collision with a piling all leave their mark on that glossy outer layer. Small chips and hairline scratches are part of normal boat ownership, and most owners can handle those with a weekend, some wet sanding, and a tube of gelcoat filler.
But not every problem is a weekend fix. Some damage looks minor on the surface while hiding much bigger issues underneath, and other damage is so extensive that a DIY repair will only buy you a few months before the problem resurfaces. Knowing the difference can save you money, time, and the frustration of redoing a repair twice.
This guide walks through how to evaluate your gelcoat honestly, what separates a simple touch-up from a job that needs a professional, and the warning signs that tell you it’s time to stop reaching for the sandpaper.
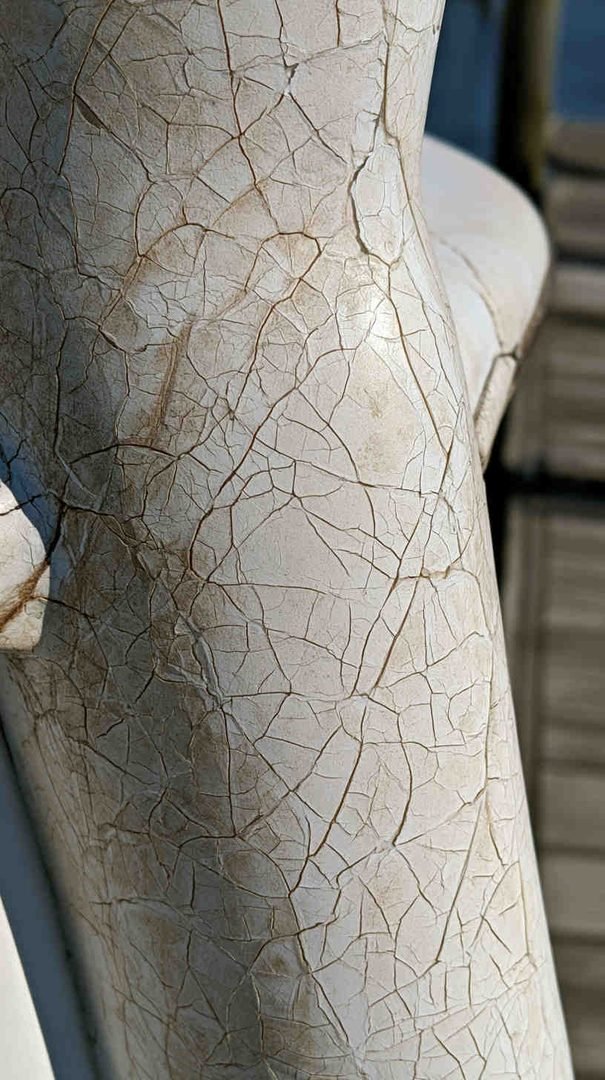
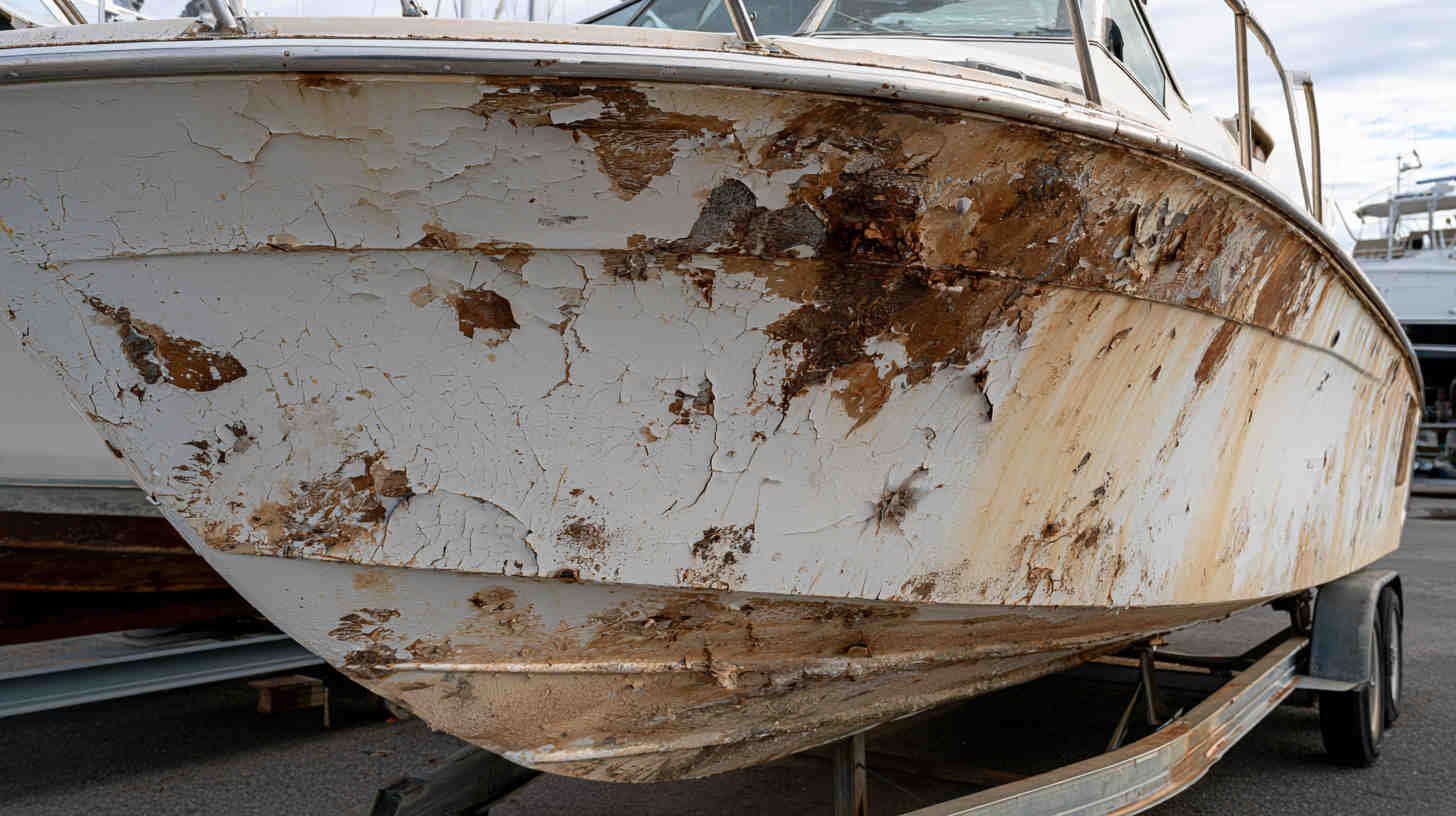
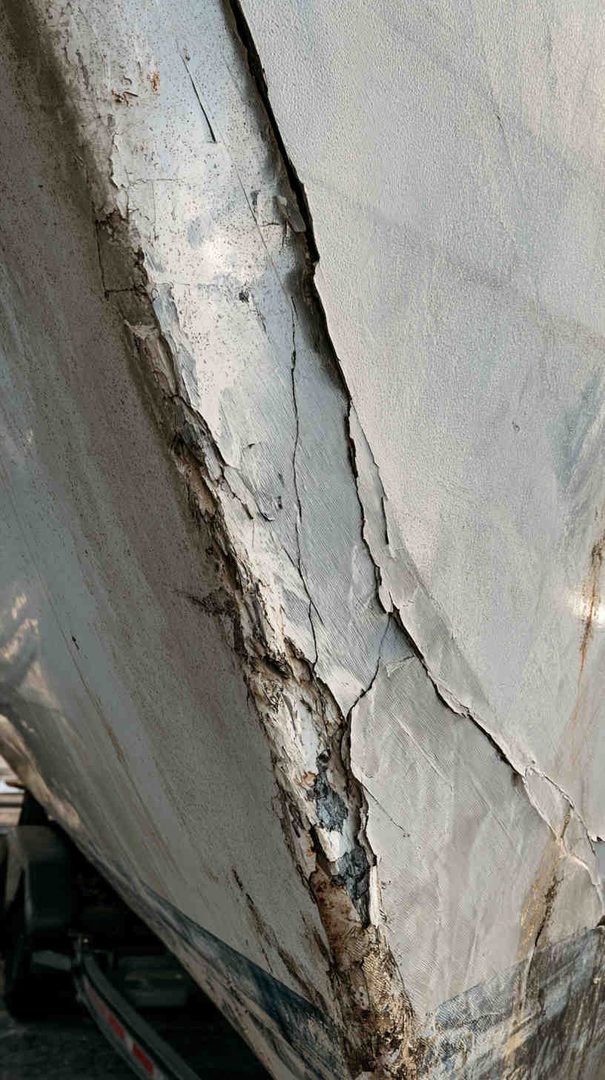
What Gelcoat Actually Is (and Why It Fails)
Gelcoat is not paint. It’s a thick, pigmented resin layer sprayed into the mold before the fiberglass hull is laid up, which means it’s technically part of the hull’s outer skin rather than a coating sitting on top of it. This is important because it explains why some gelcoat damage is purely cosmetic while other damage signals a structural problem underneath.
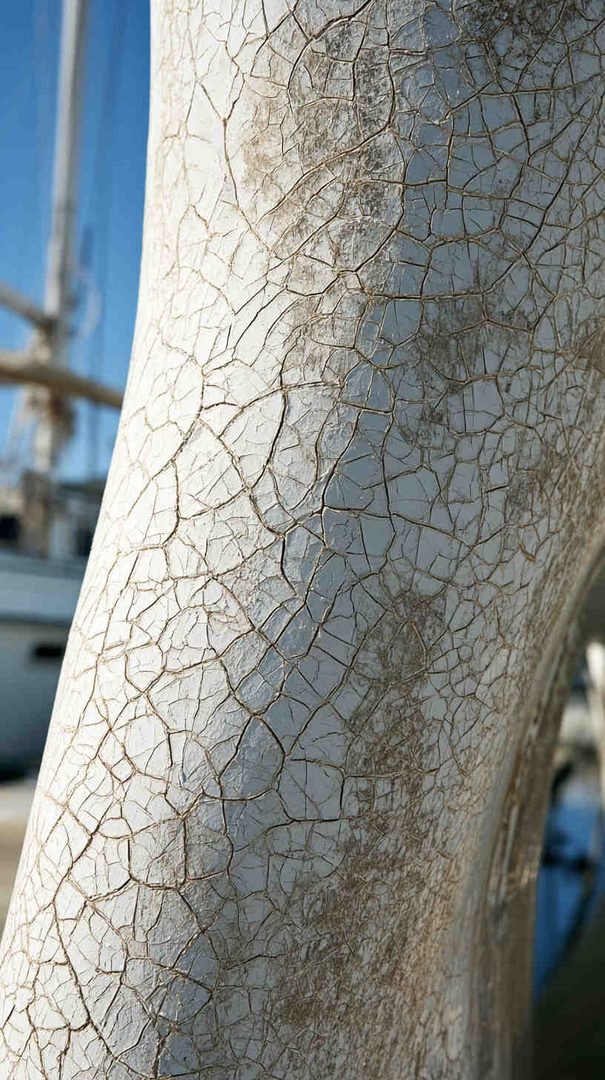
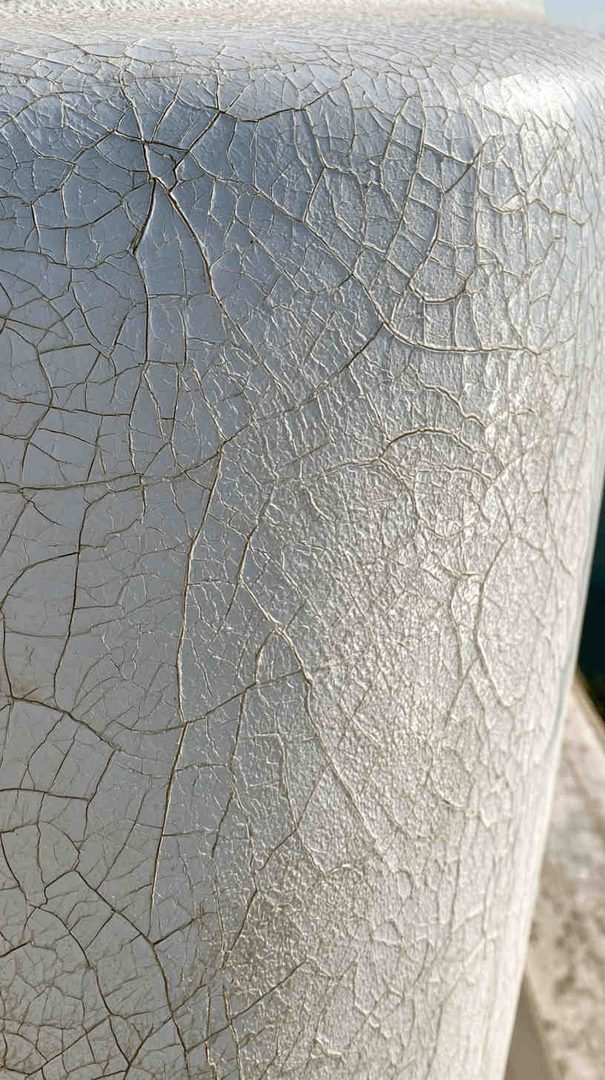
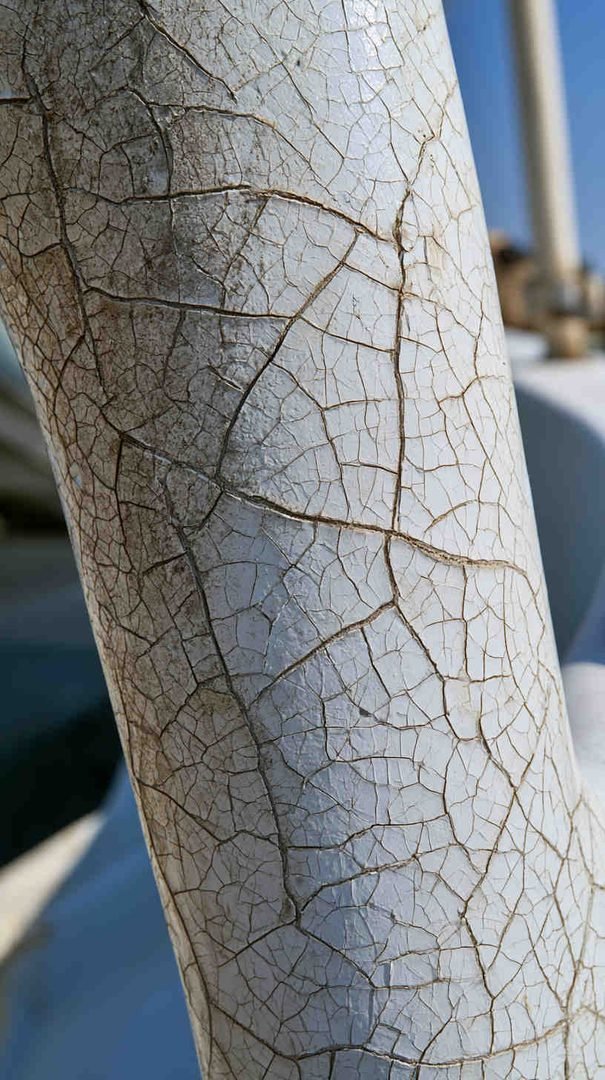
Gelcoat is porous at a microscopic level. Over years of exposure to UV rays, water, and temperature swings, it can develop micro-cracks, lose its flexibility, and eventually let moisture reach the fiberglass laminate below. Once that happens, you’re no longer dealing with a surface issue — you’re dealing with the early stages of hull degradation.
Signs Your Gelcoat Damage Is a Simple DIY Job
Before getting into the red flags, it’s worth knowing what a manageable repair looks like. You’re likely in DIY territory if you see:
- Shallow surface scratches that don’t dig into the fiberglass, only the gelcoat layer
- Small chips near the waterline, rub rail, or transom from normal handling
- Isolated spider cracks in one small area with no soft or flexing spots nearby
- Fading or chalky oxidation across large panels, which usually responds well to compounding and polishing rather than filling
- Minor gouges less than an inch long and shallow enough that you can’t see white fiberglass strands underneath
If your damage fits these categories, a color-matched gelcoat filler kit, some 220- to 600-grit wet sanding, and a buffing wheel will usually get you a repair that holds up for years.
Warning Signs That Point to a Bigger Problem
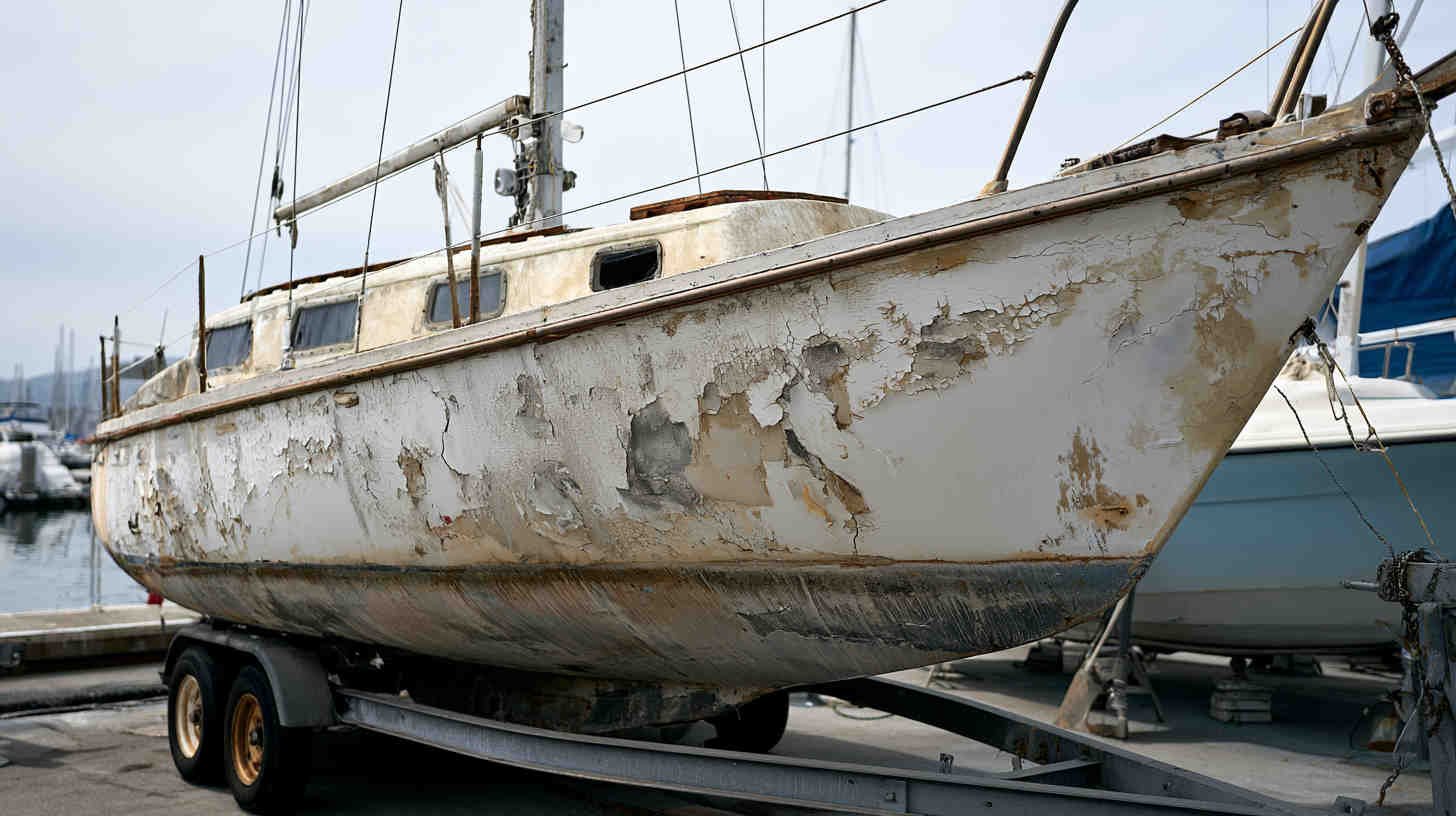
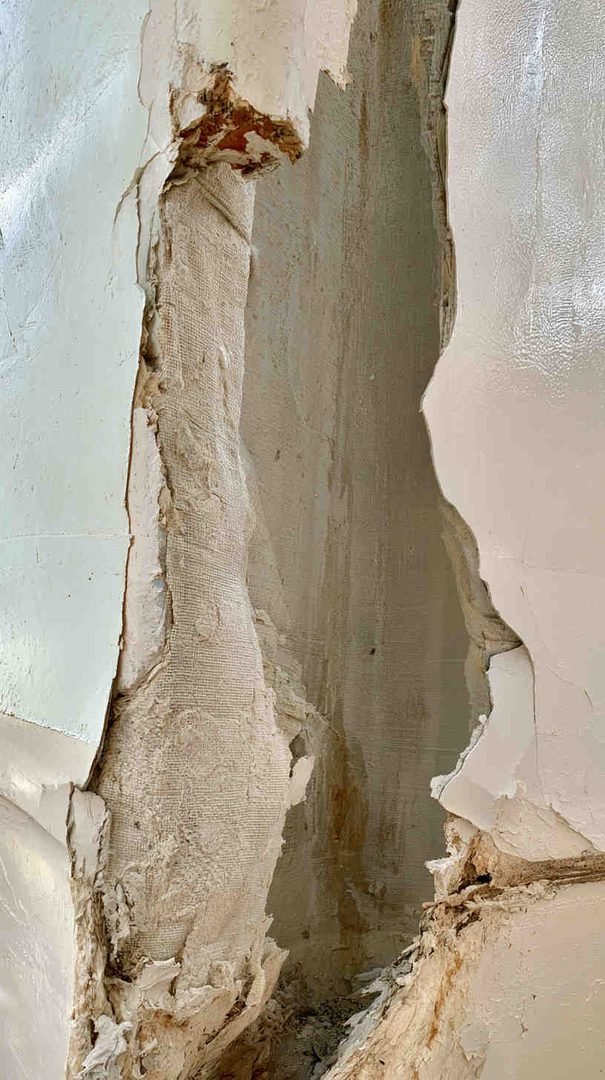
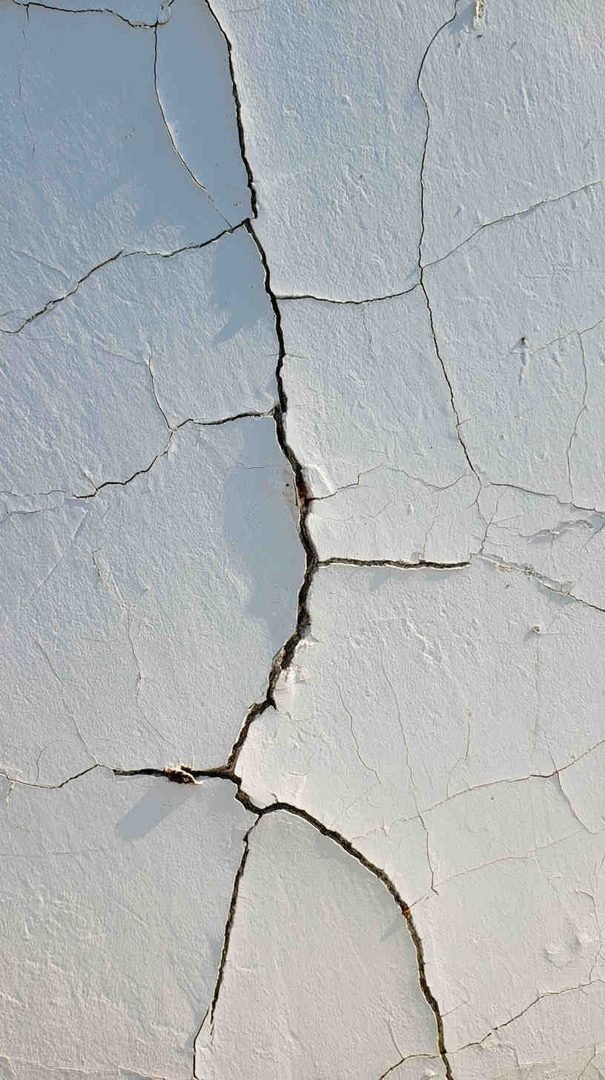
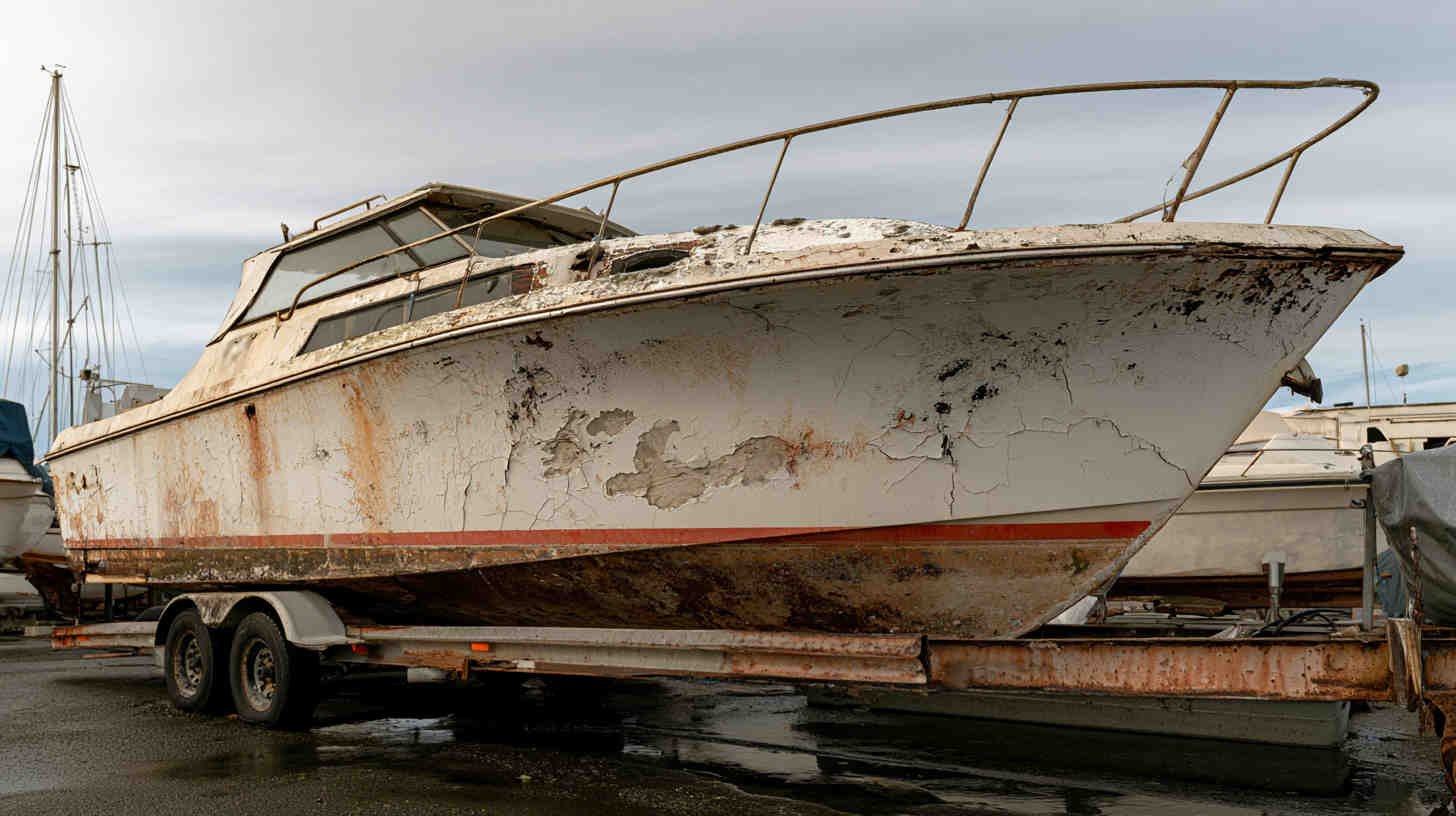
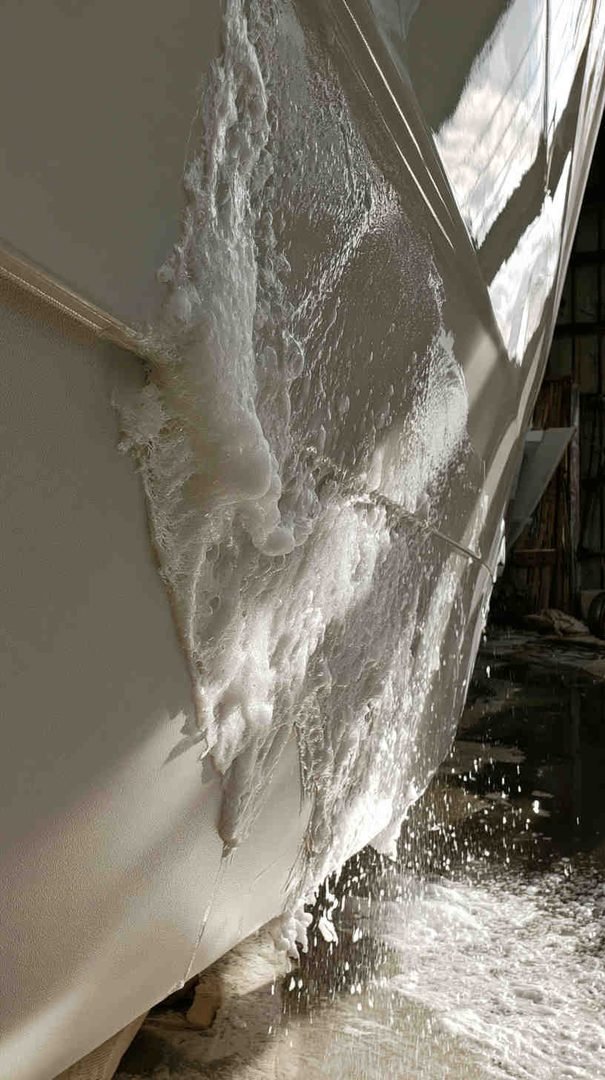
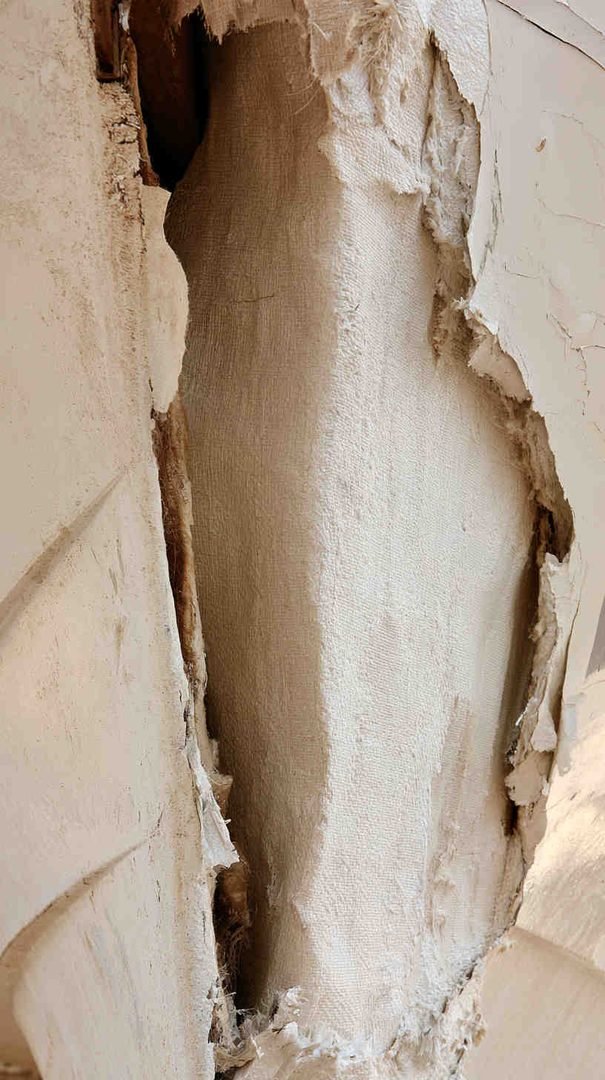
This is the part most owners skip, and it’s the part that matters most. Look closely at the damaged area and the surrounding hull for these signs.
1. Spider Cracking That Spreads in a Pattern
A few isolated cracks are normal wear. But if the cracks radiate outward in a star or web pattern, especially around a single point, that’s often a sign of impact stress that has already transferred into the laminate below. Surface filler won’t stop this pattern from returning, because the crack source is structural, not cosmetic.
2. Soft or Spongy Spots When You Press on the Hull
Press firmly on the damaged area and the surrounding few inches. If the surface flexes, feels soft, or gives slightly under pressure, water has likely worked its way into the core material or laminate. This is one of the clearest signs that you’re past a gelcoat-only repair. Filling over a soft spot traps moisture underneath and accelerates the damage.
3. Discoloration or Dark Staining Around Cracks
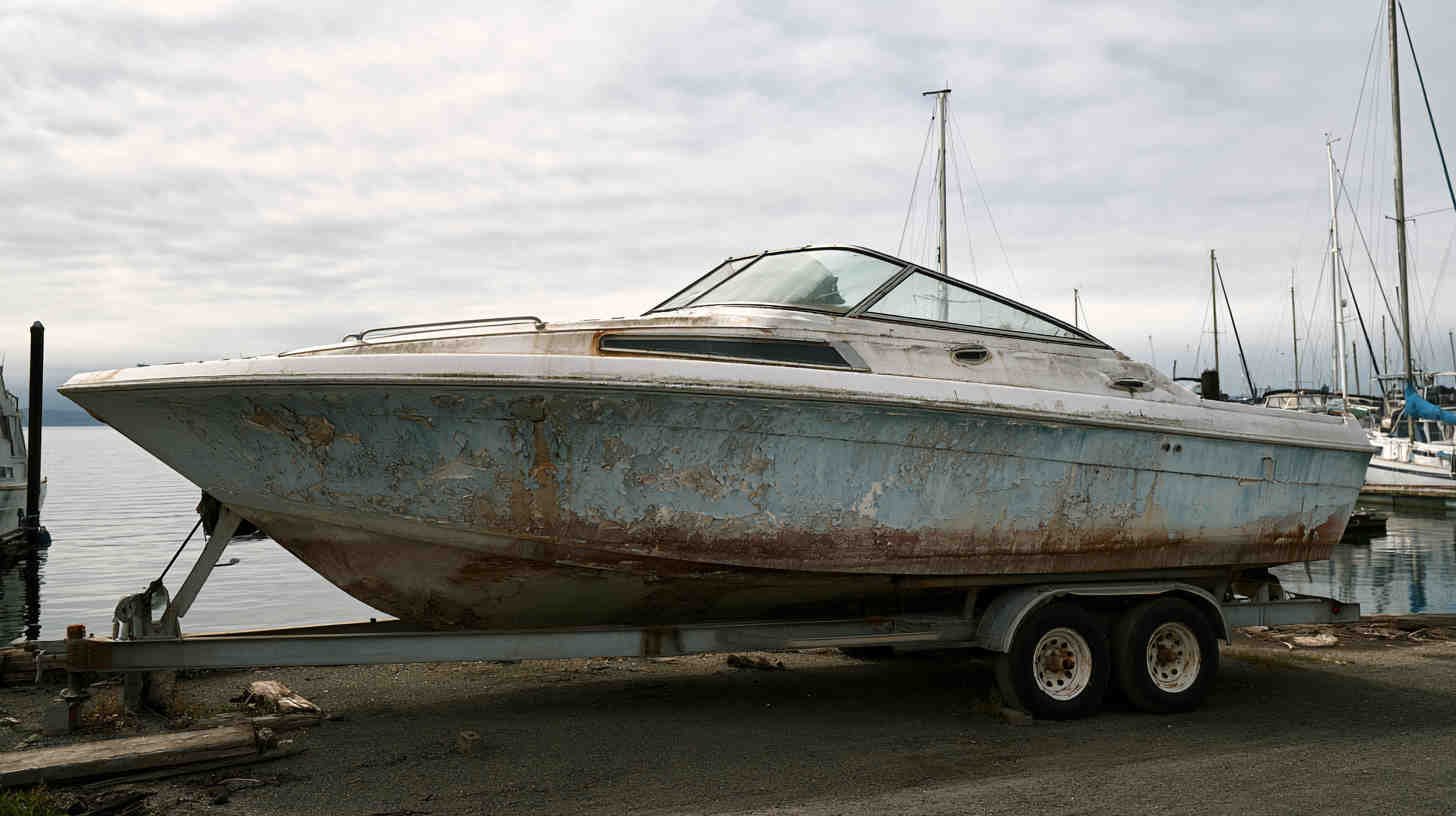
Gelcoat cracks that show dark yellow, brown, or gray staining bleeding outward usually mean water has been sitting in the laminate for a while. Clean gelcoat damage stays white or matches the original color at the crack edges. Staining is a sign of ongoing moisture intrusion, not a one-time scratch.
4. Blistering (Osmotic Blisters)
Small raised bumps below the waterline, sometimes called “boat pox,” are a classic sign of osmotic blistering. These form when water penetrates the gelcoat and reacts with resin compounds in the laminate, creating pressure pockets. A few isolated blisters might be manageable, but widespread blistering across the hull bottom points to a laminate-level moisture problem that needs proper grinding, drying, and barrier coating — not a patch job.
5. Cracks That Follow Structural Lines
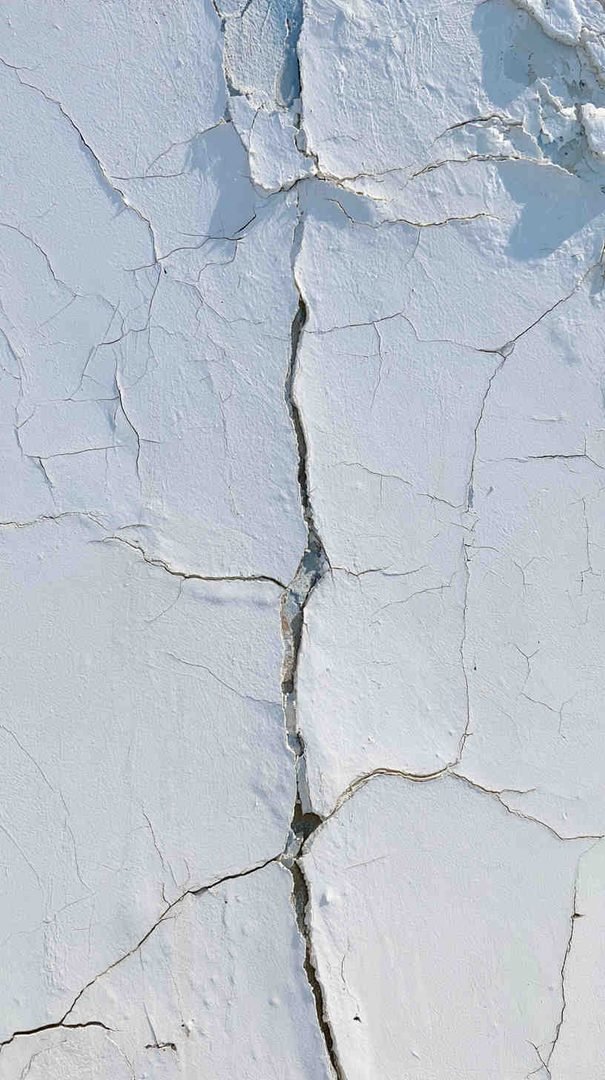
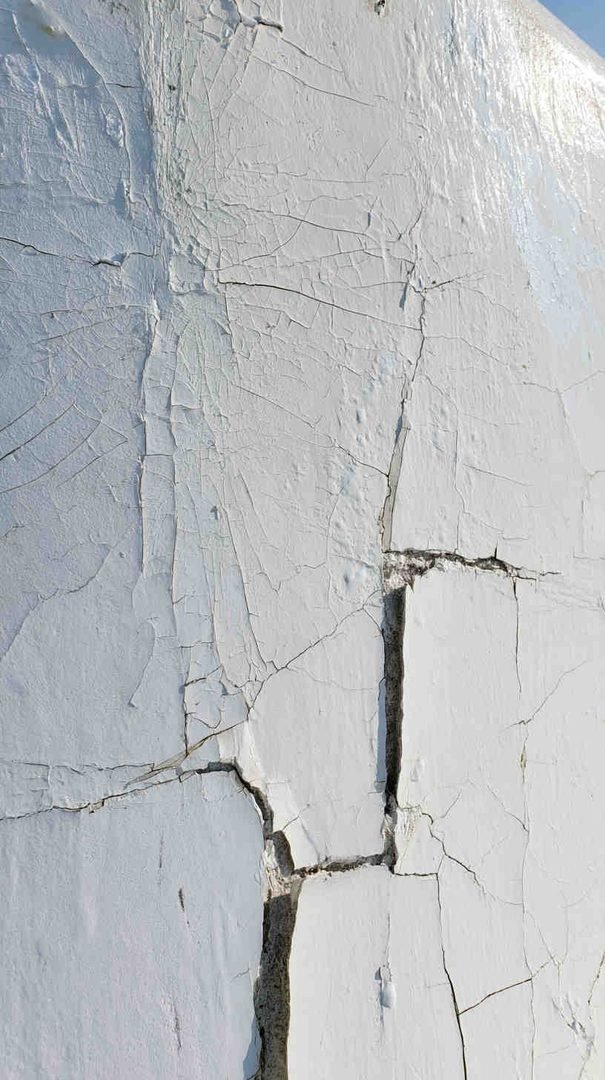
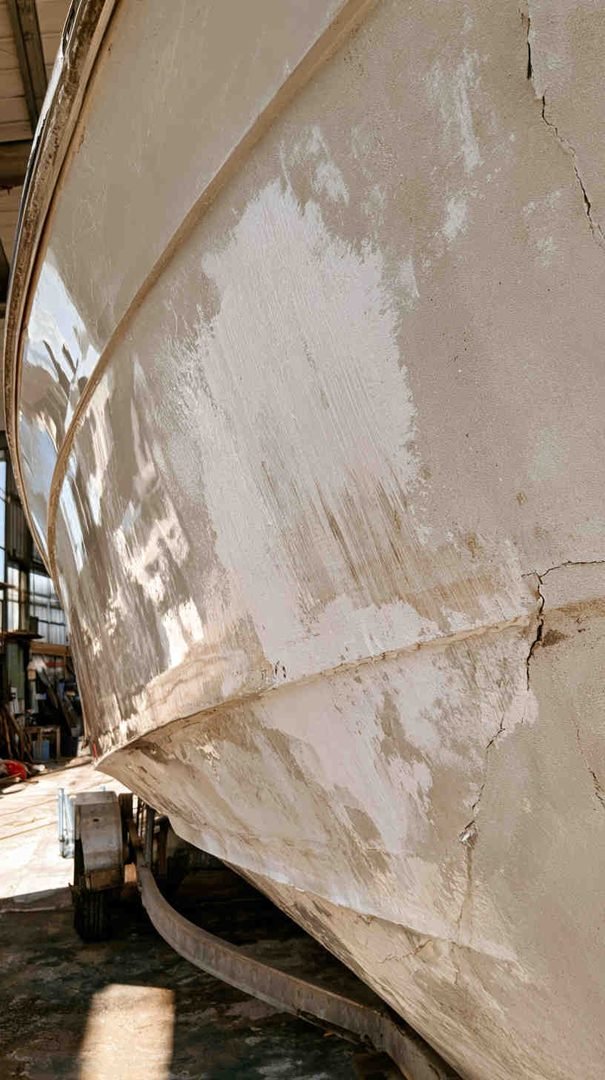
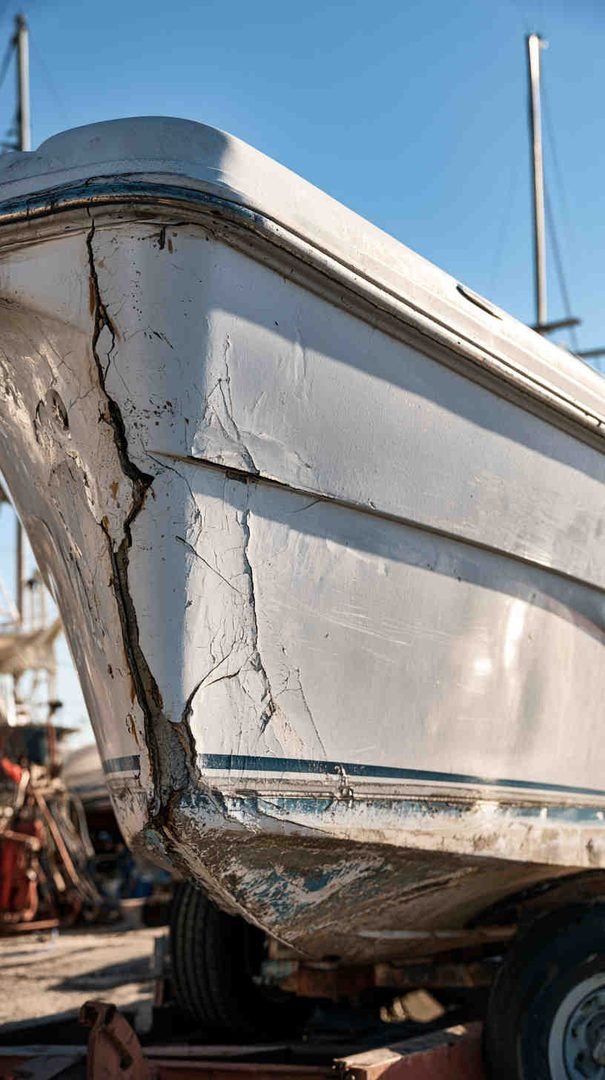

Cracking that runs along stringers, bulkheads, or other structural attachment points inside the hull is a strong indicator of flexing or delamination between the hull skin and its internal structure. This kind of damage is a structural repair, not a cosmetic one, and it’s easy to miss if you’re only looking at the outside of the hull.
6. Damage Larger Than a Dinner Plate
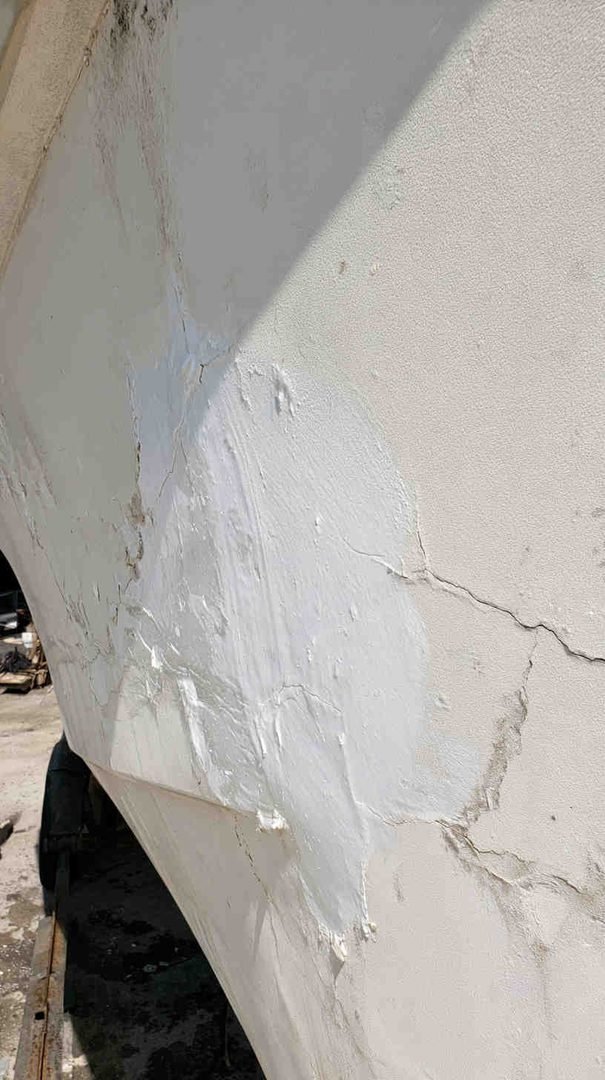
Size matters. A repair the size of a coin or a credit card is manageable for most DIYers. Once damage spans an area larger than roughly 8 to 10 inches across, color matching gets harder, sanding a smooth transition becomes more difficult, and the odds of hidden laminate damage underneath go up significantly.
7. Repeated Cracking in the Same Spot
If you’ve already repaired an area once or twice and the crack keeps coming back, that’s a signal the underlying cause hasn’t been addressed. Repeated failure in the same location almost always points to flex, movement, or moisture that a cosmetic filler can’t solve.
A Simple Test You Can Do at Home
Before committing to a DIY repair, run this quick three-step check on any damaged area:
- Tap test – Gently tap the area and the surrounding hull with a plastic mallet or the back of a screwdriver handle. A solid, consistent sound is good. A dull, hollow, or “thuddy” sound compared to nearby areas can indicate delamination.
- Moisture check – If you have access to a moisture meter, or can borrow one, check the damaged area against a known-dry section of hull. A significant difference in readings suggests water intrusion.
- Flex check – Press firmly with your palm, not just your fingers, and compare how the area feels to an undamaged section a foot or two away.
If all three checks come back clean, you’re very likely looking at a cosmetic repair well within DIY reach. If any one of them raises a flag, treat that as a reason to dig deeper before sanding and filling.





Why This Matters Beyond Appearance
Gelcoat isn’t just about how your boat looks at the dock. It’s the first line of defense protecting the fiberglass laminate from water intrusion. Filling over damage that’s actually structural doesn’t fix the problem — it hides it. Moisture continues to migrate through the laminate, weakening it further, and by the time the damage becomes visible again, the repair scope (and cost) has usually grown substantially.
This is also why boat owners often feel like they “keep fixing the same spot.” In most cases, they were never actually fixing the root cause — they were covering a symptom.
Making the Call
If your damage is shallow, isolated, passes the tap and flex tests, and shows no staining or blistering, go ahead and treat it as a DIY project. Take your time with the prep work, since surface prep matters more than the filler itself for a repair that lasts.
If you’re seeing soft spots, spreading crack patterns, blistering, staining, or damage that keeps returning, that’s your sign to get a proper hands-on inspection before doing any cosmetic work. Covering up a structural issue with gelcoat filler doesn’t just risk a poor-looking repair — it risks masking a problem that gets more expensive to fix the longer it’s left alone.
A little detective work before you pick up the sandpaper can save you from redoing the job twice, or worse, discovering the real problem months down the line.
Happy Boating!
Share How to tell if your boat’s gelcoat is beyond a diy fix with your friends and leave a comment below with your thoughts.
Read How to spot electrolysis damage before it ruins your prop until we meet in the next article.