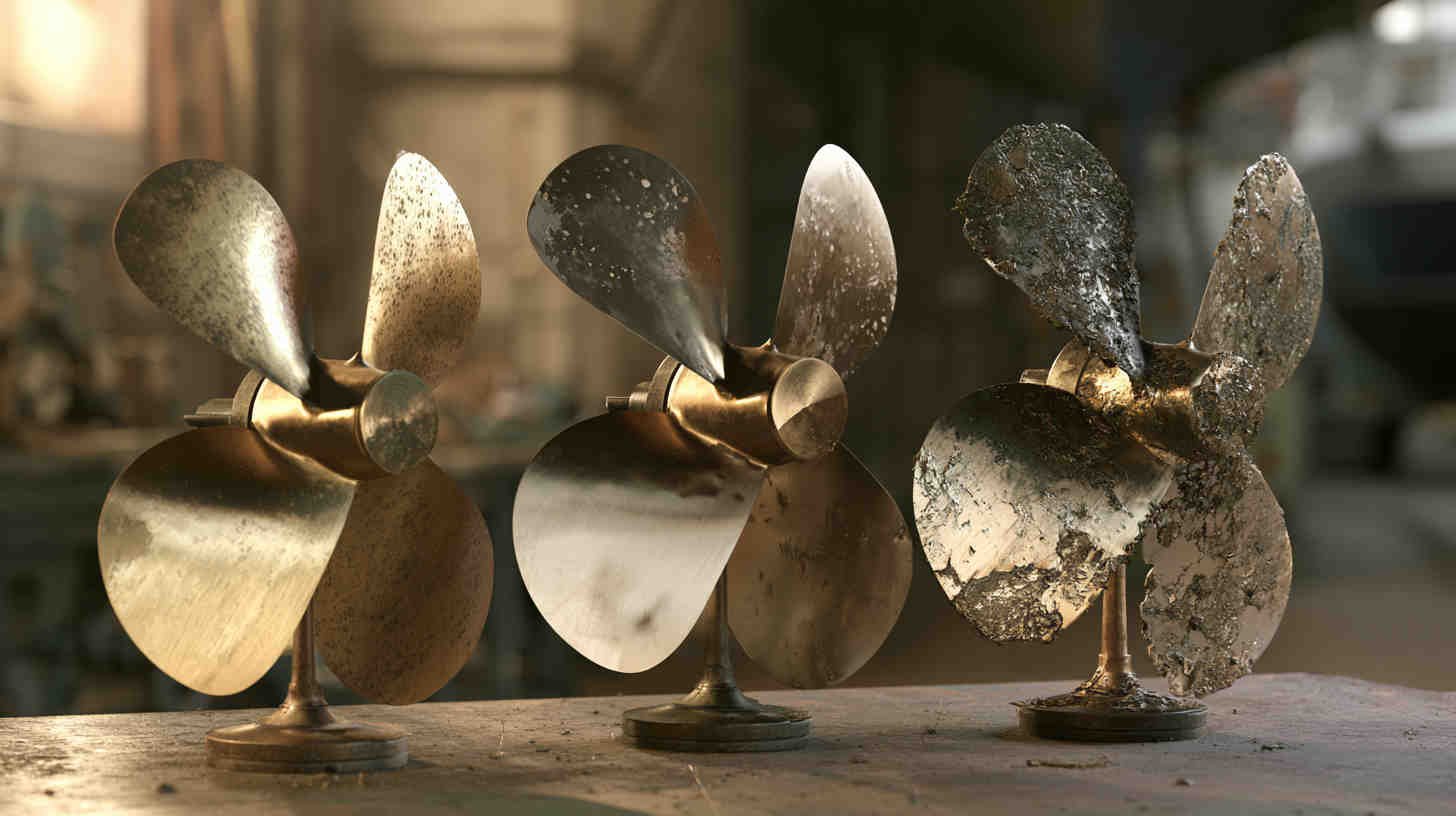
If you’ve ever pulled your boat out of the water and found your propeller looking pitted, chalky, or oddly eaten away, you’ve probably run into electrolysis damage. It’s one of the most common — and most misunderstood — problems boat owners face, and by the time most people notice it, the prop is already halfway to scrap metal.
The good news is that electrolysis damage doesn’t happen overnight. It’s a slow, steady process, which means there’s usually a window where you can catch it early, figure out the cause, and stop it before it costs you a new propeller. This guide walks through exactly what to look for, why it happens, and how to protect your prop going forward.
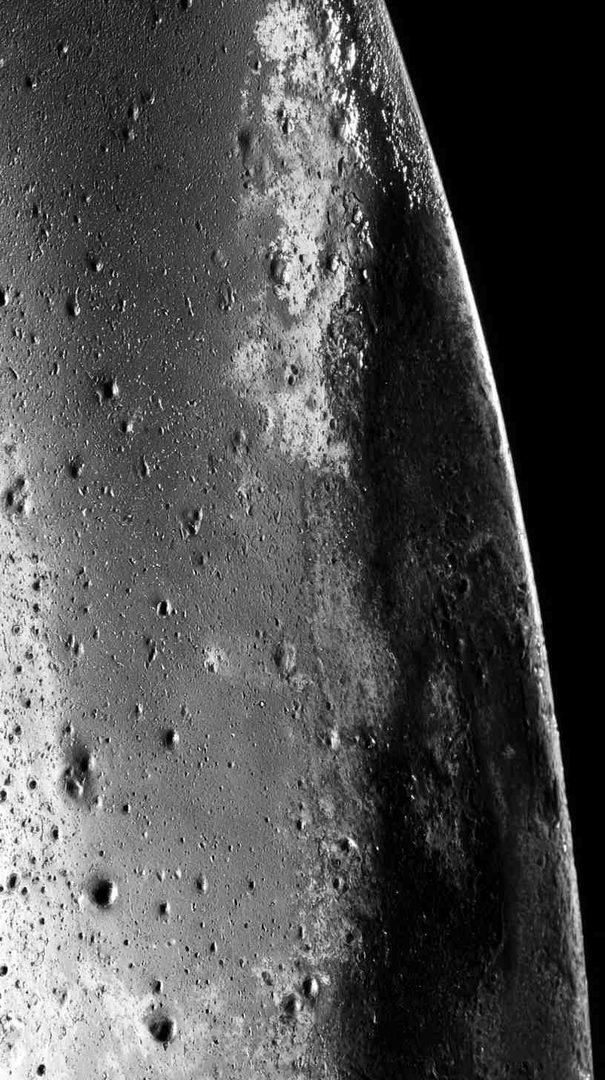
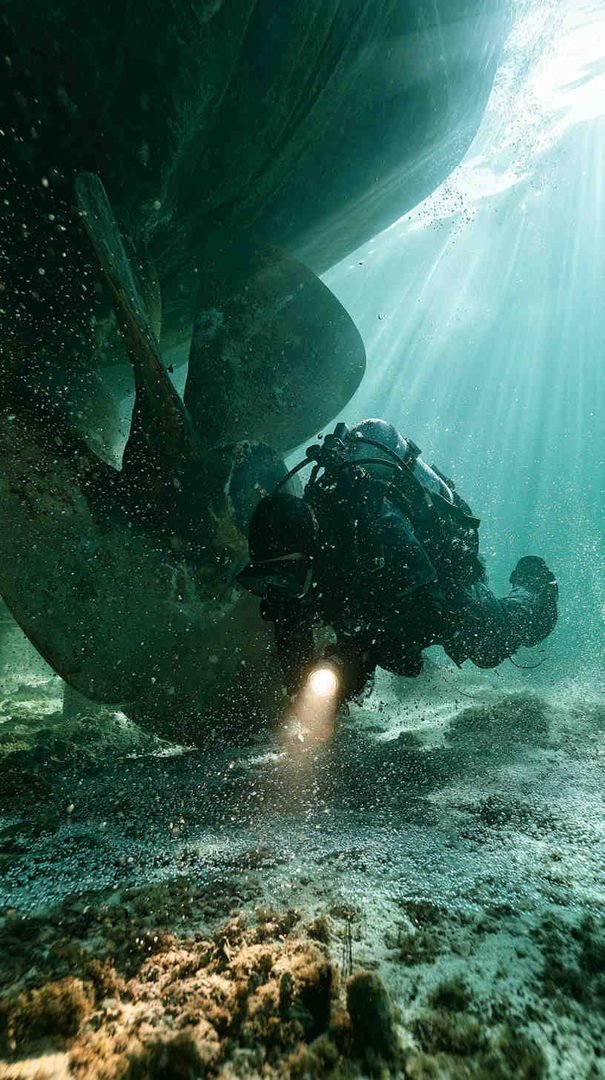
What Is Electrolysis Damage, Really?
“Electrolysis” is the term most boaters use, but it’s technically a bit of a catch-all. There are actually two related but different processes at play:
- Galvanic corrosion happens when two dissimilar metals (like a bronze prop and a stainless steel shaft) sit in water together, creating a natural electrochemical reaction. One metal — usually the less noble one — slowly sacrifices itself to protect the other.
- Stray current corrosion (the “true” electrolysis) happens when electrical current from a faulty wiring system, a bad shore power connection, or a neighboring boat’s electrical fault flows through the water and uses your prop, shaft, or underwater metal as a path to ground.
Both processes eat away at metal, but stray current corrosion works much faster and can destroy a propeller in weeks rather than years. Knowing which one you’re dealing with matters, because the fixes are different.
Early Warning Signs You Shouldn’t Ignore
Most owners only notice a problem once the damage is severe. If you know what early-stage corrosion looks like, you can catch it while the prop is still repairable.
1. A Chalky, White or Grayish Film
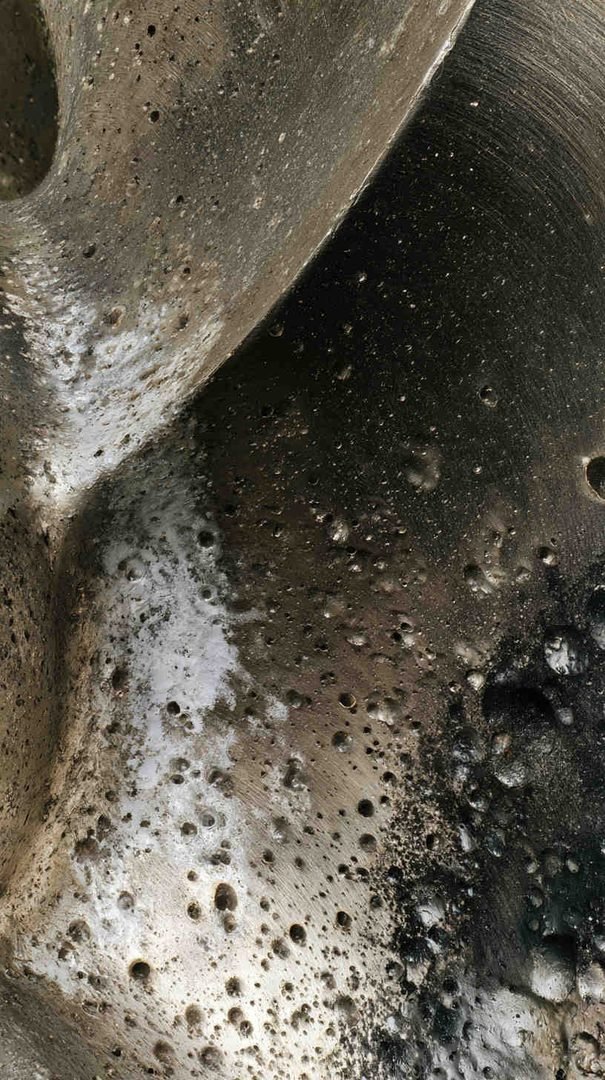
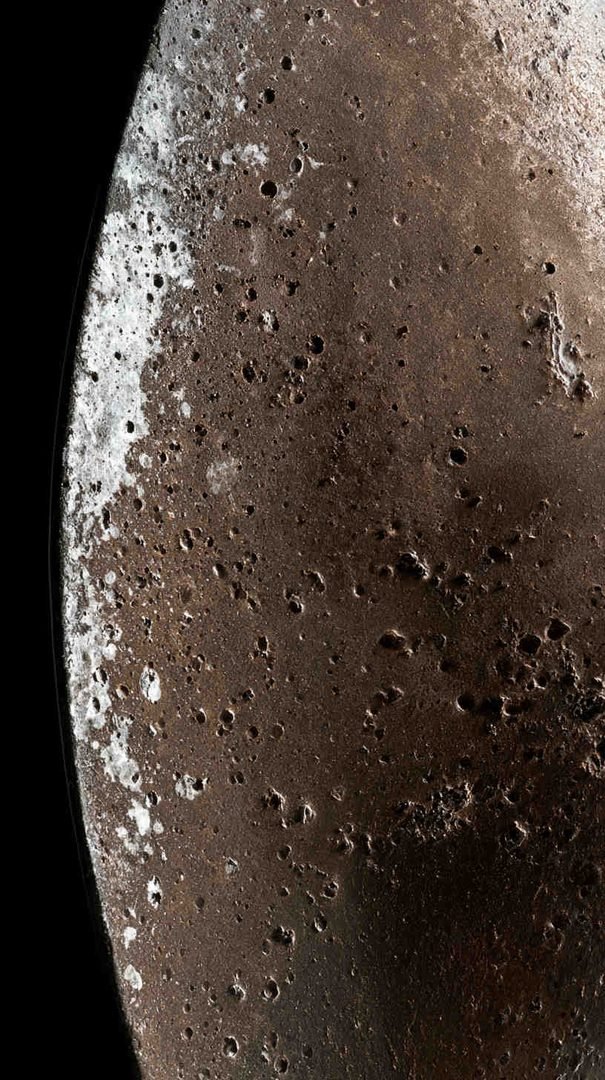
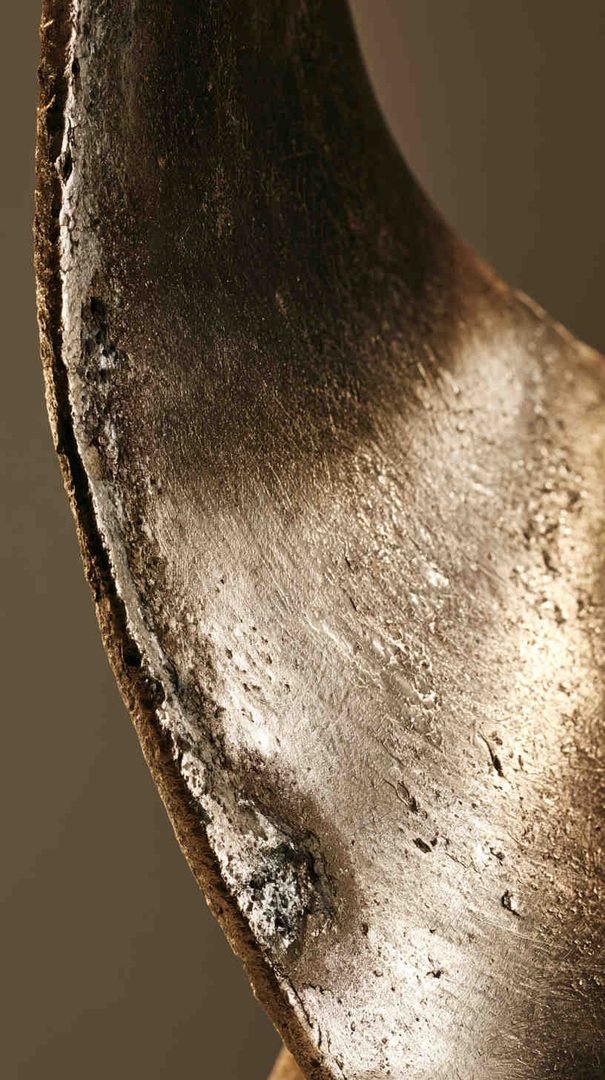
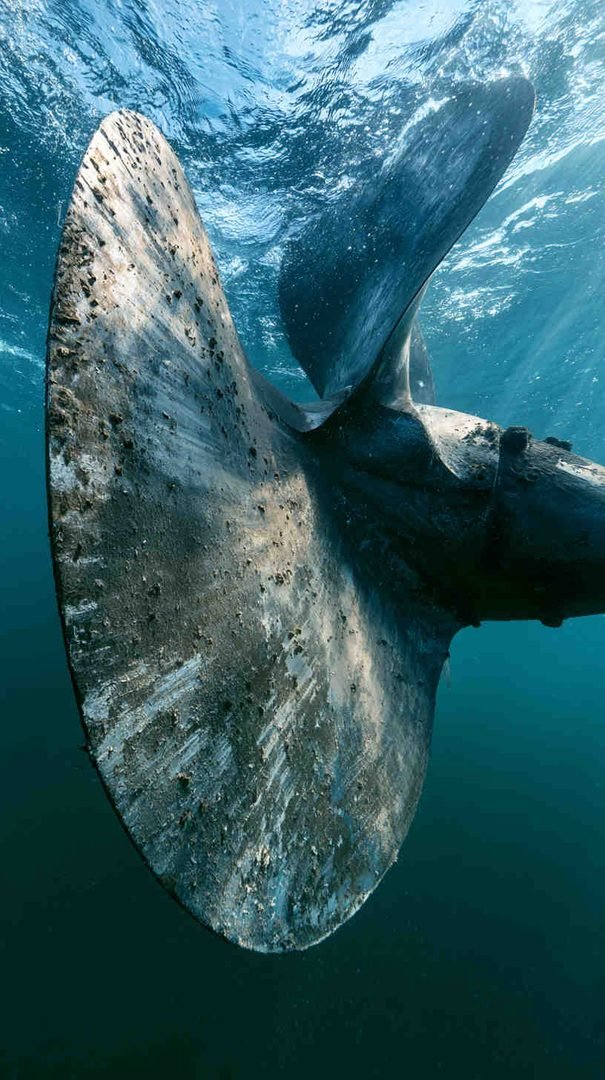
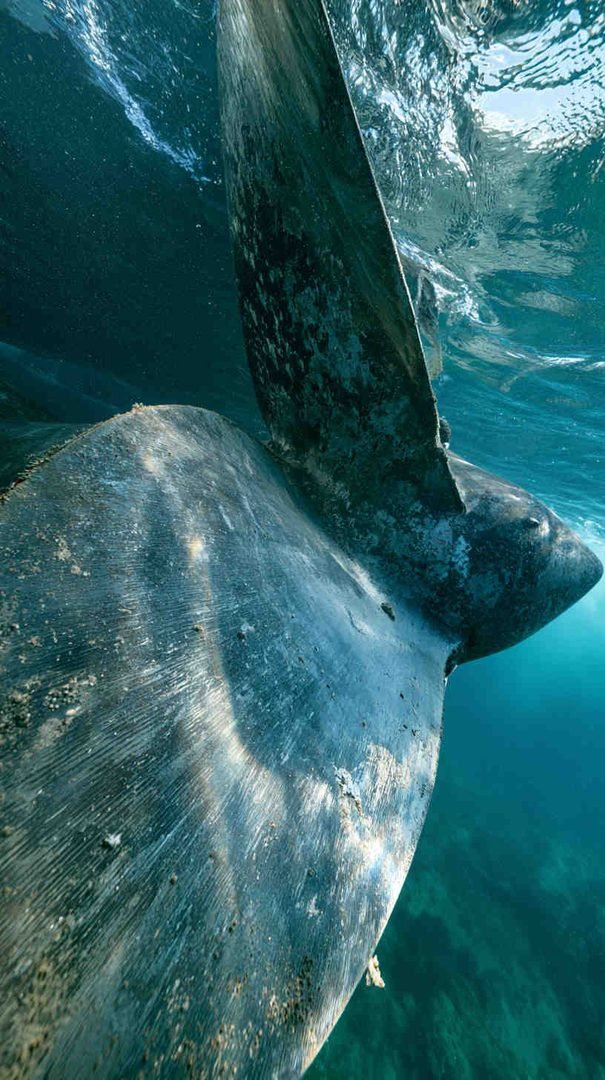
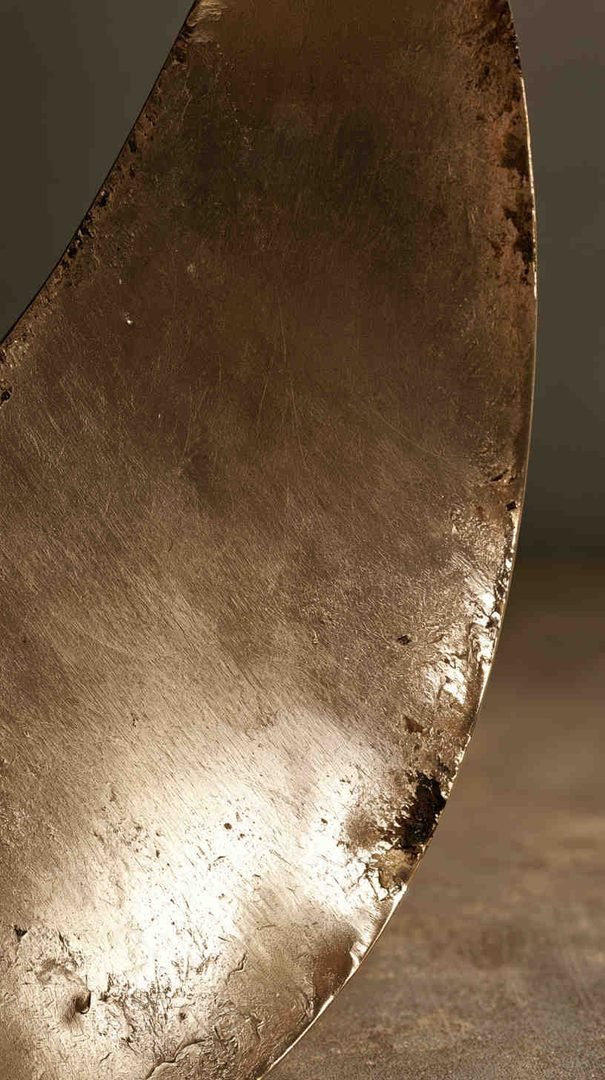
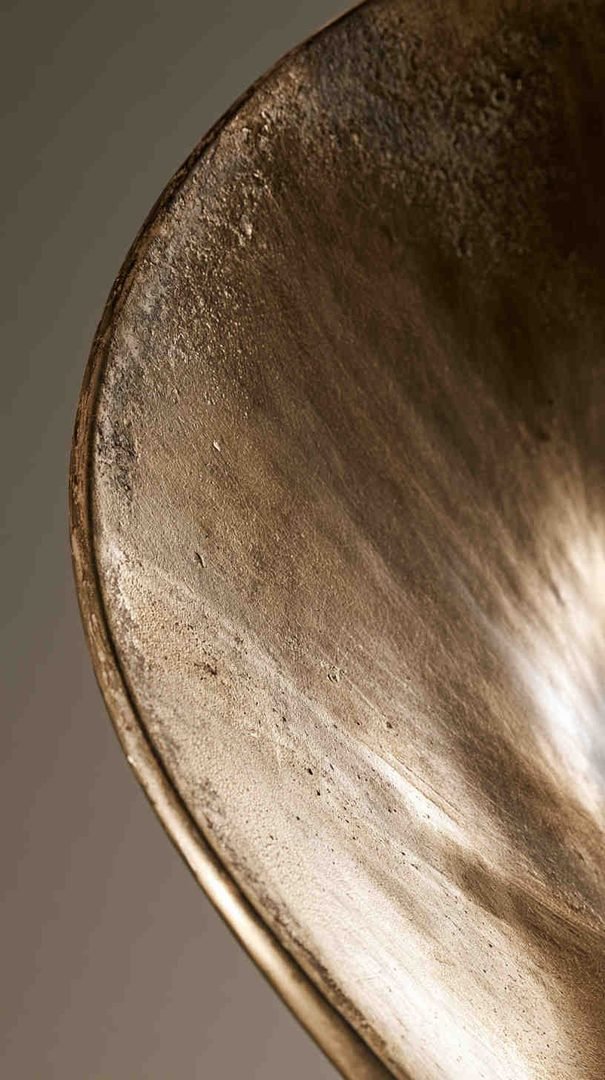
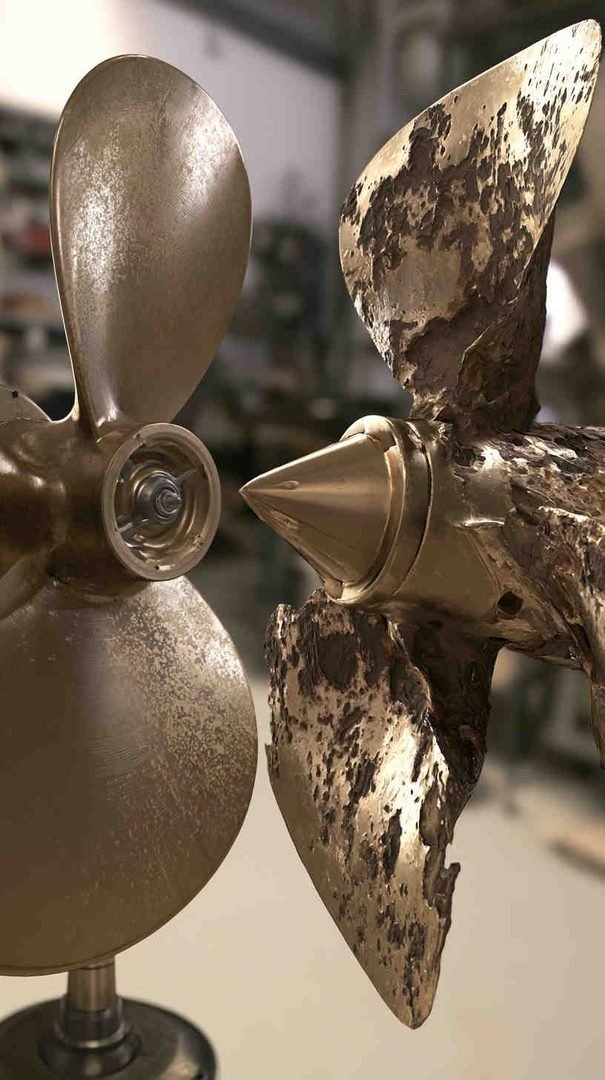
One of the earliest signs is a dull, powdery coating on the blades, especially near the hub or the leading edges. This is usually a buildup of corrosion byproducts. It might look like light limescale at first, but if it wipes away to reveal pitted metal underneath, that’s your first clue something’s wrong.
2. Small Pinholes or Pitting
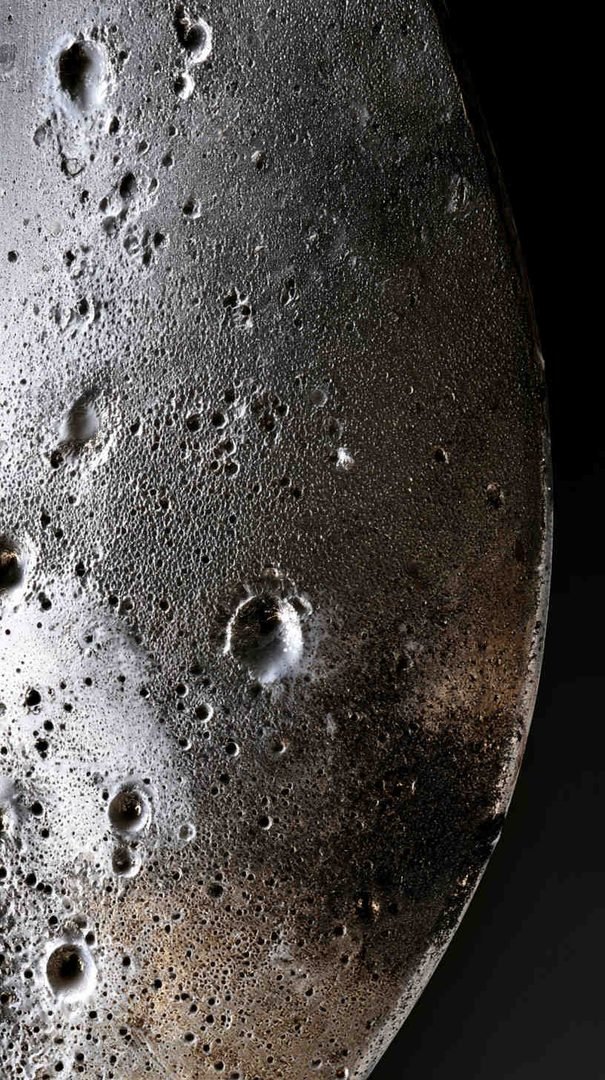
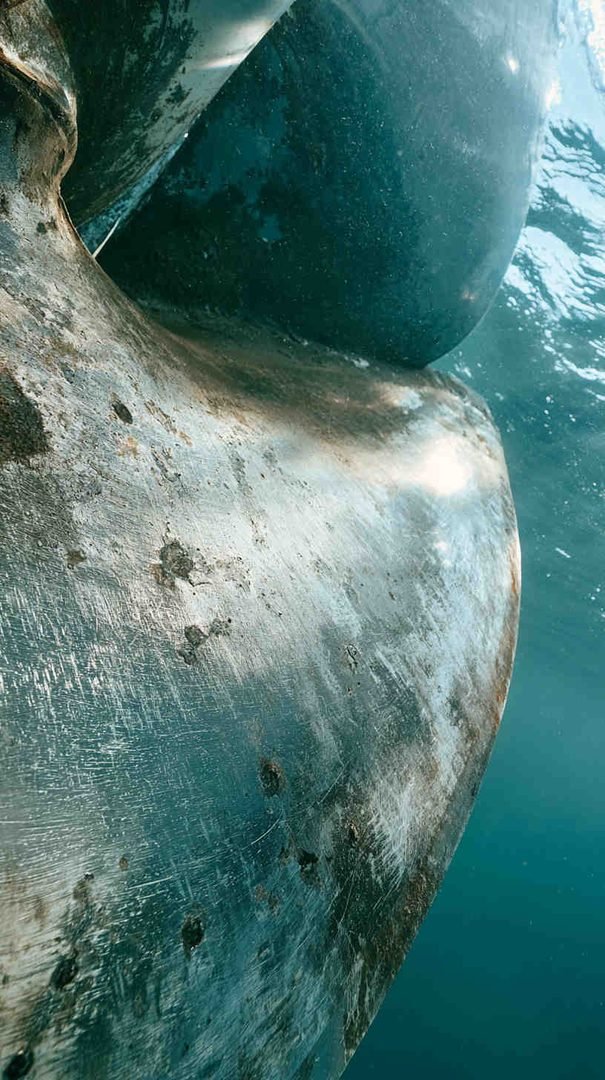
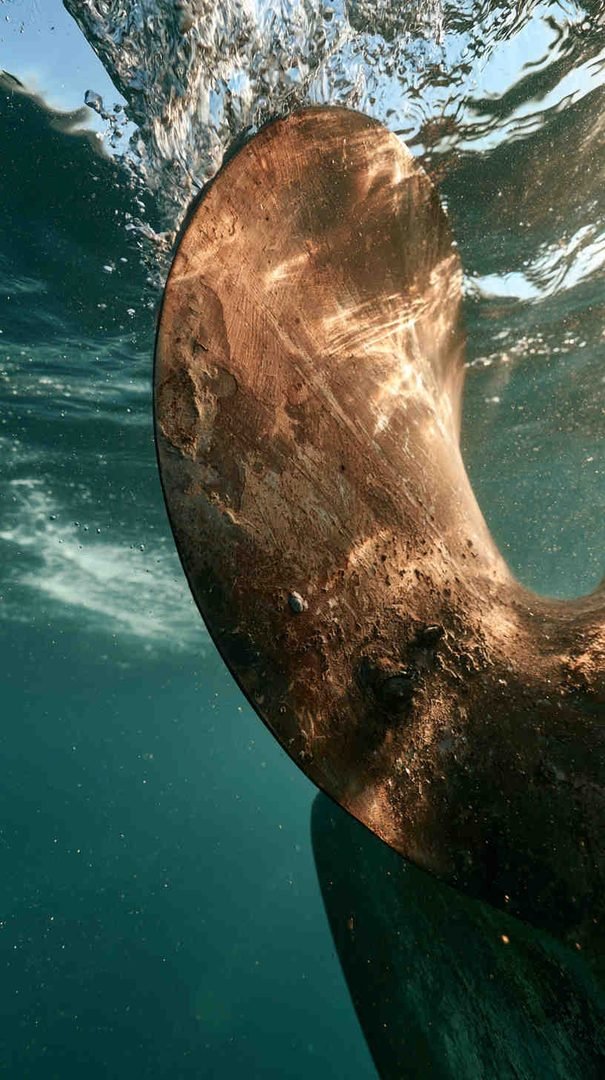
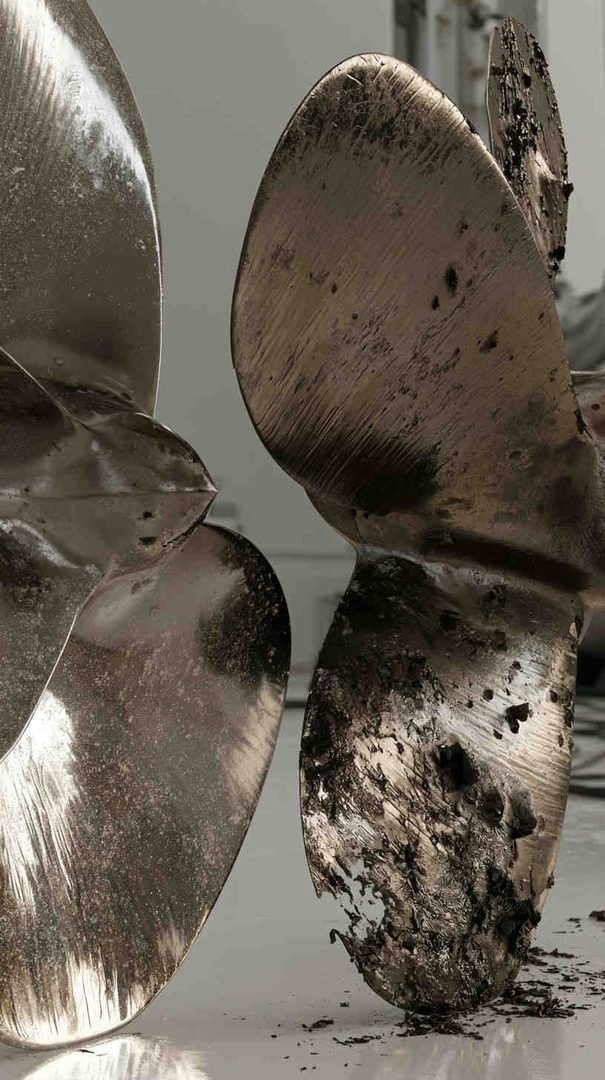
Look closely at the blade surfaces, particularly in areas that stay submerged the longest. Tiny pinprick-sized holes, rough patches, or a texture that feels like fine sandpaper are classic signs of early pitting corrosion. This is different from normal wear, which tends to be smooth and even.

3. Uneven Wear Between Blades
A healthy prop wears evenly across all blades. If one blade looks noticeably more corroded, thinner, or rougher than the others, that’s a red flag. Uneven wear often points to a localized stray current issue rather than general galvanic action, which usually affects the whole prop more uniformly.
4. Discoloration Around the Hub or Shaft
Check where the prop meets the shaft. A pinkish or reddish tint on bronze props, or dark streaking on stainless ones, can indicate active corrosion at the connection point — often one of the first places damage starts because of how metals and dissimilar materials meet there.
5. A “Sponge-Like” or Brittle Edge
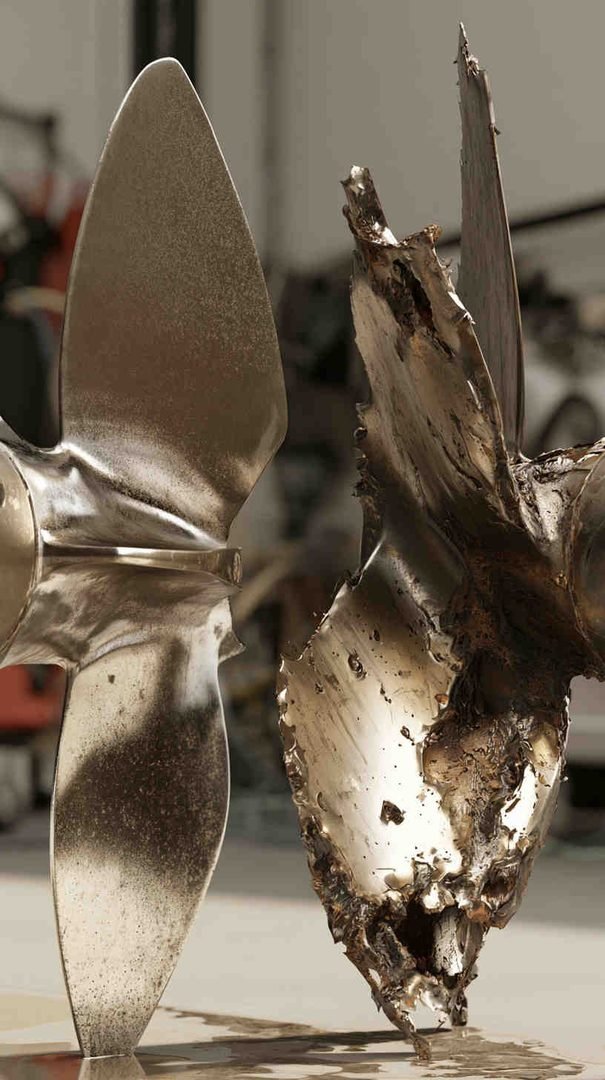
Run your fingers along the blade edges. If they feel unusually soft, crumbly, or brittle compared to the rest of the blade, the metal structure has already started breaking down at a molecular level. This is a later-stage sign, but still well before total failure.
6. Rapid Zinc Anode Depletion
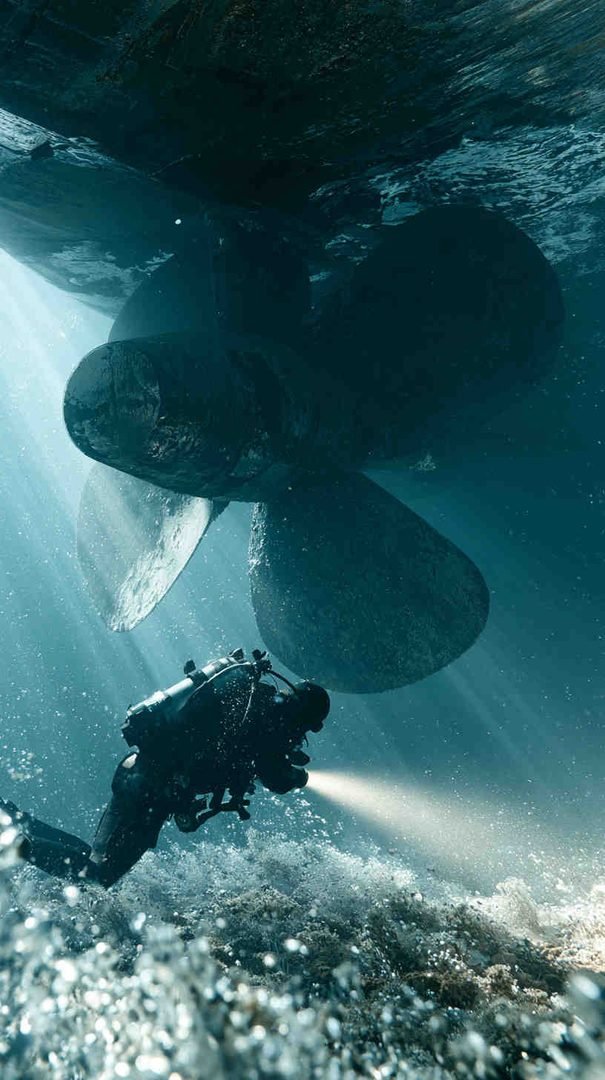
Your sacrificial zinc anodes are your early warning system. If a zinc that normally lasts several months is disappearing in a few weeks, something is drawing far more current than normal — a strong sign of stray current corrosion happening somewhere in your system, even if the prop itself doesn’t show damage yet.
7. Vibration or Performance Changes
Corrosion doesn’t just look bad — it changes the shape and balance of the blades. If you notice new vibration at cruising speed, a drop in top-end performance, or a change in fuel efficiency, it’s worth pulling the prop for a close inspection, since surface corrosion can subtly alter blade geometry before it’s visually obvious.
Why Electrolysis Damage Happens in the First Place
Understanding the root cause helps you actually fix the problem instead of just replacing the prop and watching it happen again.
- Poor bonding systems: If your boat’s underwater metals (prop, shaft, rudder, thru-hulls) aren’t properly bonded together and connected to a functioning anode, they can develop galvanic imbalances.
- Faulty wiring or grounding: Frayed wires, corroded connections, or improperly grounded equipment can leak small amounts of current into the bilge water and out through the hull.
- Shore power issues: Marinas with older or poorly maintained electrical systems are a common source of stray current, since current from a neighboring dock or boat can travel through the water.
- Missing or worn-out anodes: Zinc (or aluminum/magnesium, depending on your water type) anodes are designed to corrode instead of your prop. Once they’re depleted, your prop becomes the next sacrificial target.
- Mixed metals without isolation: Combining metals that aren’t compatible — without proper insulation or isolation — sets up a natural electrochemical cell every time the boat sits in water.
How to Check for Electrolysis Before It’s Too Late
You don’t need to be an electrician to do a basic check, though a marine electrician can go much deeper if you suspect stray current.
- Inspect the prop and shaft visually every time you haul out. Look specifically for the signs listed above, especially at the hub and blade edges.
- Track your anode wear rate. Write down replacement dates. A sudden change in how fast they deplete is one of the most reliable early indicators you have.
- Use a multimeter to check hull-to-water voltage. With the boat in the water and shore power connected, a reference electrode and multimeter can measure stray current relative to a known baseline. Readings outside the normal range point to an active current leak.
- Check your bonding wires. Make sure all underwater metal components are properly bonded and that connections aren’t corroded or loose.
- Have your shore power cord and pedestal inspected. A worn cord or a marina pedestal with a wiring fault is a surprisingly common culprit.
Protecting Your Prop Going Forward
Once you’ve addressed the immediate cause, a few habits go a long way toward preventing repeat damage:
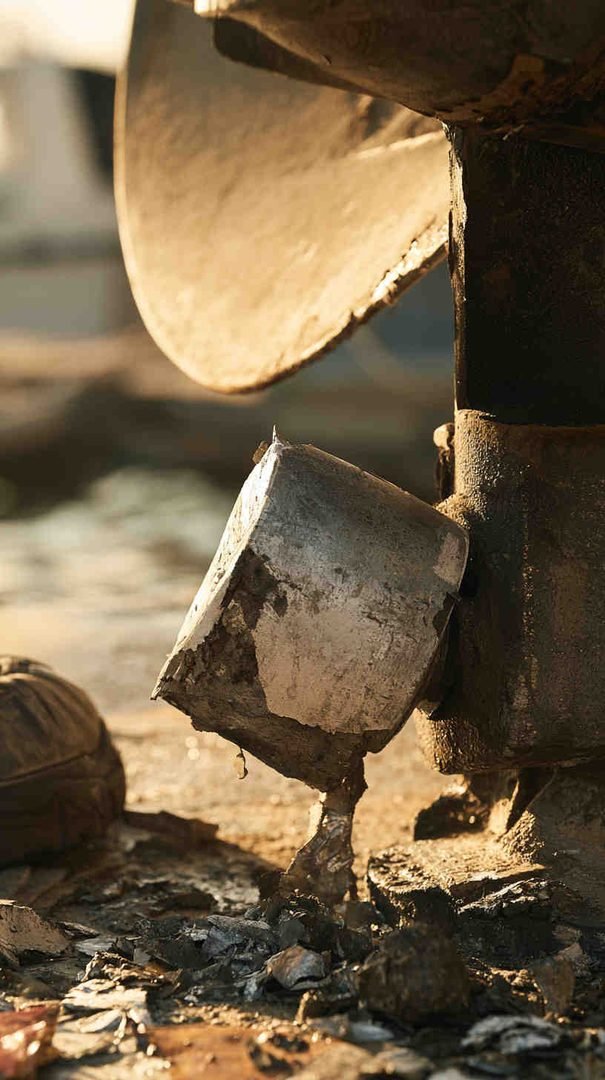




- Replace anodes before they’re fully depleted — once they’re down to about 50%, it’s time for new ones.
- Keep an eye on connections and wiring for corrosion at least once a season.
- Avoid mixing incompatible metals underwater without proper isolation.
- Disconnect shore power when it’s not needed, especially at marinas with older electrical infrastructure.
- Rinse and inspect the prop regularly, particularly if the boat sits in brackish or saltwater for long stretches.
The Bottom Line
Electrolysis damage is one of those problems that’s easy to prevent but expensive to ignore. A prop that looks a little chalky or slightly pitted today can be unusable in a matter of months if the underlying cause isn’t addressed. The key is simple: inspect often, track your anode wear, and treat any unusual corrosion pattern as a signal to investigate — not just cosmetic wear and tear. Catch it early, and a routine cleaning is all it takes. Catch it late, and you’re shopping for a new propeller.
Happy Boating!
Share How to spot electrolysis damage before it ruins your prop with your friends and leave a comment below with your thoughts.
Read How to check your boat’s stringers for soft spots until we meet in the next article.