
If your boat has started to feel a little “springy” underfoot, or you’ve noticed cracks forming near the transom or along the hull sides, there’s a good chance the problem isn’t cosmetic. It’s likely coming from below deck, where your boat’s stringers live. Stringers are the structural backbone of most fiberglass boats, and when they develop soft spots, the entire hull can lose its rigidity and strength. Catching this early can save you thousands of dollars and, more importantly, keep you safe on the water.
This guide walks through exactly what stringers do, why they go soft, and how to check them yourself using simple tools and techniques that any boat owner can follow.




What Are Boat Stringers, and Why Do They Matter?
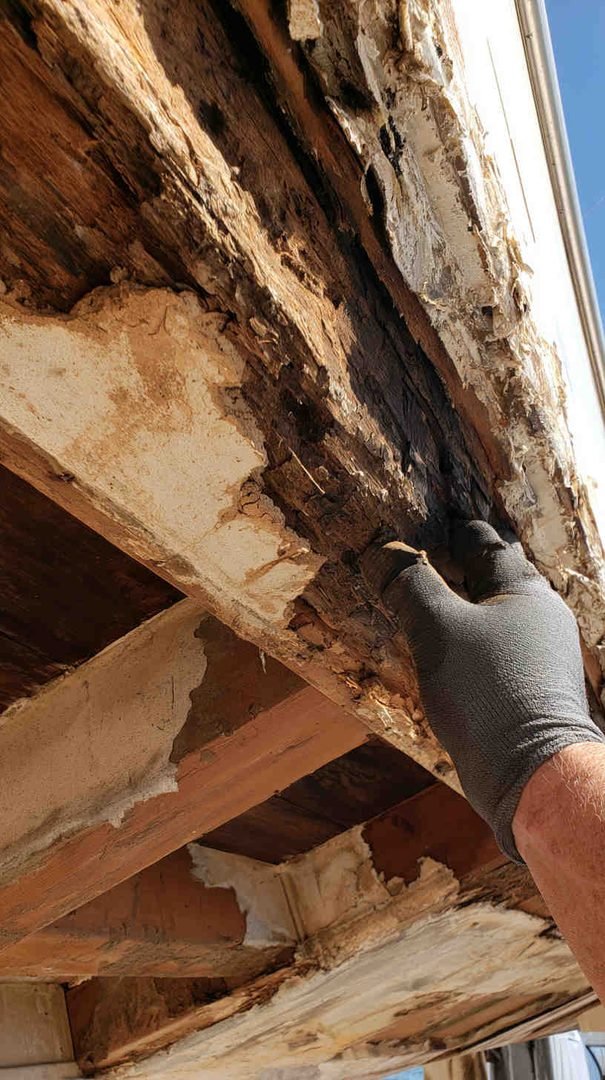
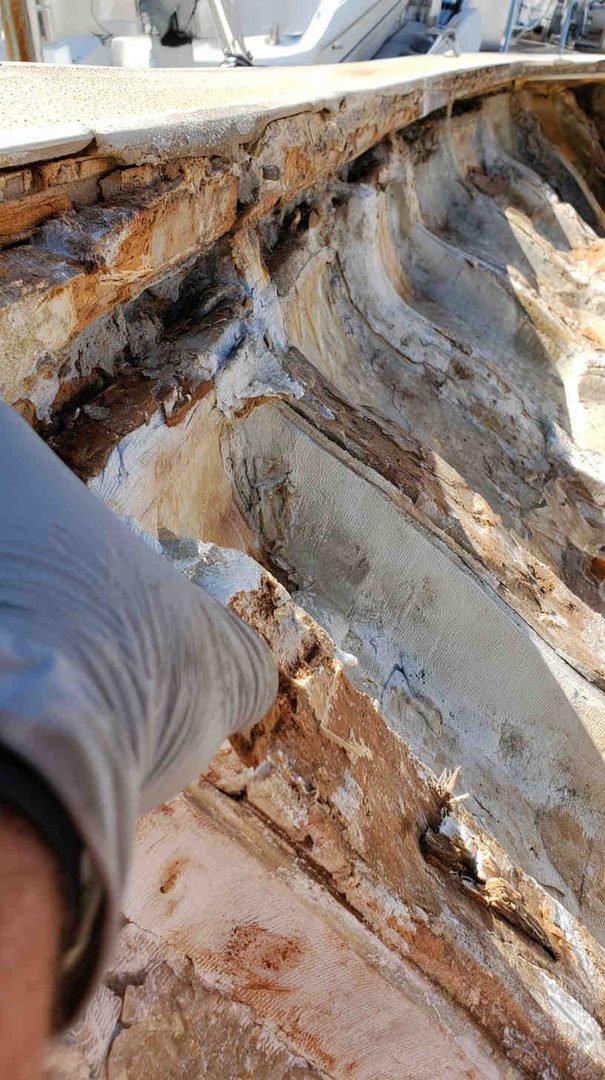
Stringers are longitudinal structural members that run fore and aft along the inside of a boat’s hull, usually made of wood (often marine plywood) encapsulated in fiberglass, or sometimes composite or foam materials in newer builds. They work alongside the transverse frames and bulkheads to give the hull its shape and stiffness, support the engine, transfer load from the deck to the hull, and help the boat handle stress from waves, turns, and the weight of passengers and gear.
Think of stringers as the ribs and spine of your boat. When they’re solid, the hull flexes predictably and holds its form. When they’re compromised, the whole structure becomes unpredictable, and in serious cases, unsafe.
What Causes Stringers to Develop Soft Spots?
Soft spots almost always come down to one culprit: water intrusion. Once moisture works its way into the wood core of a stringer, it starts a slow but steady process of rot and delamination. Common entry points include:
- Cracked or chipped gelcoat that lets water seep into the fiberglass laminate
- Poorly sealed screw holes or through-hull fittings installed near or through stringers
- Deck leaks that travel down through hardware mounts, cleats, or railings
- Old repairs that weren’t properly sealed
- Condensation buildup in poorly ventilated bilge areas over many years
Once water gets trapped inside the fiberglass shell, it has nowhere to go. The wood core absorbs moisture, begins to rot, and gradually loses its structural integrity, even though the outer fiberglass skin may still look perfectly fine from the surface.
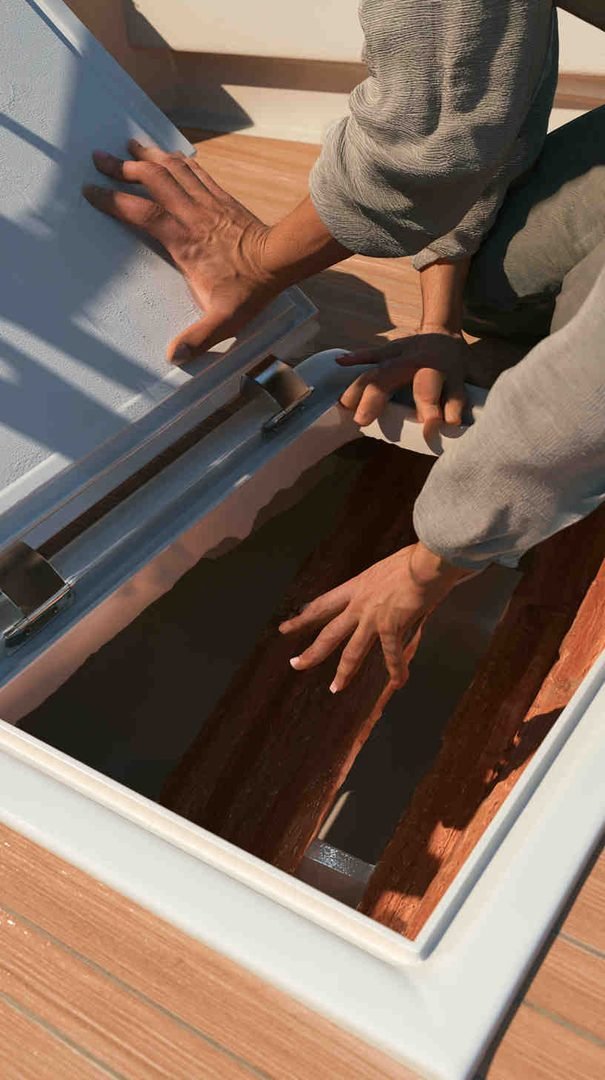



Signs You May Have Soft Spots in Your Stringers
Before you even start a hands-on inspection, there are warning signs worth paying attention to:
- The deck or cockpit floor feels spongy, bouncy, or flexes when you walk on it
- Visible cracks or stress lines in the gelcoat, especially near the engine mounts or transom
- A musty, damp smell coming from the bilge or under the deck
- Discoloration or dark staining on fiberglass surfaces near suspected wet areas
- Unusual vibration or looseness in the engine mounts
- Water pooling in the bilge that doesn’t have an obvious source
None of these signs alone confirm a soft spot, but together they’re a strong reason to dig deeper.
Tools You’ll Need
The good news is that checking your stringers doesn’t require expensive equipment. A basic inspection can be done with:



- A small hammer, wooden mallet, or the plastic handle of a screwdriver (for tap testing)
- An awl or ice pick (for probing suspect areas)
- A moisture meter (pin-type or non-invasive pinless models both work)
- A bright flashlight or headlamp
- A notepad or phone to mark and photograph problem areas as you find them
If you plan to access stringers under the deck, you may also need basic hand tools to remove access panels or hatches.
Step-by-Step: How to Check Your Boat’s Stringers for Soft Spots
1. Start With a Visual Inspection
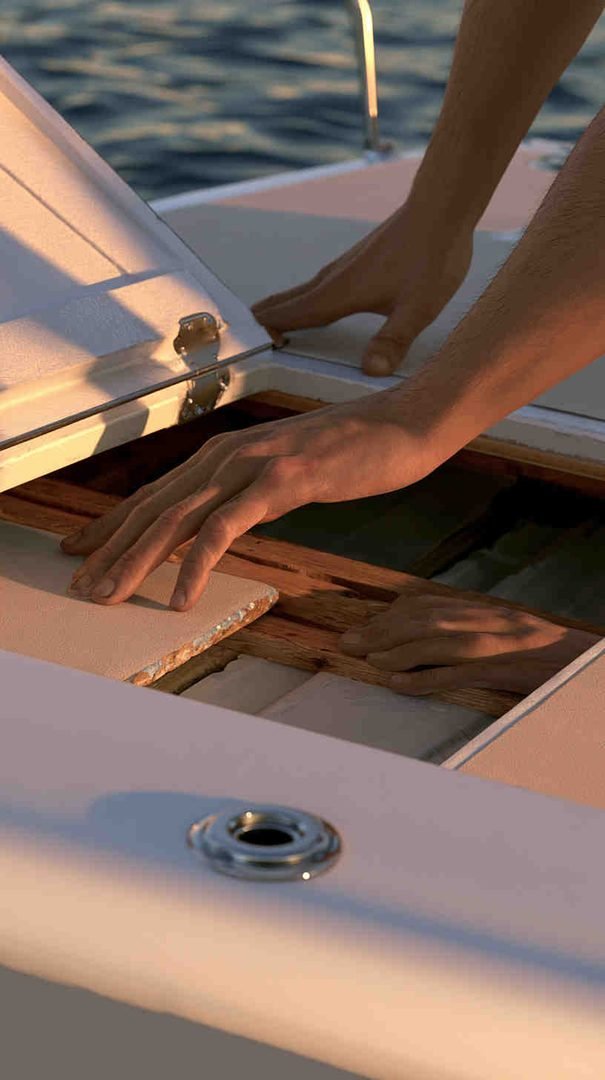
Begin in the bilge and any accessible under-deck areas where the stringers are visible. Look for cracked, blistered, or discolored fiberglass, especially around fasteners, thru-hulls, and the base of the transom. Pay close attention to any spot where the gelcoat has been chipped or where a previous repair was made, since these are the most common entry points for water.
2. Do a Tap Test
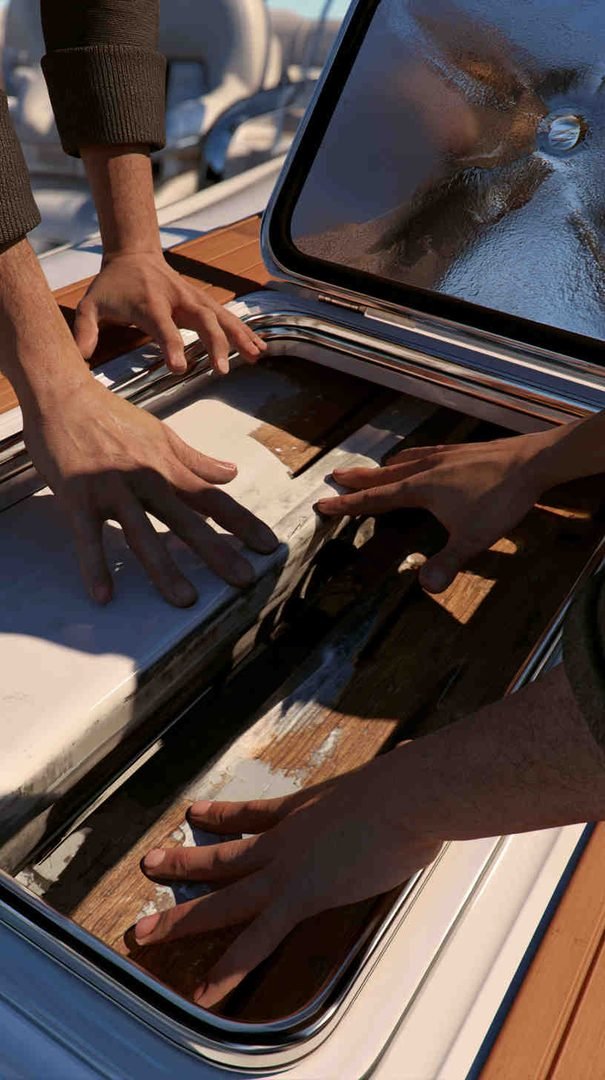
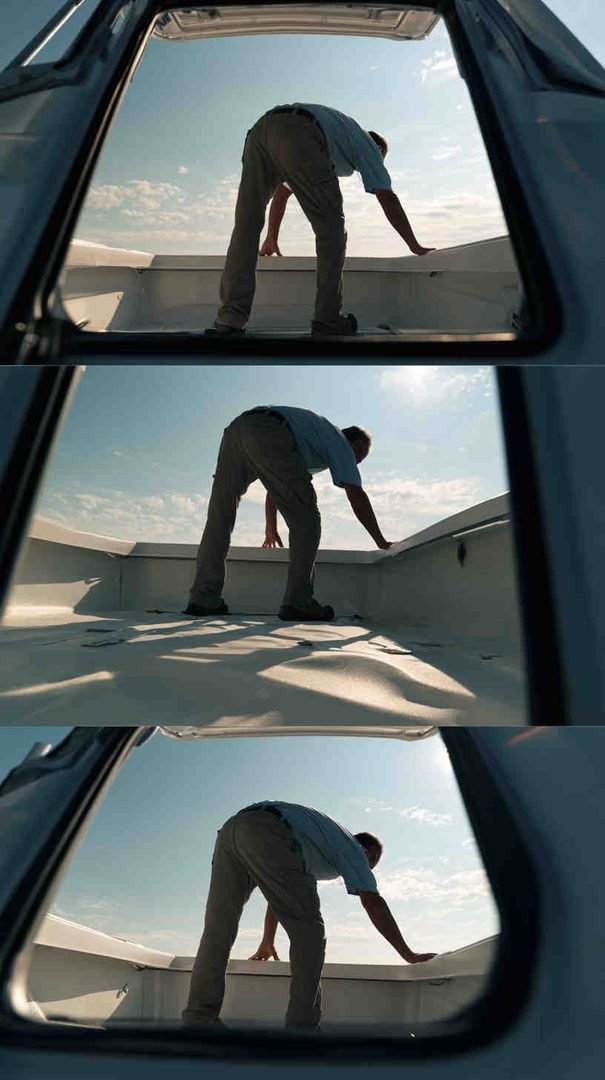
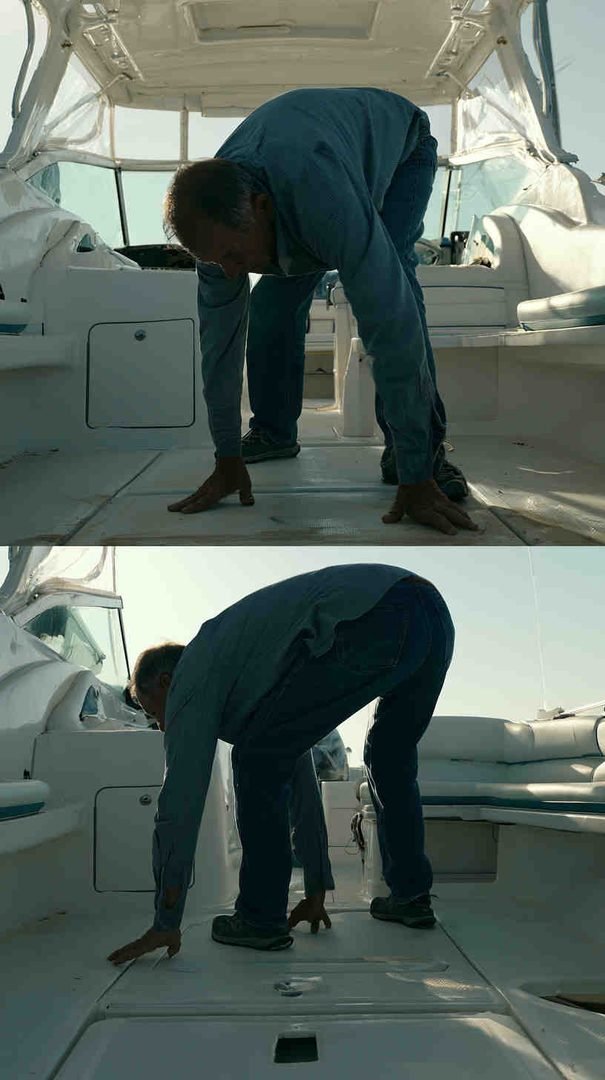
This is one of the simplest and most reliable DIY methods. Using a small hammer or the handle of a screwdriver, gently tap along the length of each stringer and across the cockpit sole or deck above them. A solid, healthy stringer will produce a sharp, consistent “thud” or ringing sound. A soft or rotted section will sound noticeably duller, hollow, or flat. Go slowly and tap in a grid pattern every few inches, since soft spots can be localized and easy to miss if you skip around.
3. Probe With an Awl or Pick
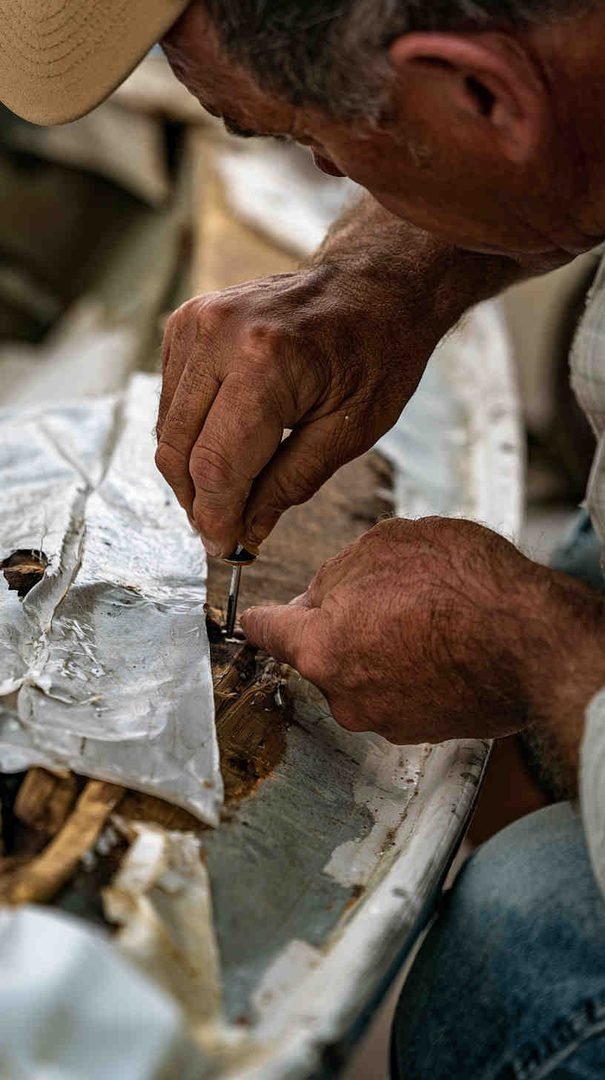
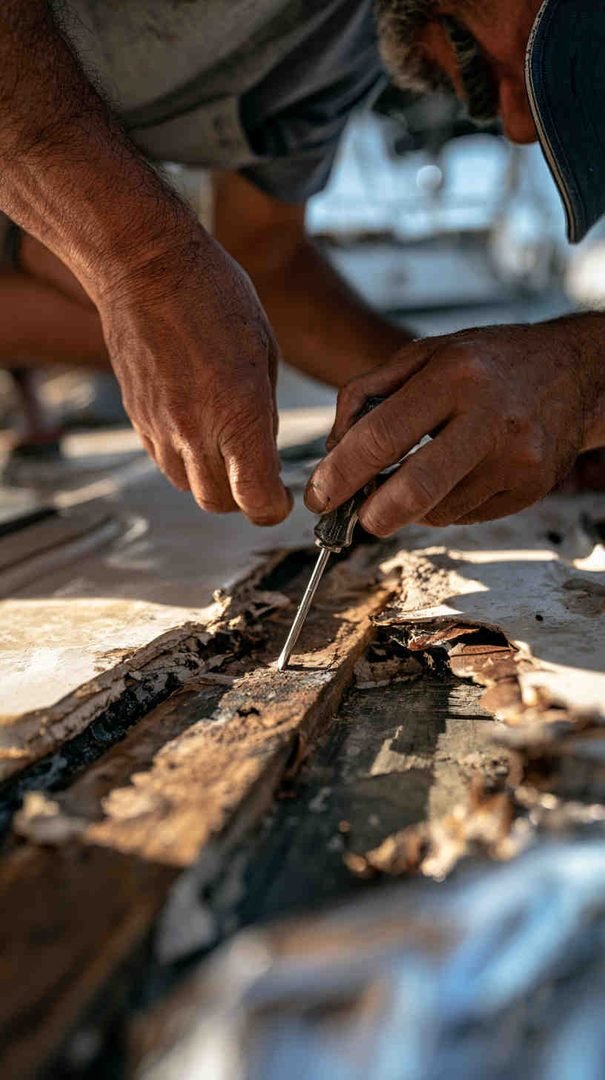
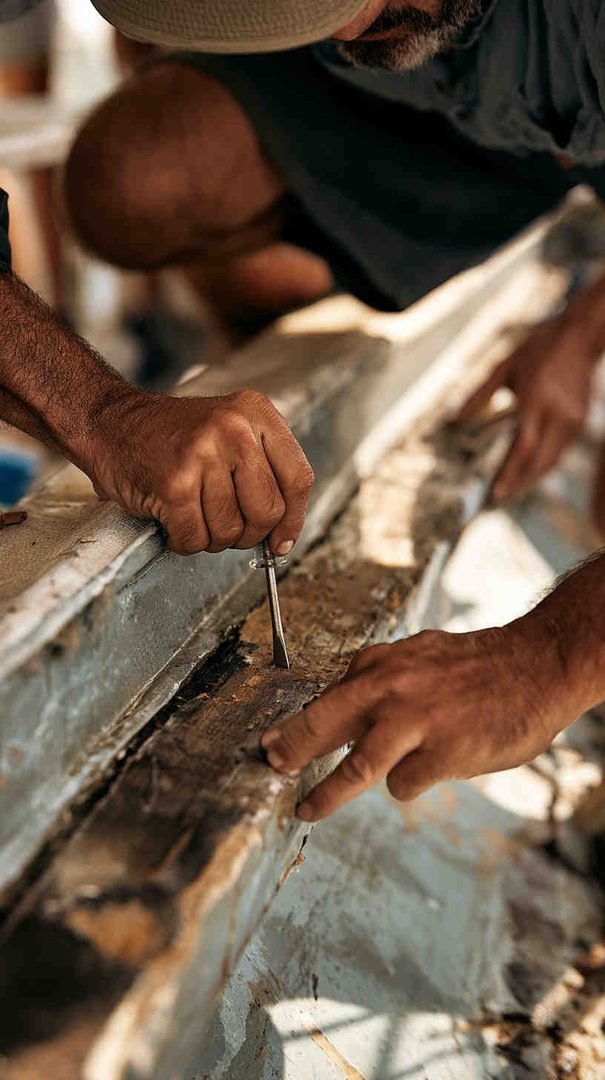
Anywhere the tap test sounds suspicious, follow up with a probe test. Gently press an awl or ice pick into the fiberglass surface at a low angle. Solid fiberglass over healthy wood will resist the point firmly. If the pick sinks in with little resistance, or you feel a spongy give beneath the surface, that’s a strong indicator of rot. Be careful not to press too hard on areas you’re not testing, since this method does create small punctures.



4. Use a Moisture Meter
A moisture meter gives you a more objective, measurable reading than sound or feel alone. Pin-type meters read moisture content directly by inserting small pins into the laminate, while pinless meters use electromagnetic signals to scan below the surface without puncturing it. Move the meter methodically across the stringer tops and sides, noting any areas where readings spike compared to the surrounding material. Consistently high readings, especially paired with a dull tap sound, confirm that water has penetrated the core.
5. Check for Deck and Sole Flex
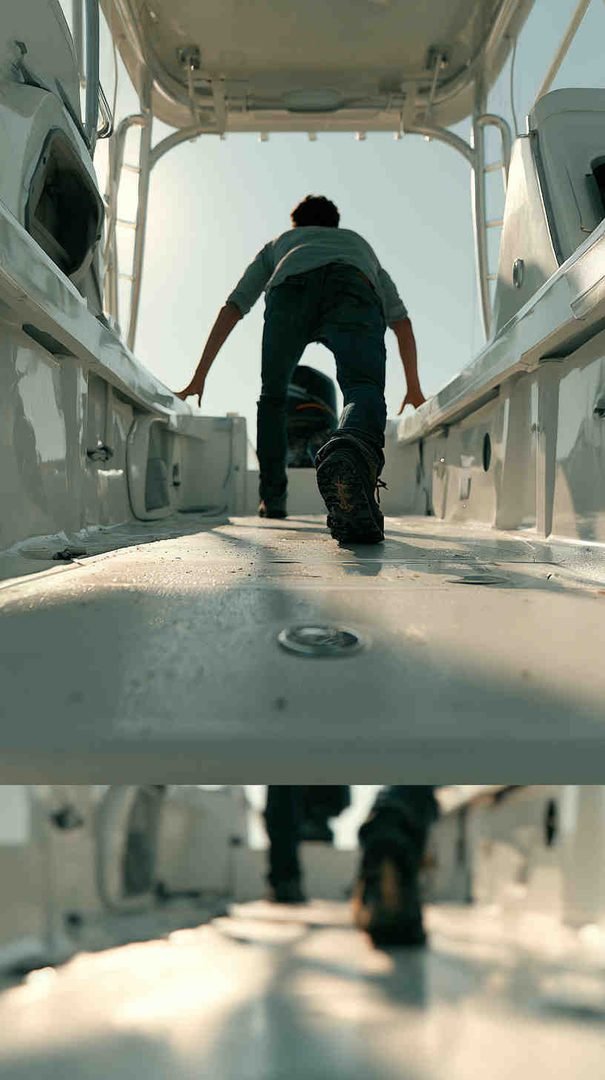
Walk slowly across the cockpit floor and any deck areas directly above the stringers, paying attention to any give, bounce, or flex underfoot. Since stringers often run beneath the deck and support it directly, excessive flex in the floor is frequently a direct symptom of stringer deterioration below.
6. Inspect Engine Mount Areas Closely
Engine stringers take on enormous stress from vibration, torque, and weight, which makes them especially prone to developing soft spots over time. Check around each engine mount bolt for cracking, movement, or discoloration, and tap test generously in this zone since a failing engine stringer can eventually lead to serious mechanical and safety issues.
What to Do If You Find Soft Spots
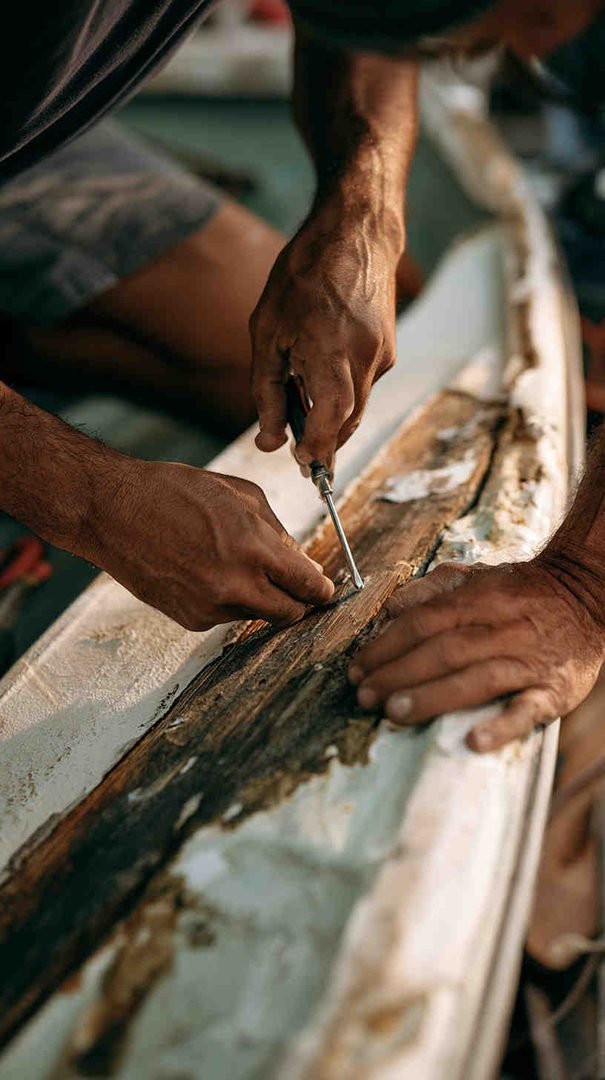
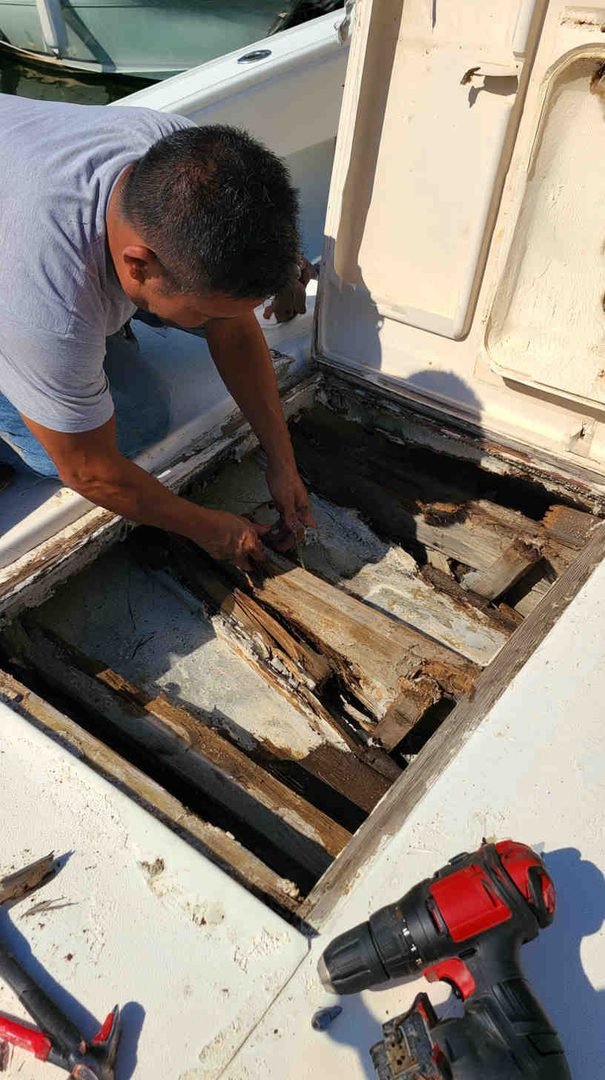
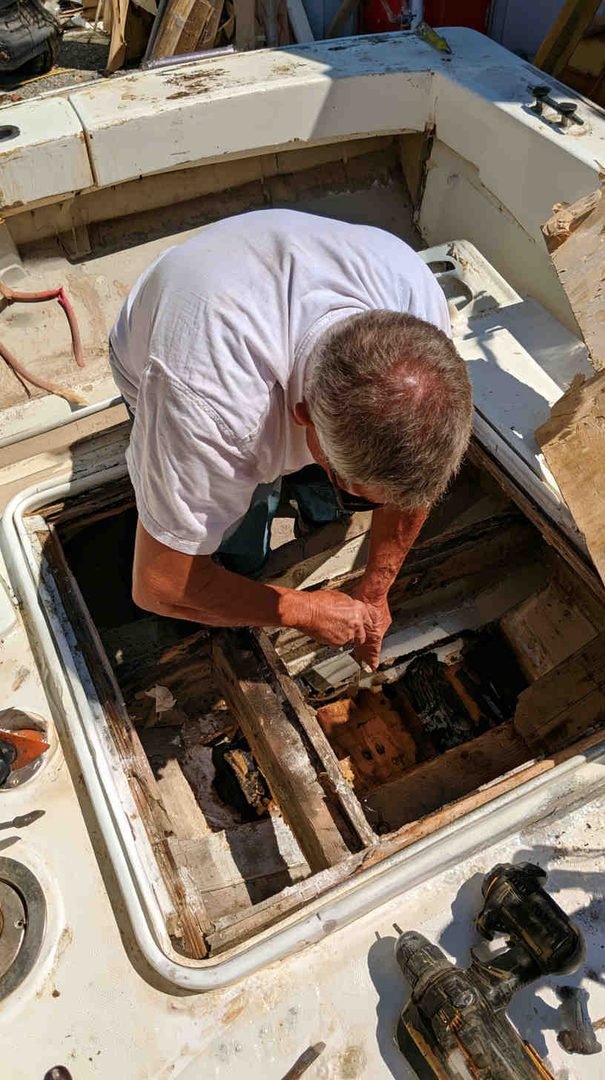
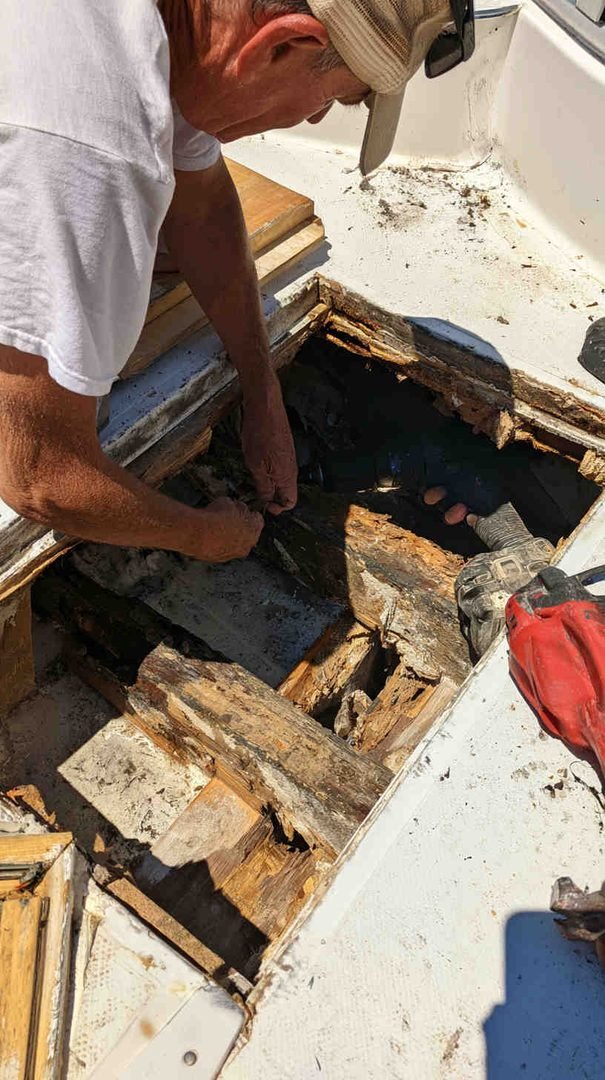
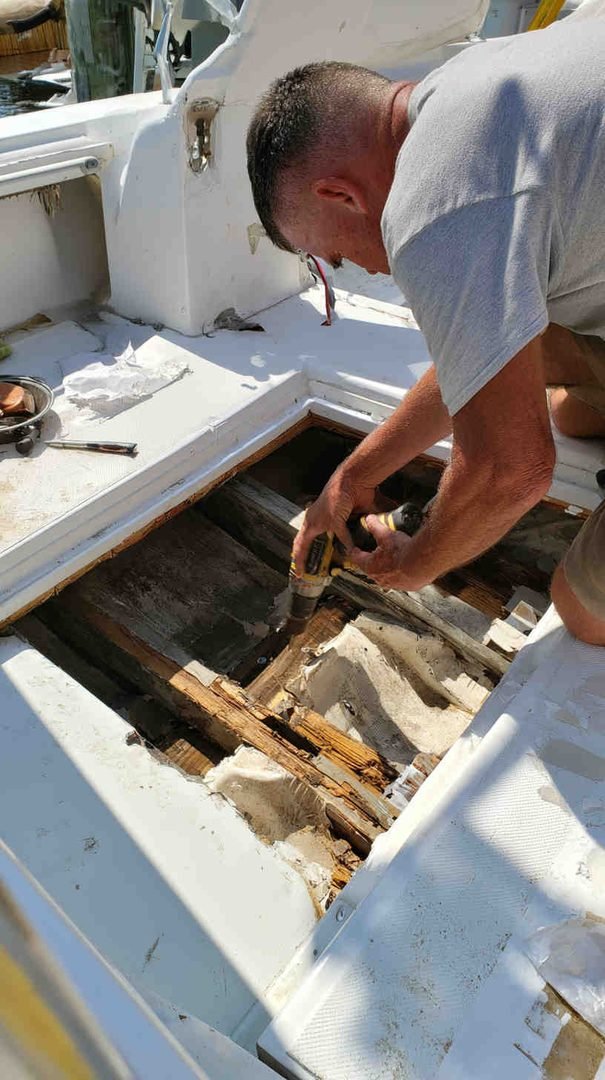
If your inspection turns up dull tap sounds, spongy probe tests, or elevated moisture readings, it’s important to fully map out the affected area before deciding on next steps. Mark every problem spot you find, take photos, and note approximate boundaries so you understand the full scope rather than just the one area you happened to check first. Small, isolated soft spots may be manageable with targeted repair, while widespread rot along a stringer often calls for a more complete rebuild of that section. Either way, moving forward with accurate information about the extent of the damage will make any repair plan far more effective.

Preventing Future Stringer Damage
Once you’ve dealt with existing soft spots, a few habits go a long way toward keeping new ones from forming. Reseal any deck hardware, cleats, or fittings anytime you notice cracked caulking. Keep the bilge dry and well-ventilated, and address any deck leaks immediately rather than letting water sit and travel downward over time. Periodically repeat the tap test and moisture check, ideally once a year, so you catch any new intrusion early, long before it becomes a structural problem.
Final Thoughts
Checking your boat’s stringers for soft spots isn’t complicated, but it does require patience and a willingness to get into the bilge with a flashlight and a few basic tools. A thorough inspection combining visual checks, tap testing, probing, and moisture readings will give you a clear, honest picture of your boat’s structural health. Catching a soft spot early, before it spreads, is one of the best things you can do to protect both your investment and your safety on the water.
Happy Boating!
Share How to check your boat’s stringers for soft spots with your friends and leave a comment below with your thoughts.
Read How often you really need to flush a saltwater cooling system until we meet in the next article.