
If you own a boat, you already know that a marine head (the nautical term for a boat toilet) is one of those systems you only think about when it stops working properly. A sticky marine head — one where the pump handle feels stiff, the bowl won’t fully clear, or the flush drags halfway through — is one of the most common complaints among boat owners, especially after a long winter layup or a season of heavy use. The good news is that in most cases, this is a problem you can diagnose and fix yourself with basic tools, a little patience, and no marine technician bill.
This guide walks you through why marine heads get sticky, how to identify the exact cause, and how to fix it step by step.
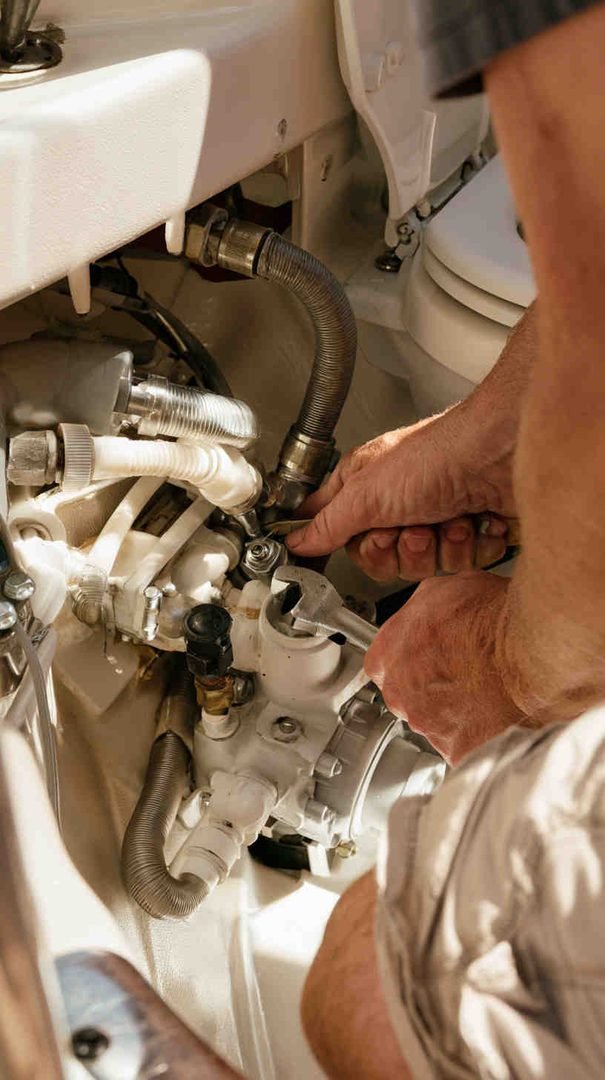
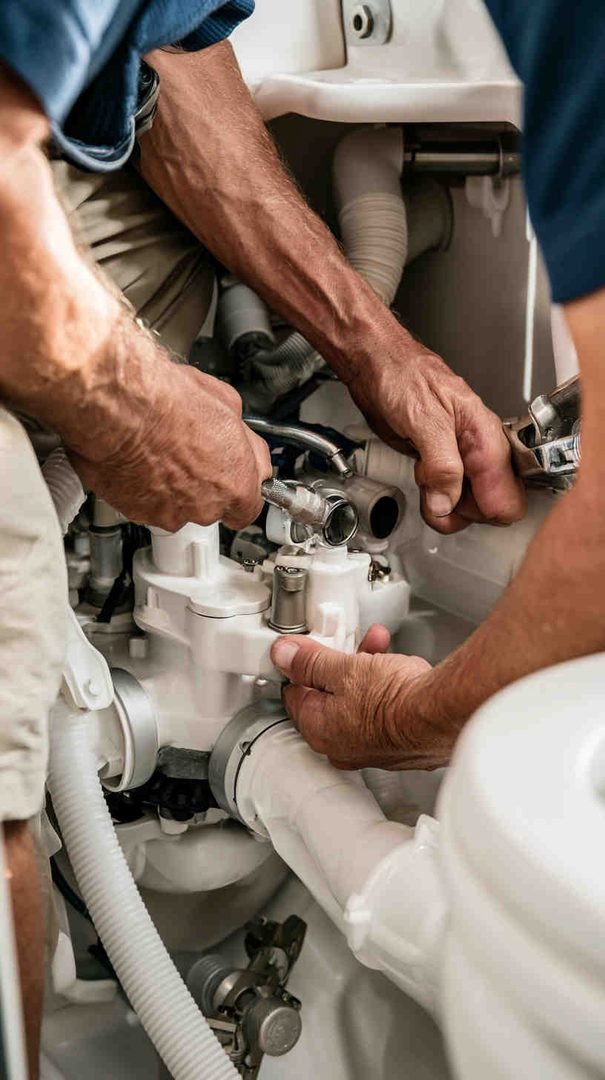
Why Marine Heads Get Sticky in the First Place
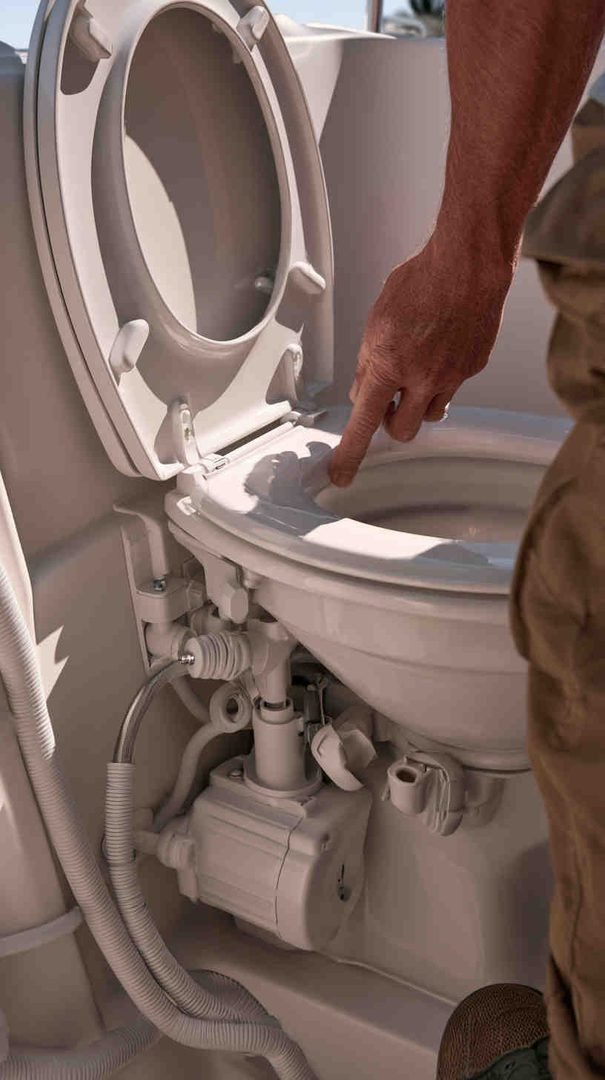
A marine head isn’t like a household toilet. It relies on a manual or electric pump to move waste and water through a network of hoses, valves, and a joker valve (a one-way rubber valve that prevents backflow). Because it’s a mechanical system exposed to saltwater, minerals, and organic waste, it’s naturally prone to a few recurring issues:
- Mineral and calcium buildup (scale) inside the pump housing and hoses, caused by saltwater or hard water passing through the system repeatedly.
- A stiff or swollen joker valve, which is often the very first part to fail and the most common reason a pump feels “sticky” or hard to push.
- Dried-out or perished pump seals and gaskets, especially after a boat has sat unused for weeks or months.
- Salt crystallization inside the piston or pump cylinder, which happens when the head isn’t flushed with fresh water regularly.
- Debris or foreign objects partially blocking the pump chamber or discharge line.
Understanding which of these is causing your problem is the key to fixing it correctly the first time, instead of guessing and taking the whole system apart unnecessarily.
Step 1: Diagnose Before You Dismantle Anything
Before reaching for a wrench, spend five minutes testing the symptoms. This alone will save you hours of unnecessary work.
- Pump handle is hard to push but water still moves — this usually points to scale buildup inside the pump cylinder or a stiff joker valve.
- Pump handle moves fine but nothing flushes or clears — this often means a blocked discharge hose, a jammed joker valve, or an intake blockage.
- Pump feels gritty or grinds — this is a strong sign of mineral deposits or salt crystals inside the piston chamber.
- Head worked fine last season but is stiff after winter storage — almost always dried-out seals or a joker valve that’s lost its flexibility from sitting dry.
Once you’ve narrowed down the symptom, you’ll know exactly which part of the head to open up.
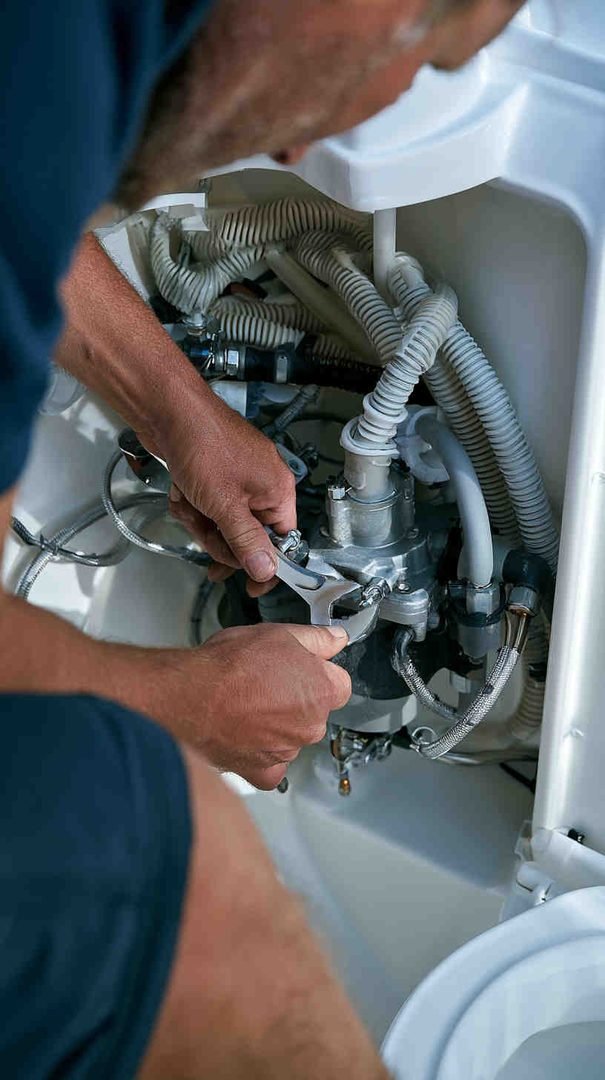
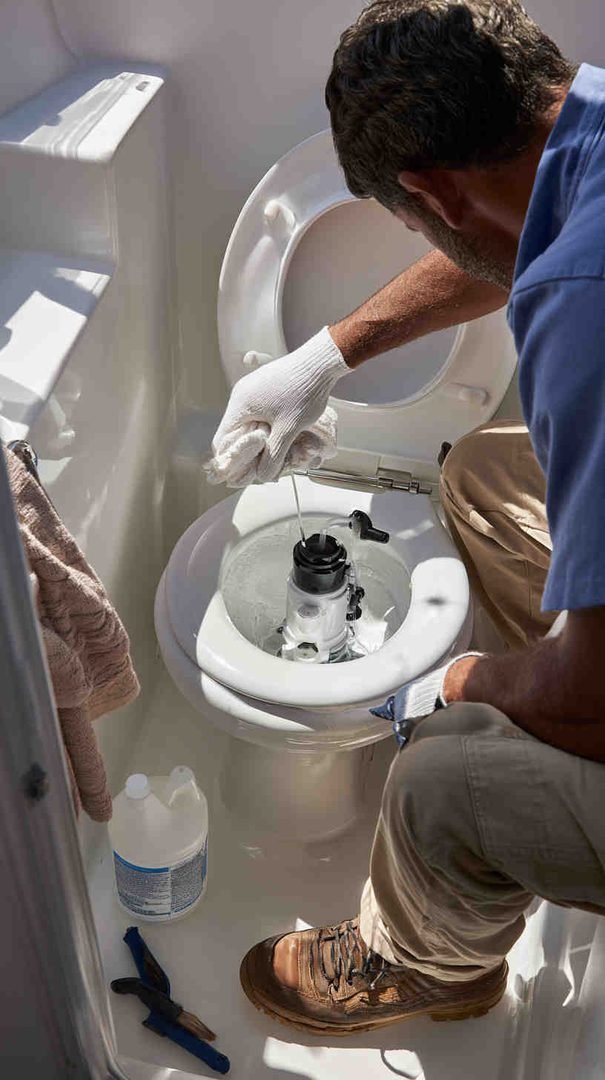

Step 2: Gather the Right Tools and Supplies
You don’t need a professional toolkit to fix a sticky marine head. Most boat owners already have what’s needed on board:
- Adjustable wrench and a Phillips/flathead screwdriver set
- A rebuild or service kit specific to your head’s brand and model (these include new joker valves, seals, and gaskets)
- White vinegar or a marine-safe descaler
- Marine-grade waterproof grease or silicone lubricant (never use petroleum-based grease, as it degrades rubber)
- A bucket, rags, and rubber gloves
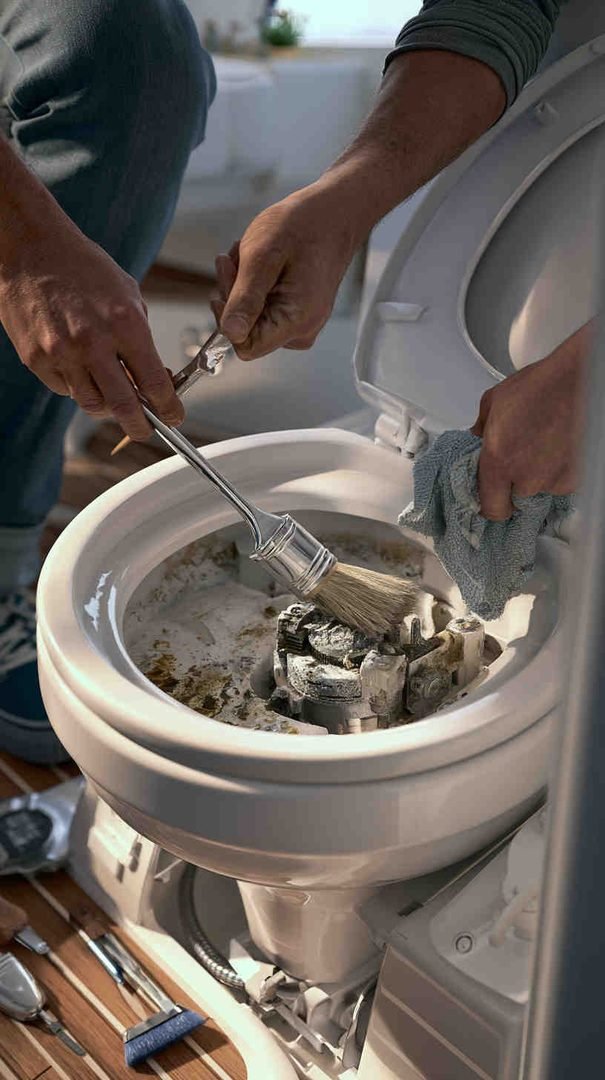
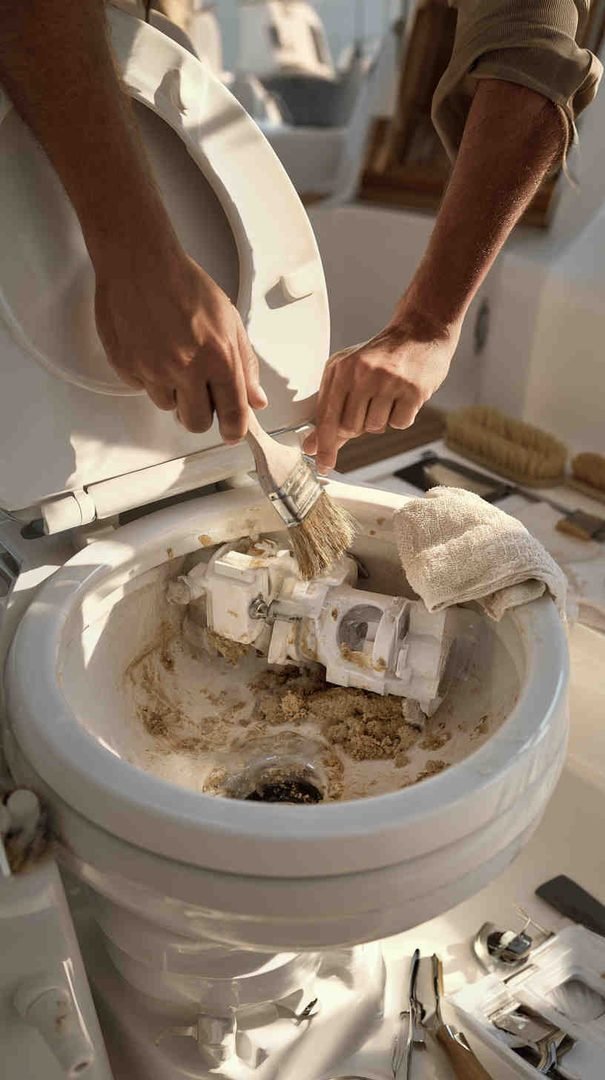
- A small soft-bristle brush for cleaning valve seats
Having the correct rebuild kit on hand before you start is important — many boat owners open the pump, discover a swollen joker valve, and then have to put everything back together and wait for a part to arrive. Buying the kit in advance based on your head’s make and model avoids that delay entirely.
Step 3: Shut Off the Seacocks and Depressurize the System
Safety first. Before opening any part of the head, close both seacocks (the intake and discharge through-hull valves). This prevents water from flooding in while you’re working and protects you from exposure to waste and bacteria. Pump the handle a few times with the seacocks closed to relieve any pressure trapped in the lines.
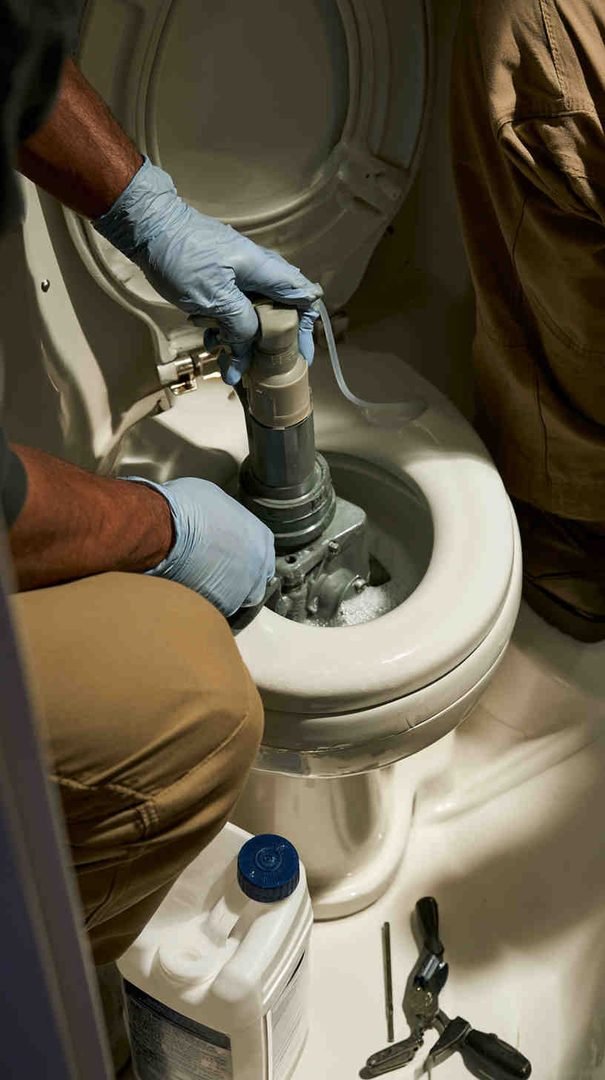
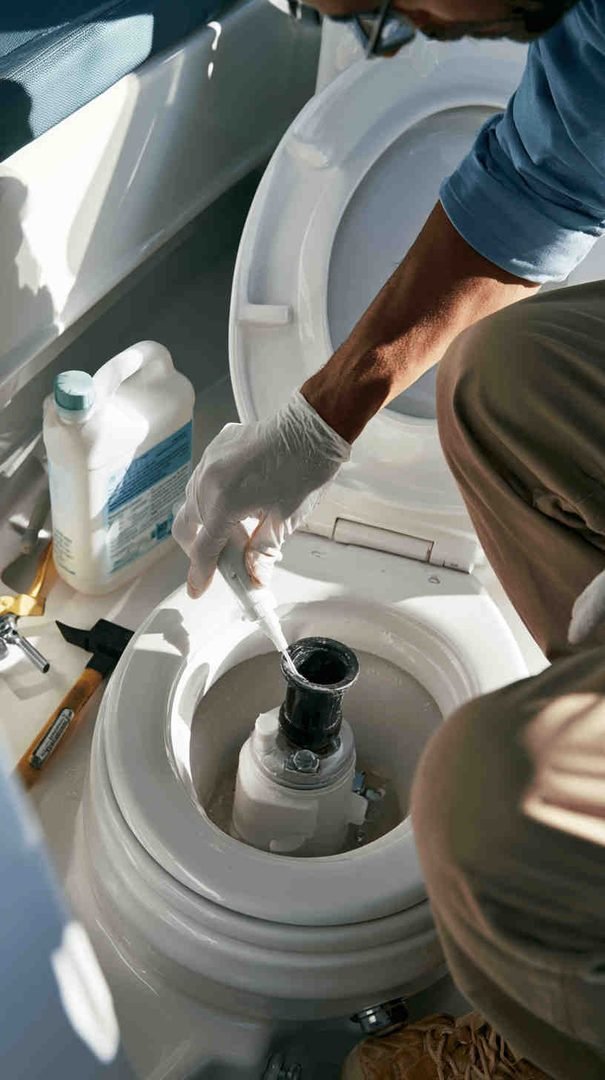
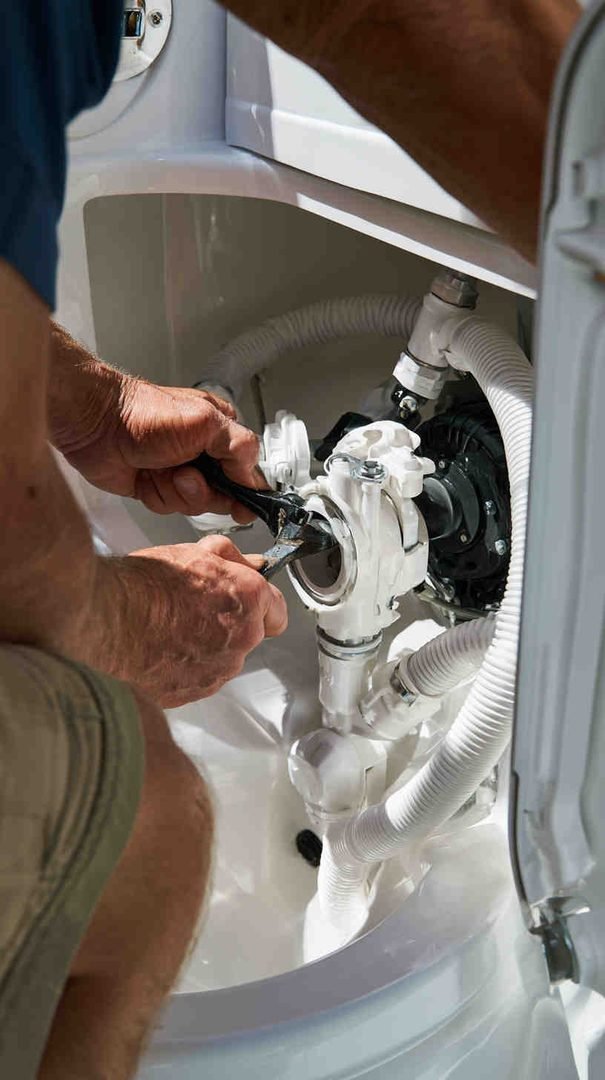
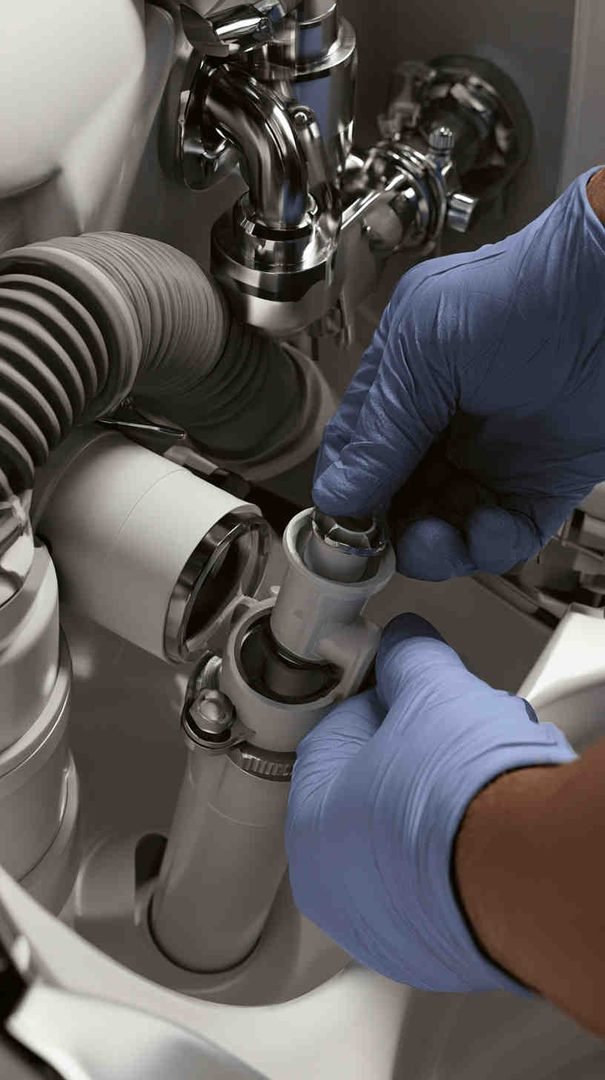
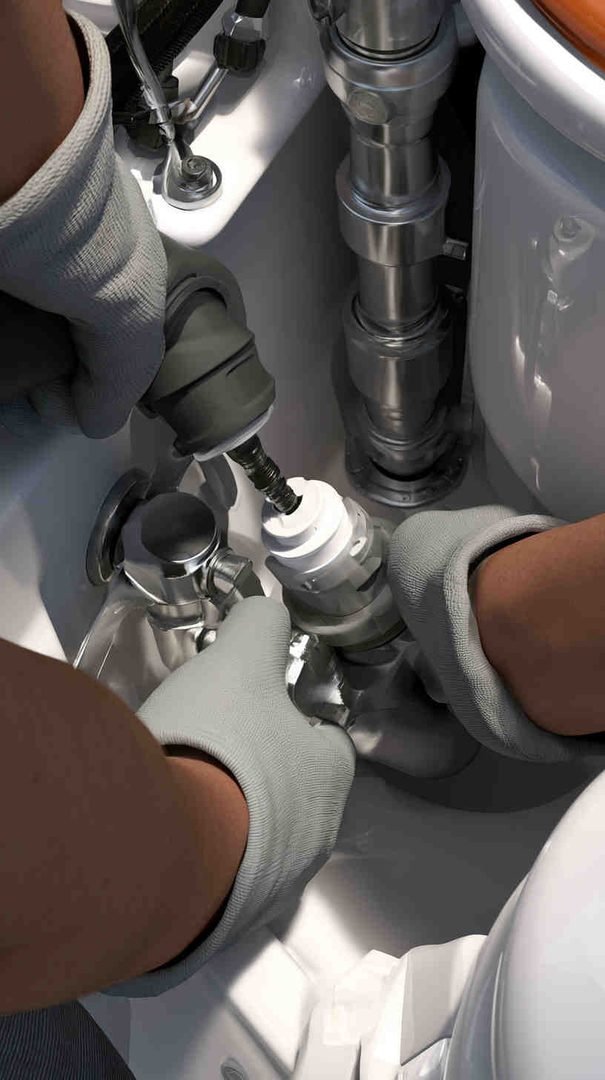
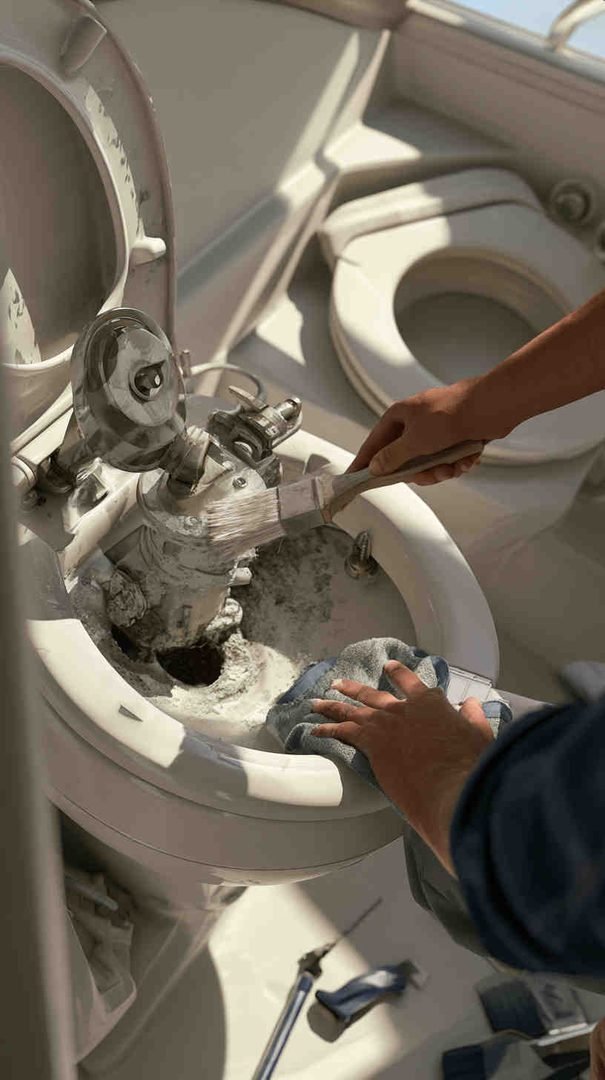
Step 4: Remove and Inspect the Pump Assembly
Most sticky-head problems live inside the pump assembly, so this is where you’ll spend most of your time.
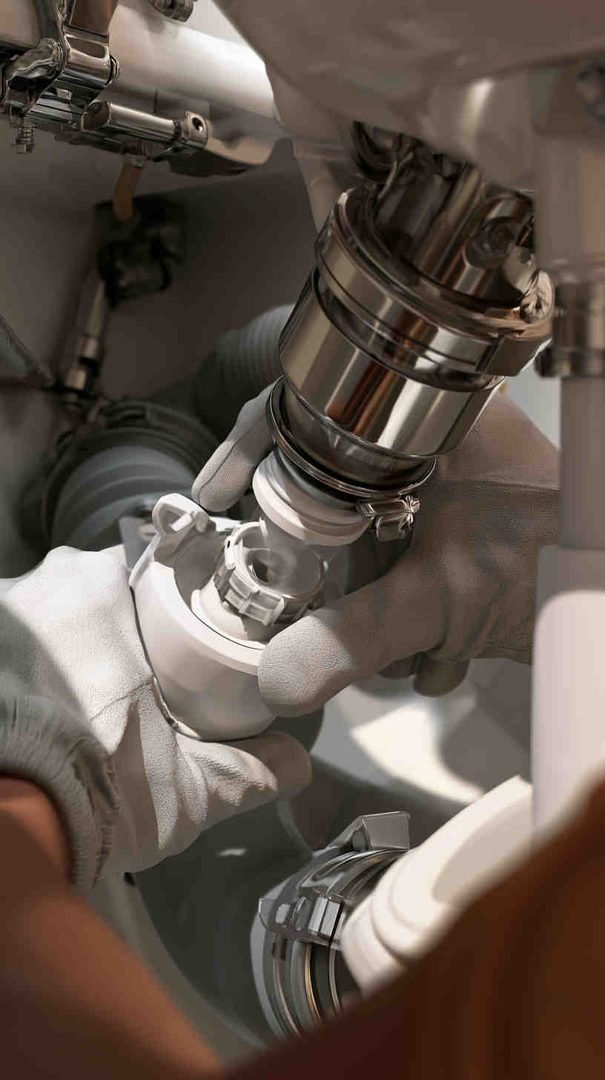
- Disconnect the discharge hose from the pump outlet.
- Unscrew and remove the pump cover, following your specific model’s service manual for the exact bolt pattern.
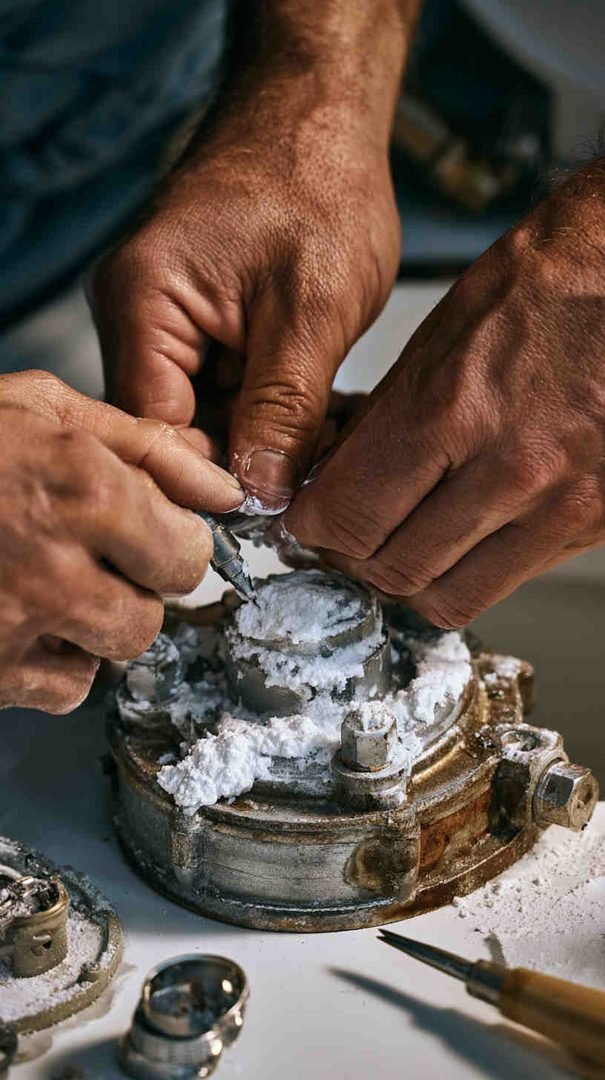
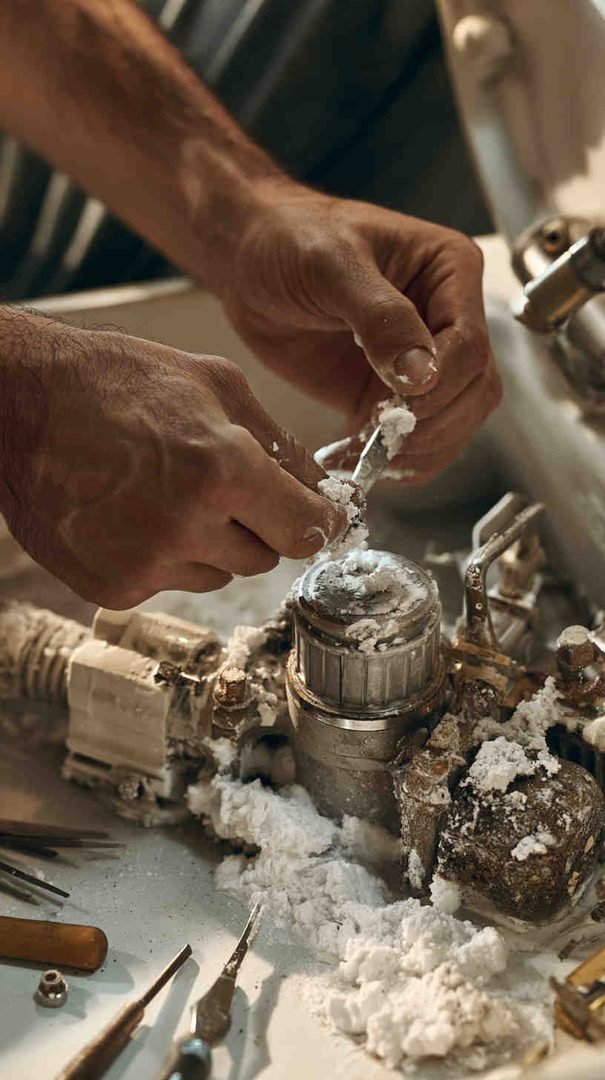
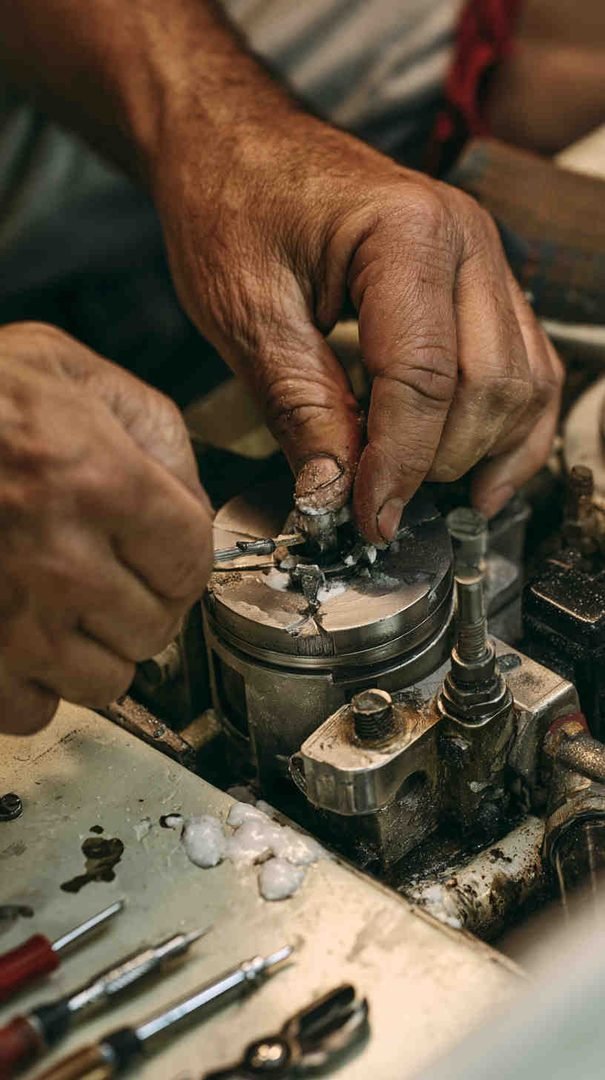
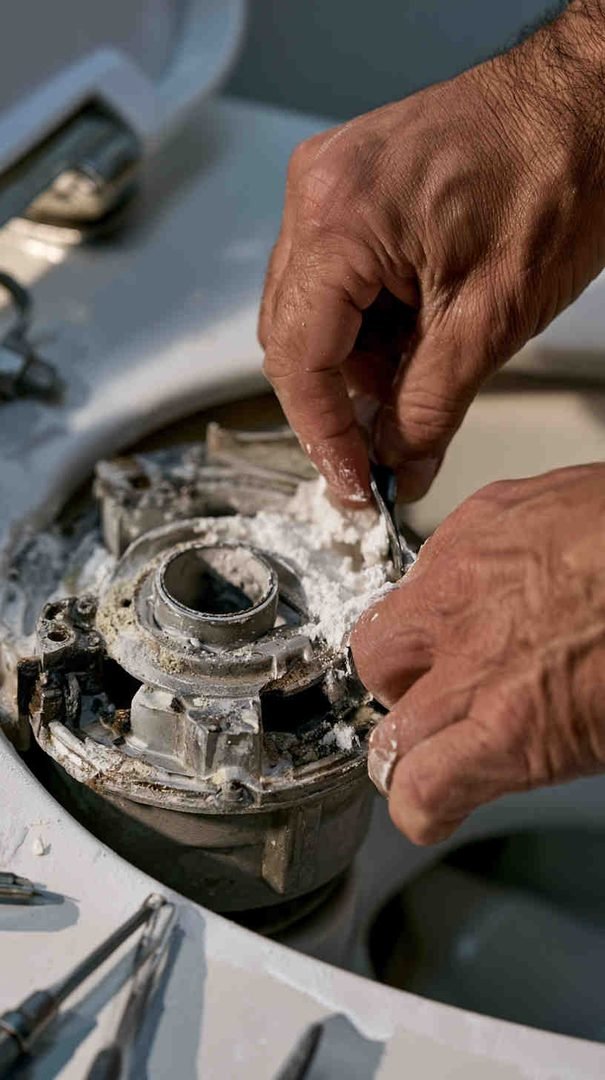
- Slide out the piston rod and cylinder liner carefully — this is usually where mineral buildup and salt crystals accumulate.
- Inspect the joker valve at the base of the pump. If it looks cracked, flattened, curled, or feels stiff rather than flexible, replace it. This single part is responsible for the majority of “sticky pump” complaints.
- Check the O-rings and seals around the piston. If they look dry, cracked, or have lost their shape, replace them from your rebuild kit.
Step 5: Clean Away Mineral Buildup and Scale
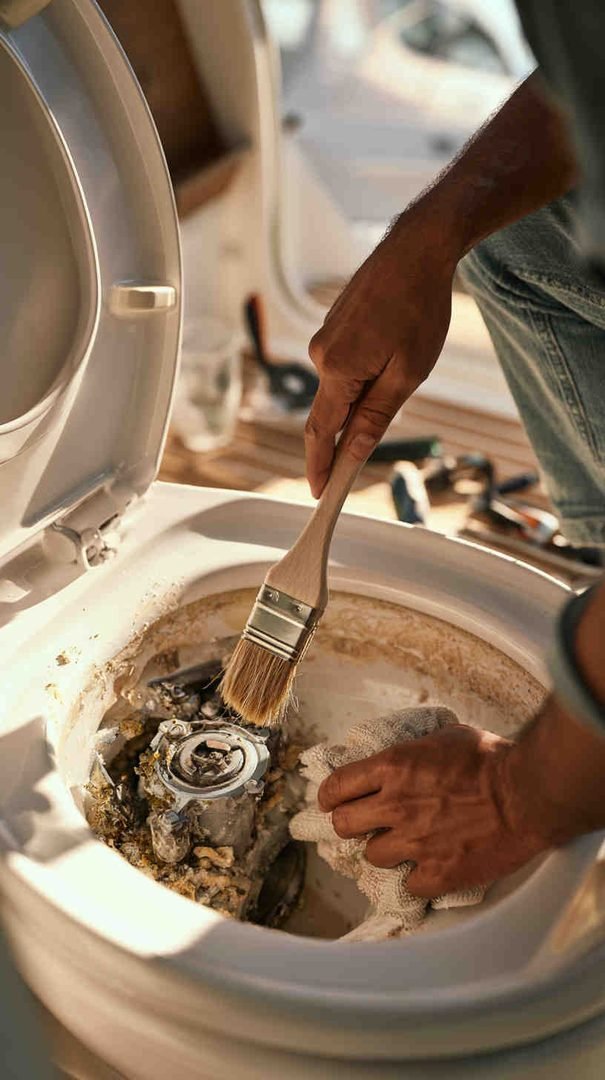
If the pump feels gritty or resistant even after inspecting the valve, scale is likely the culprit. Soak the piston, cylinder, and valve housing in a mixture of white vinegar and warm water for 30–60 minutes. For heavier buildup, a marine-safe descaling solution designed for sanitation systems works faster and more thoroughly. Use the soft brush to gently scrub away any remaining deposits from valve seats and pump walls, then rinse everything with fresh water before reassembly.
Step 6: Lubricate and Reassemble
Once everything is clean and dry, apply a thin coat of marine-grade, non-petroleum lubricant to the piston, O-rings, and cylinder walls. This step is often skipped, but it’s essential — it reduces friction, extends the life of your seals, and prevents the same stiffness from returning within a few weeks. Reassemble the pump in the reverse order you took it apart, making sure the joker valve is seated in the correct direction (most have an arrow indicating flow direction).
Step 7: Test the System Before Reopening the Seacocks
With everything reassembled, reconnect the discharge hose and pump the handle a few times dry to confirm smooth, even resistance. If it feels smooth and consistent through the full stroke, reopen the seacocks slowly and test a full flush cycle, watching each connection point for leaks.
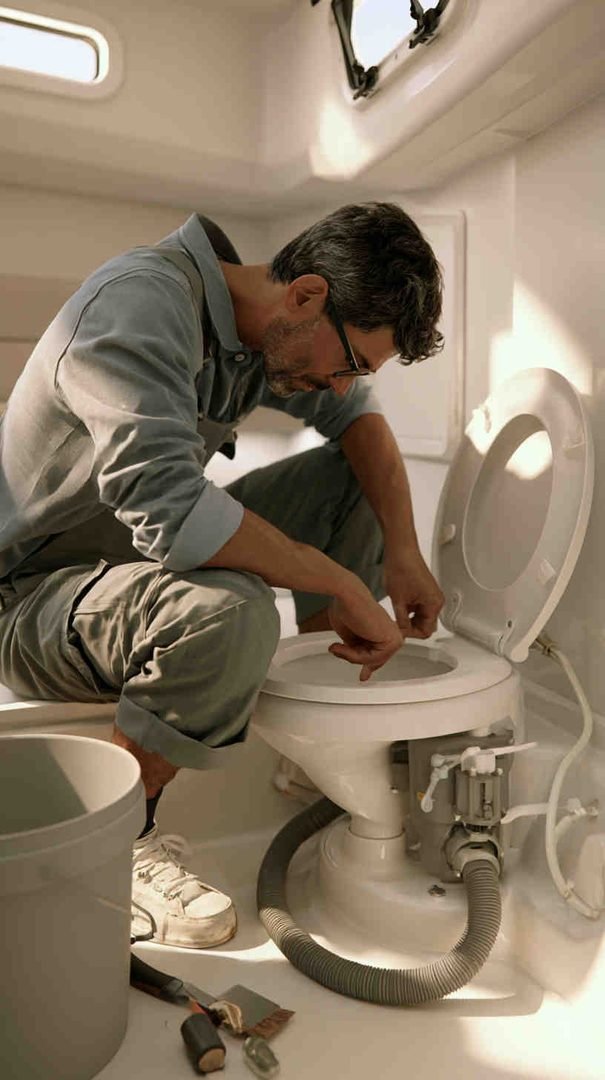
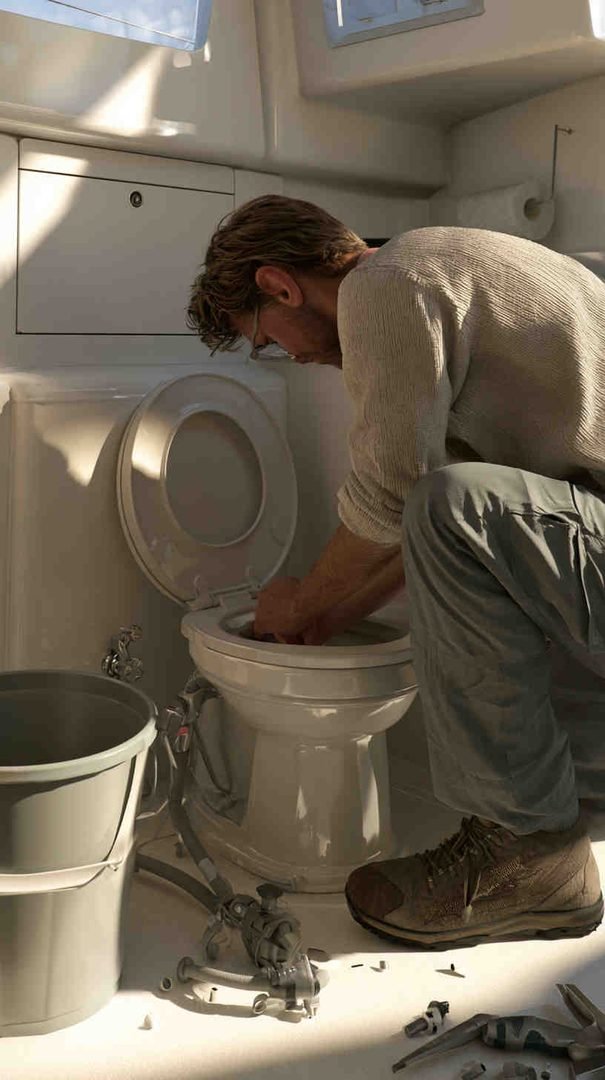

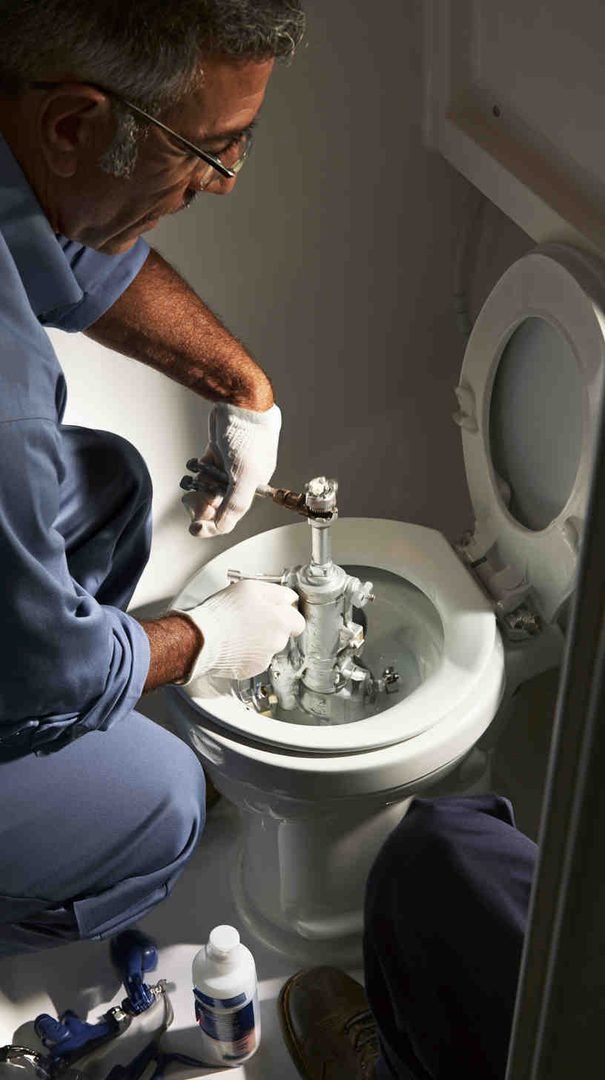
Preventing a Sticky Marine Head in the Future
A little routine maintenance prevents most of these problems from happening again:
- Flush the head with fresh water after every trip in saltwater to prevent salt crystallization.
- Use marine-safe, head-approved toilet paper only, since regular paper breaks down too slowly and contributes to blockages.
- Pump the handle a few extra strokes at the end of each flush to fully clear the lines.
- If the boat will sit unused for more than a few weeks, add a small amount of marine-grade lubricant into the bowl and cycle the pump a few times to keep seals from drying out.
- Inspect the joker valve at the start of each season, since it’s a wear item that typically needs replacing every one to two years depending on usage.
Final Thoughts
A sticky marine head is almost always a mechanical wear issue rather than a design flaw, and it’s one of the most approachable repairs a boat owner can tackle without outside help. By diagnosing the symptom correctly, keeping a rebuild kit on board, and following a simple clean-lubricate-reassemble routine, you can restore smooth operation in under an hour and avoid the cost and wait time of hiring a marine technician. Regular flushing and seasonal inspection will keep the problem from coming back, so your head stays reliable trip after trip.
Happy Boating!
Share Fixing a sticky marine head without calling a technician with your friends and leave a comment below with your thoughts.
Read Diagnosing a boat battery that won’t hold charge overnight until we meet in the next article.