Yes You Can Winterize Your Boat Yourself: Do This
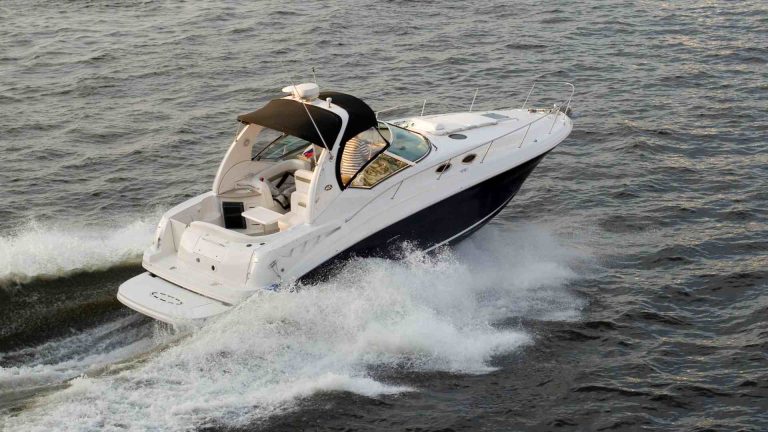
Owning a boat is a rewarding experience, offering endless opportunities for adventure and relaxation on the water. However, with ownership comes responsibility, and one of the most critical tasks for any boat owner is winterization. When temperatures drop and boating season ends, preparing your vessel for storage is essential to protect it from damage and ensure it’s ready for action when warm weather returns. Many boaters, particularly those new to the process, wonder if they can handle winterization themselves or if they should hire a professional. The good news? Yes, you can winterize your boat yourself—and this comprehensive guide will show you exactly how to do it.
Winterizing your boat isn’t just about convenience; it’s about safeguarding a significant investment. From preventing engine damage to avoiding costly repairs, a proper winterization process keeps your boat in top shape. Whether you’re in a cold climate with freezing winters or a milder region where you simply won’t use your boat for a while, this step-by-step approach will help you protect your vessel and maximize your time on the water next season. Let’s dive into why winterization matters, when it’s necessary, and how to tackle it like a pro.
Why Winterizing Your Boat Is Non-Negotiable
Boats are expensive, and neglecting winterization can lead to problems that hit both your wallet and your enjoyment. When water freezes, it expands—potentially cracking engine blocks, bursting pipes, or damaging the hull. Even in areas without hard freezes, condensation and degradation can wreak havoc on unprotected components. Winterization is your first line of defense against these issues, ensuring your boat emerges from storage in launch-ready condition.
Beyond protecting the boat itself, winterization enhances safety. A vessel that’s been properly maintained is less likely to suffer unexpected failures when you’re out on the water with friends or family. It also saves money in the long run by reducing the need for repairs caused by neglect. Think of it as an investment: a few hours of effort now can prevent days of frustration and thousands of dollars in fixes later.
Do You Need to Winterize Every Year?
Yes—winterization should be an annual ritual for most boat owners. If you live in a region where cold weather halts boating for more than a month, or if you plan to store your boat unused for an extended period, winterization is a must. Even in milder climates, a hard freeze can catch you off guard, making it wise to prepare regardless. Check your local weather patterns, but as a rule, if your boat won’t see action for a while, winterizing it is the safest bet.
DIY vs. Hiring a Professional: What’s Right for You?
One of the first decisions you’ll face is whether to winterize your boat yourself or enlist a professional. Both options have merit, and your choice depends on your comfort level, time, and expertise.
The Case for DIY Winterization
Winterizing your boat yourself is entirely doable with the right tools and guidance. It’s a cost-effective option that also gives you a deeper understanding of your vessel. By following a detailed checklist—like the one provided here—you can ensure every step is covered. Plus, once you’ve done it successfully, you’ll feel confident tackling it each year. All you need is a willingness to learn, some basic supplies, and a bit of patience.
When to Call a Pro
If you’re short on time, lack mechanical experience, or own a complex boat with systems you’re unfamiliar with, hiring a professional might be the better route. A reputable marina or boat technician can handle the job efficiently, ensuring no steps are missed. Costs vary—ranging from a few hundred to over a thousand dollars depending on your boat’s size and location—but the peace of mind can be worth it. If you go this route, choose a trusted expert and request a detailed report of the work performed.
Your 10-Step Guide to Winterizing Your Boat
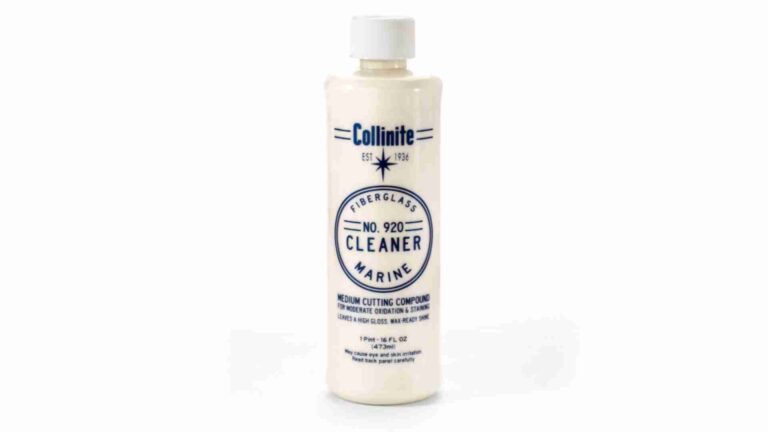
Ready to take on winterization yourself? Follow this expert-approved, 10-step process to protect your boat from top to bottom. Before you begin, gather your supplies: antifreeze (non-toxic for freshwater systems), fogging oil, lubricant, fuel stabilizer, soap, water-resistant grease, and a cover. Always consult your boat’s owner’s manual for model-specific instructions, as variations exist between inboard and outboard engines, stern drives, and other components.
Step 1: Consult the Owner’s Manual
Every boat is unique, and the manufacturer’s manual is your roadmap. Dig it out (or find a copy online via resources like Discover Boating) and review the winterization section. This ensures you’re following recommendations tailored to your vessel, from engine care to system drainage. Keep it handy throughout the process.
Step 2: Prepare an Inboard Engine
For boats with inboard engines, start by changing the oil and oil filters while the engine is warm—this makes drainage easier. Flush the engine with fresh water to remove salt and debris, then circulate antifreeze through the manifold as per the manual. Spray fogging oil into each cylinder to prevent corrosion, and wipe down the engine with a WD-40-soaked rag to displace moisture and protect metal surfaces.
Table 1: Inboard Engine Winterization Checklist
| Task | Purpose | Tools Needed |
|---|---|---|
| Change oil & filters | Remove contaminants | Oil, filter, wrench |
| Flush with fresh water | Clear salt/debris | Hose |
| Circulate antifreeze | Prevent freezing | Antifreeze, manual |
| Apply fogging oil | Protect cylinders from corrosion | Fogging oil |
| Wipe with WD-40 | Displace moisture | WD-40, rag |
Step 3: Prepare an Outboard Engine
For outboard motors, flush the engine with fresh water and let it drain completely. Wash the exterior with soap and water, rinsing thoroughly. Drain the carburetor (consult your manual), then apply fogging oil to pistons and cylinders. Lubricate moving parts with water-resistant grease, wax the exterior lightly, and change the gear oil in the lower unit.
Step 4: Inspect and Prep the Stern Drive
Whether your boat has an inboard or outboard engine, the stern drive needs attention. Inspect the lower unit, removing any barnacles or plant life. Check the rubber boot (if present) for cracks. Drain the gear case oil, looking for moisture that signals a leaky seal. Wash the exterior, grease all fittings, and check hydraulic fluid levels.
Step 5: Fill and Stabilize the Fuel Tank
Empty fuel tanks invite condensation, so fill them up before storage. Add a fuel stabilizer to prevent degradation, then replace the water separator and fuel filter. This keeps your fuel system clean and ready for next season.
Step 6: Clear the Bilge
Water in the bilge can freeze and cause damage. Empty it, clean with soap and water, and dry thoroughly. Spray with a moisture-displacing lubricant and add a small amount of antifreeze to trap any residual water.
Step 7: Drain Freshwater Systems
Drain water heaters, freshwater tanks, and plumbing completely. Pump non-toxic antifreeze through the system, running faucets and showers until antifreeze flows out. Add antifreeze to the water heater to finish.
Step 8: Clean and Empty the Head
Take your boat to an approved waste facility to pump out the holding tank. Flush the system with fresh water several times, then add antifreeze to the tank, hoses, macerator, and y-valve per the manual’s guidance.
Step 9: Process the Interior
Remove life jackets, electronics, flares, and other gear. Inspect and clean each item, replacing anything faulty. Clear out the fridge, freezer, and storage areas, then clean them. Prop cushions upright for airflow and add a dehumidifier or moisture-absorbing product to prevent mildew.
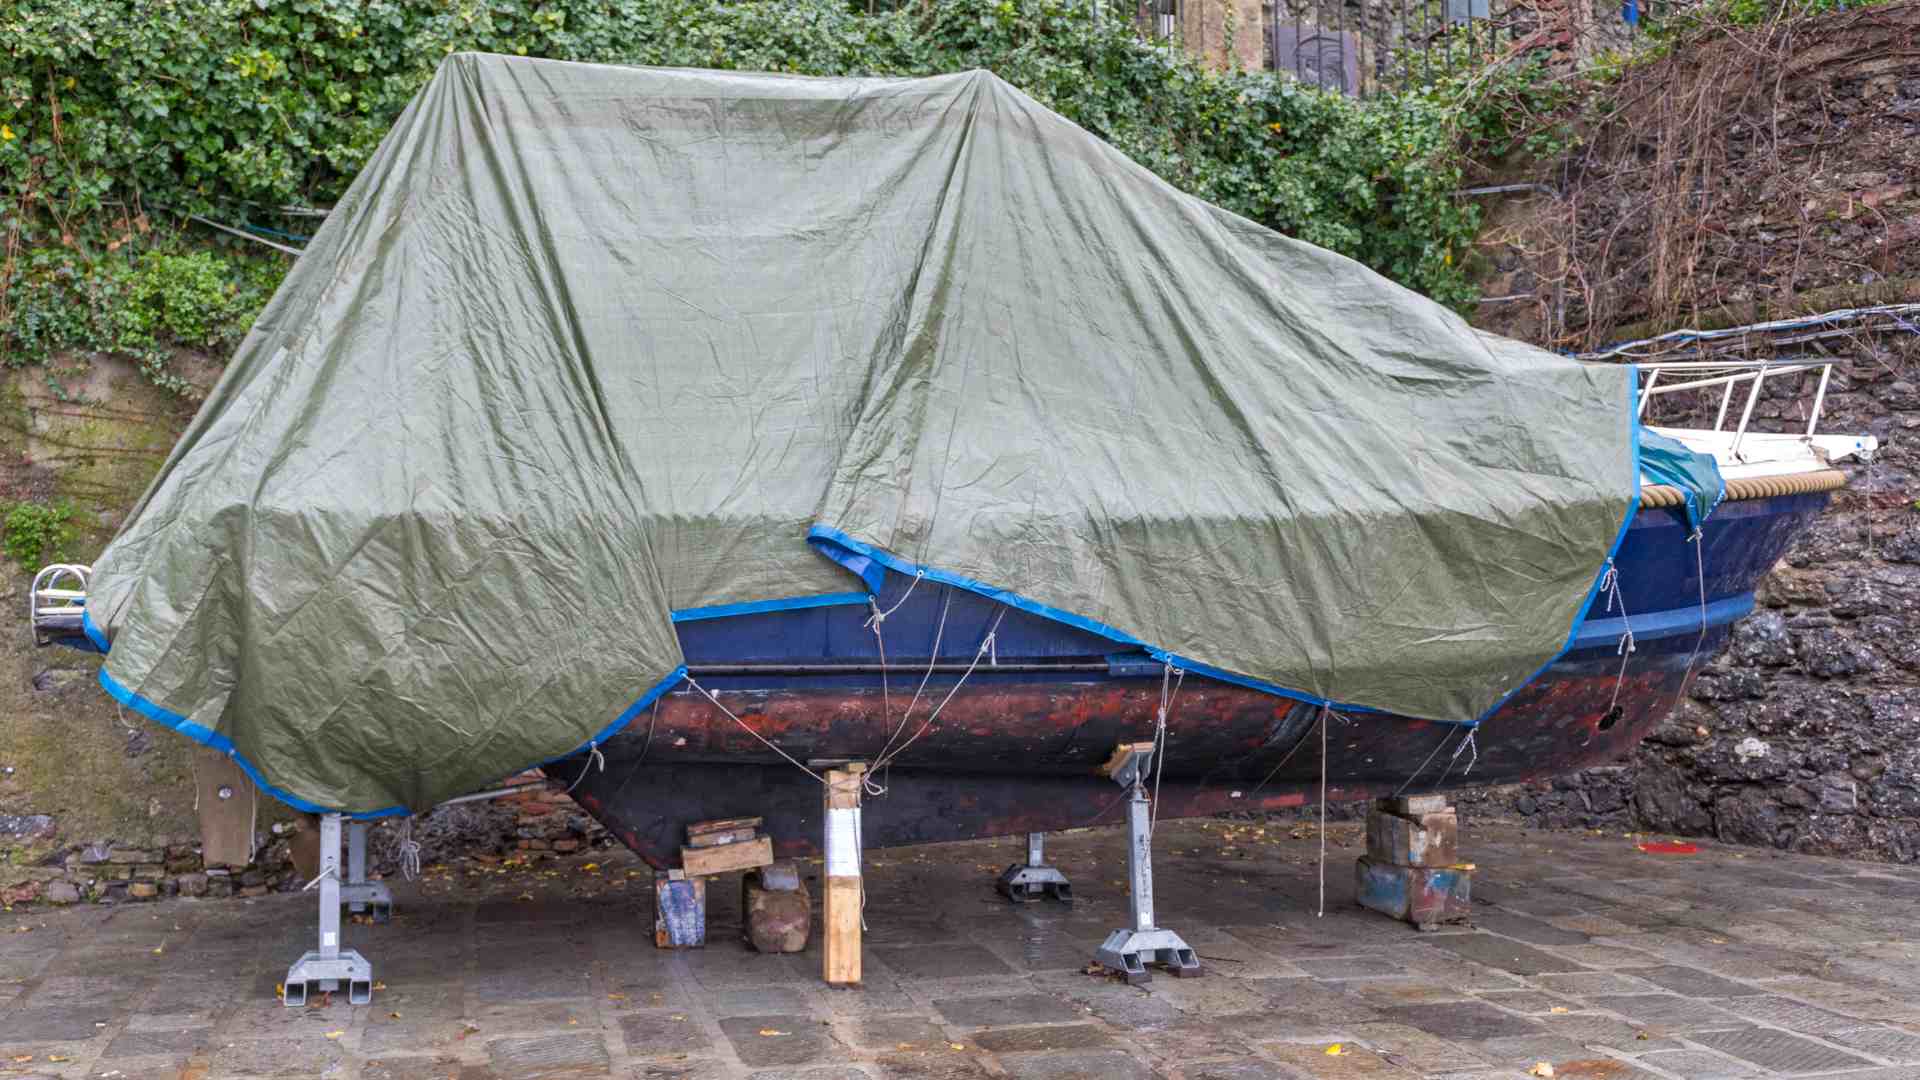
Step 10: Cover Your Boat
A good cover is your boat’s final shield. Tarps work, but shrink wrap offers superior protection by fitting snugly and sealing out the elements. Ensure the cover is secure and won’t flap loose in the wind.
Storage Options: In Water or Out?
Where you store your boat matters. Both in-water and out-of-water storage have pros and cons, so choose based on your needs and location.
Out-of-Water Storage
Lifting your boat out of the water protects it from ice, water damage, and sun exposure. Pressure wash the hull, clean props and shafts, remove batteries, and open seacocks to drain water. Dry storage keeps the interior pristine and simplifies spring prep.
In-Water Storage
Storing in the water lets you hit the waves faster when boating season returns. Close seacocks, fully charge the battery, and ensure bilge pumps and float switches work. Check the boat regularly—or confirm marina staff will—and use a de-icer if freezing is a risk.
Table 2: Storage Options Comparison
| Factor | Out-of-Water | In-Water |
|---|---|---|
| Protection from Ice | High | Moderate (with de-icer) |
| Ease of Spring Launch | Slower | Faster |
| Cost | Higher (lift/storage) | Lower (dock fees) |
| Maintenance Needed | Hull cleaning | System checks |
The Payoff: A Better Boating Season Ahead
Winterizing your boat isn’t the most glamorous task, but it’s a game-changer. By following these steps, you’ll avoid the heartbreak of finding cold-weather damage when spring arrives. You’ll also save on repairs, extend your boat’s lifespan, and enjoy more worry-free days on the water. For added confidence, consider an online boater safety course from providers like BOATERexam, which covers winterization and other essentials.
Whether you DIY or hire a pro, the key is to act before the cold sets in. With this guide, you’re equipped to winterize your boat yourself—proving that yes, you can do it. So grab your manual, roll up your sleeves, and get started. Your boat—and your future self—will thank you.
Happy Boating!
Share Yes You Can Winterize Your Boat Yourself: Do This with your friends and leave a comment below with your thoughts.
Read How to Winterize a Boat | Winterization Guide until we meet in the next article.