How To Winterize a Mooring (in 7 Easy Steps)
Winterizing a mooring is crucial to prevent damage from freezing temperatures and harsh weather. By following these seven steps, boat owners can ensure their mooring system remains in good condition, ready for spring, and protect their boats from costly repairs and complications.
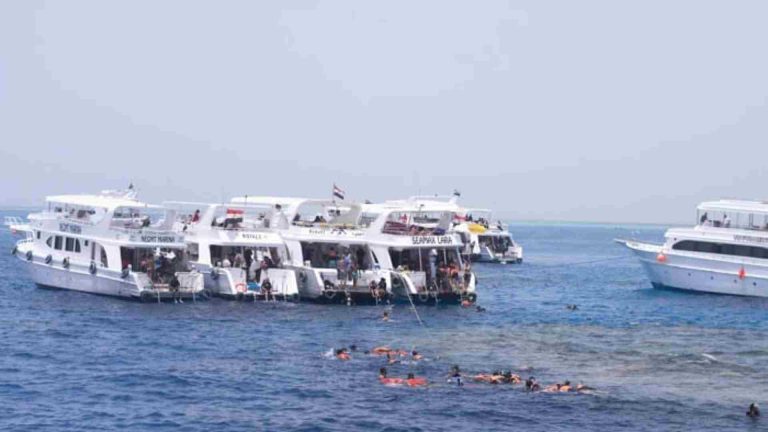
As the winter months approach, boat owners must take proactive steps to winterize their moorings. Moorings, the anchor points used to secure boats when docked or at rest, are often exposed to harsh weather conditions, freezing temperatures, and strong storms. Failing to properly winterize your mooring system can lead to costly repairs, damage to your vessel, and even environmental harm. By following these seven essential steps, you can safeguard your mooring and your boat.
1. Remove Your Boat
The first and most important step in winterizing your mooring is to remove your boat from the water. Storing your boat on land is the safest way to prevent damage caused by freezing water or strong winter storms. Depending on the type of boat and storage facility available, you can either store it in a boatyard, marina, or at home. For larger boats, ensure they are lifted and properly secured.
Before you remove the boat, inspect it thoroughly for any signs of wear and tear. This is a good opportunity to address any maintenance issues, ensuring that your boat is ready for the spring.
2. Inspect and Clean Your Mooring Gear
Next, inspect all mooring equipment for any signs of damage or excessive wear. This includes the chain, line, buoy, anchors, and any other components that are part of your mooring system. Look for rust, corrosion, or chafing, as these can weaken your gear and cause failure.
Cleaning is essential for all components. Use fresh water to rinse off salt, dirt, and grime, especially if your mooring gear is in a saltwater location. Salt and dirt can degrade the materials over time, so thorough cleaning will extend the lifespan of your equipment.
3. Replace Damaged Components
Once you’ve cleaned and inspected your mooring system, replace any damaged components. Even small issues, like a fraying line or corroded chain, can cause serious problems during winter storms or freezing temperatures.
If you notice that your mooring buoy is cracked or damaged, it’s crucial to replace it. Buoys need to remain buoyant, and even a small crack can cause it to sink, leading to your boat becoming unmoored. Check the mooring line for any signs of fraying or deterioration. Lines made of synthetic materials like nylon or polyester are typically durable but can degrade with time.
4. Secure and Protect Your Mooring Lines
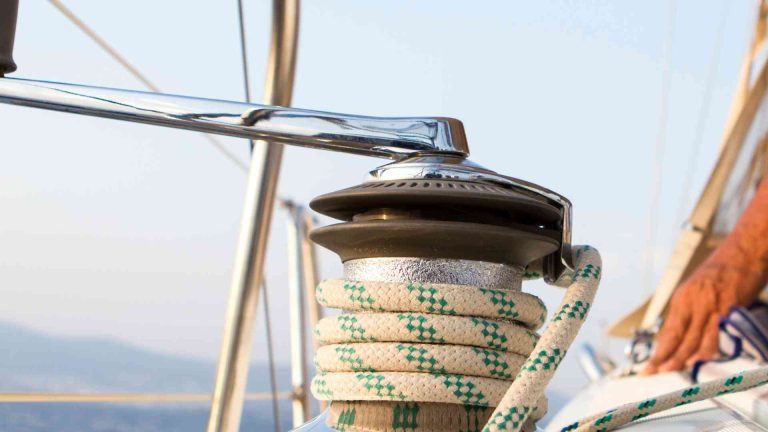
In preparation for winter, you’ll need to protect your mooring lines. First, ensure they are properly stored and secured to prevent them from becoming tangled or damaged by the elements. Tie them to the mooring cleat or other secure attachment points on your boat or dock.
Consider using a chafing sleeve or protective covering for the mooring line to protect it from abrasion and damage caused by constant movement, wind, and waves. These sleeves act as a buffer between the line and rough surfaces, helping it last longer.
5. Anchor Inspection and Reinforcement
Inspect your anchor(s) to ensure they are firmly embedded in the seabed and can withstand harsh winter storms. The anchor is the foundation of your mooring system, and any weakness in this area can lead to a boat breaking loose. If you’re using a traditional fluke or mushroom anchor, make sure they are clear of any debris, seaweed, or other obstacles that might interfere with their function.
Consider adding extra weight or reinforcement to your anchor system for added security. Some boaters use a second backup anchor or larger chain in colder climates to ensure their boat is held securely.
6. Check Buoyancy and Floatation
Your mooring buoy needs to remain afloat and visible at all times. Over time, mooring buoys can lose buoyancy due to leaks or damage. Inspect the buoy carefully for cracks, holes, or signs of wear. If the buoy is not in good condition, replace it with a new one before the weather turns cold.
Additionally, ensure the buoy is properly marked with reflective tape or a visible color so that it’s easy to spot in low visibility conditions, especially when ice or snow is present.
7. Monitor Ice Formation and Adjust as Needed
In colder climates, one of the most important aspects of winterizing a mooring is managing ice. Ice can cause significant stress on your mooring lines and anchors, and if left unchecked, it can lead to broken lines or a completely dislodged mooring system.
If ice is expected in your area, consider using ice protection gear, such as ice anchors, or adjust your mooring lines to accommodate for ice movements. Some boaters even raise the mooring system slightly above the waterline during winter to prevent it from being damaged by ice formation. If this is not possible, monitor the ice regularly and adjust your lines as needed to ensure they are not too tight or too loose.
Conclusion
Winterizing your mooring is a critical task for any boat owner who wants to protect their vessel and equipment through the cold months. By removing your boat from the water, inspecting and cleaning your mooring gear, replacing damaged components, and taking steps to prevent ice damage, you can ensure that your mooring system will stand up to winter’s harsh conditions. Following these seven steps will save you time, effort, and money when it’s time to get back out on the water in the spring.
Happy Boating!
Share How To Winterize a Mooring (in 7 Easy Steps) with your friends and leave a comment below with your thoughts.
Read How To Use Your Mainsheet Traveler (The Right Way) until we meet in the next article.