Creative Ideas for Trolling Motor Mounts
Trolling motor mounts are the unsung heroes of boating and fishing, providing stability, control, and maneuverability on the water. While standard mounts get the job done, innovative and creative designs can transform your boating experience, making it more efficient, aesthetically pleasing, and tailored to your specific needs. This comprehensive guide explores the essentials of trolling motor mounts, dives into creative design ideas, and offers practical tips for installation and maintenance. Whether you’re a seasoned angler or a weekend boater, these ideas will inspire you to rethink your trolling motor mount setup.
Understanding Trolling Motor Mounts
Trolling motor mounts secure the motor to the boat, allowing for easy adjustments in raising, lowering, and positioning for optimal performance. A well-designed mount ensures stability, reduces vibrations, and enhances the longevity of both the motor and the boat. Before exploring creative ideas, let’s break down the basics and importance of trolling motor mounts.
Types of Trolling Motor Mounts
Trolling motor mounts come in three primary configurations, each suited to different boat types and use cases:
- Bow Mounts: Attached to the front of the boat, bow mounts are favored by anglers for their superior maneuverability. They allow precise navigation through tight spaces and are ideal for fishing from the bow.
- Transom Mounts: Mounted on the rear of the boat, transom mounts are versatile and suitable for boats with limited deck space. They can be adjusted for angle and depth, optimizing performance based on water conditions.
- Engine Mount Motors: Integrated into the boat’s main engine, these mounts offer a compact, seamless solution for larger boats or those with specialized designs.
Choosing the right mount depends on your boat’s size, weight, and intended use. For example, larger boats may require more robust mounts, while smaller vessels benefit from lightweight, compact options.
Why a Good Trolling Motor Mount Matters
A high-quality trolling motor mount offers several benefits:
- Stability: Reduces vibrations for smoother operation.
- Durability: Minimizes wear and tear on the motor and boat.
- Control: Enhances maneuverability, allowing precise movements.
- Focus: Lets you concentrate on fishing or enjoying the water without worrying about motor performance.
Investing in a reliable mount not only improves your boating experience but also saves time and money by extending equipment lifespan.
Innovative Trolling Motor Mount Designs
Standard mounts are functional, but creative designs can elevate both performance and aesthetics. Here, we explore customized, DIY, and removable mount ideas, drawing inspiration from boating communities and user experiences.
Customized Trolling Motor Mounts
Customized mounts are tailored to your boat and motor, offering a perfect fit and enhanced functionality. By working with a marine fabricator, you can design a mount that integrates seamlessly with your boat’s aesthetics and meets specific requirements.
Benefits of Customized Mounts:
- Precision Fit: Ensures optimal stability and performance.
- Aesthetic Integration: Complements your boat’s design.
- Additional Features: Can include storage, sonar mounts, or other accessories.
For example, a user on a boating forum needed a mount for a Minn Kota 36V GPS trolling motor on a 22-foot Competition boat. The dealer proposed a stainless steel bracket extending a few inches past the bow to clear the motor when deployed. However, the user was concerned about the bracket’s appearance and permanence. A customized solution could address this by incorporating a sleek, low-profile design or a retractable mechanism.
Cost: Custom mounts typically range from $200 to $1,000, depending on complexity and materials.
DIY Trolling Motor Mount Ideas
DIY mounts are perfect for hands-on boaters looking to save money and personalize their setup. Online forums like Reddit’s r/Pontoons and TinBoats.net are treasure troves of DIY inspiration, with users sharing creative solutions using accessible materials.
Popular DIY Ideas
- Plywood Platforms:
- Materials: 3/4-inch marine-grade plywood, epoxy, and outdoor carpet.
- Process: Cut plywood to fit the bow, notch around existing plates, and seal with epoxy for durability. Carpet the surface for aesthetics and grip.
- Example: A TinBoats.net user created a plywood platform for a 16-foot Alumacraft, mounting the trolling motor off-center to avoid snagging docks. The platform was secured over the gunnels with rivnuts and reinforced with an angle brace.
- Aluminum Plates:
- Materials: 1/4-inch aluminum plate, rivets, and rubber gaskets.
- Process: Cut the plate to size, rivet it to the gunnels, and add a backing plate for stability. Use gaskets to prevent rattling.
- Example: A Boston Whaler owner used a three-piece aluminum mount, tacked together by a welder to fit the boat’s slanted deck, ensuring a level surface for the trolling motor.
- Repurposed Materials:
- Materials: Cutting boards, starboard, or recycled boat parts.
- Process: Shape the material to fit the mounting area and secure it with bolts or clamps.
- Considerations: Starboard, while popular, may flex under heavy loads. Aluminum or stainless steel is preferred for high-thrust motors.
Cost: DIY mounts range from $50 to $200, depending on materials and tools.
DIY Challenges and Solutions
- Flexing: Reinforce plywood with hardwood or use thicker aluminum.
- Alignment: Use cardboard templates to ensure a precise fit.
- Durability: Seal wood with epoxy and use corrosion-resistant hardware for longevity.
Removable and Sliding Mounts
For boaters who want flexibility, removable or sliding mounts are game-changers. These designs allow the trolling motor to be stored or retracted when not in use, keeping the bow clear for other activities like tubing.
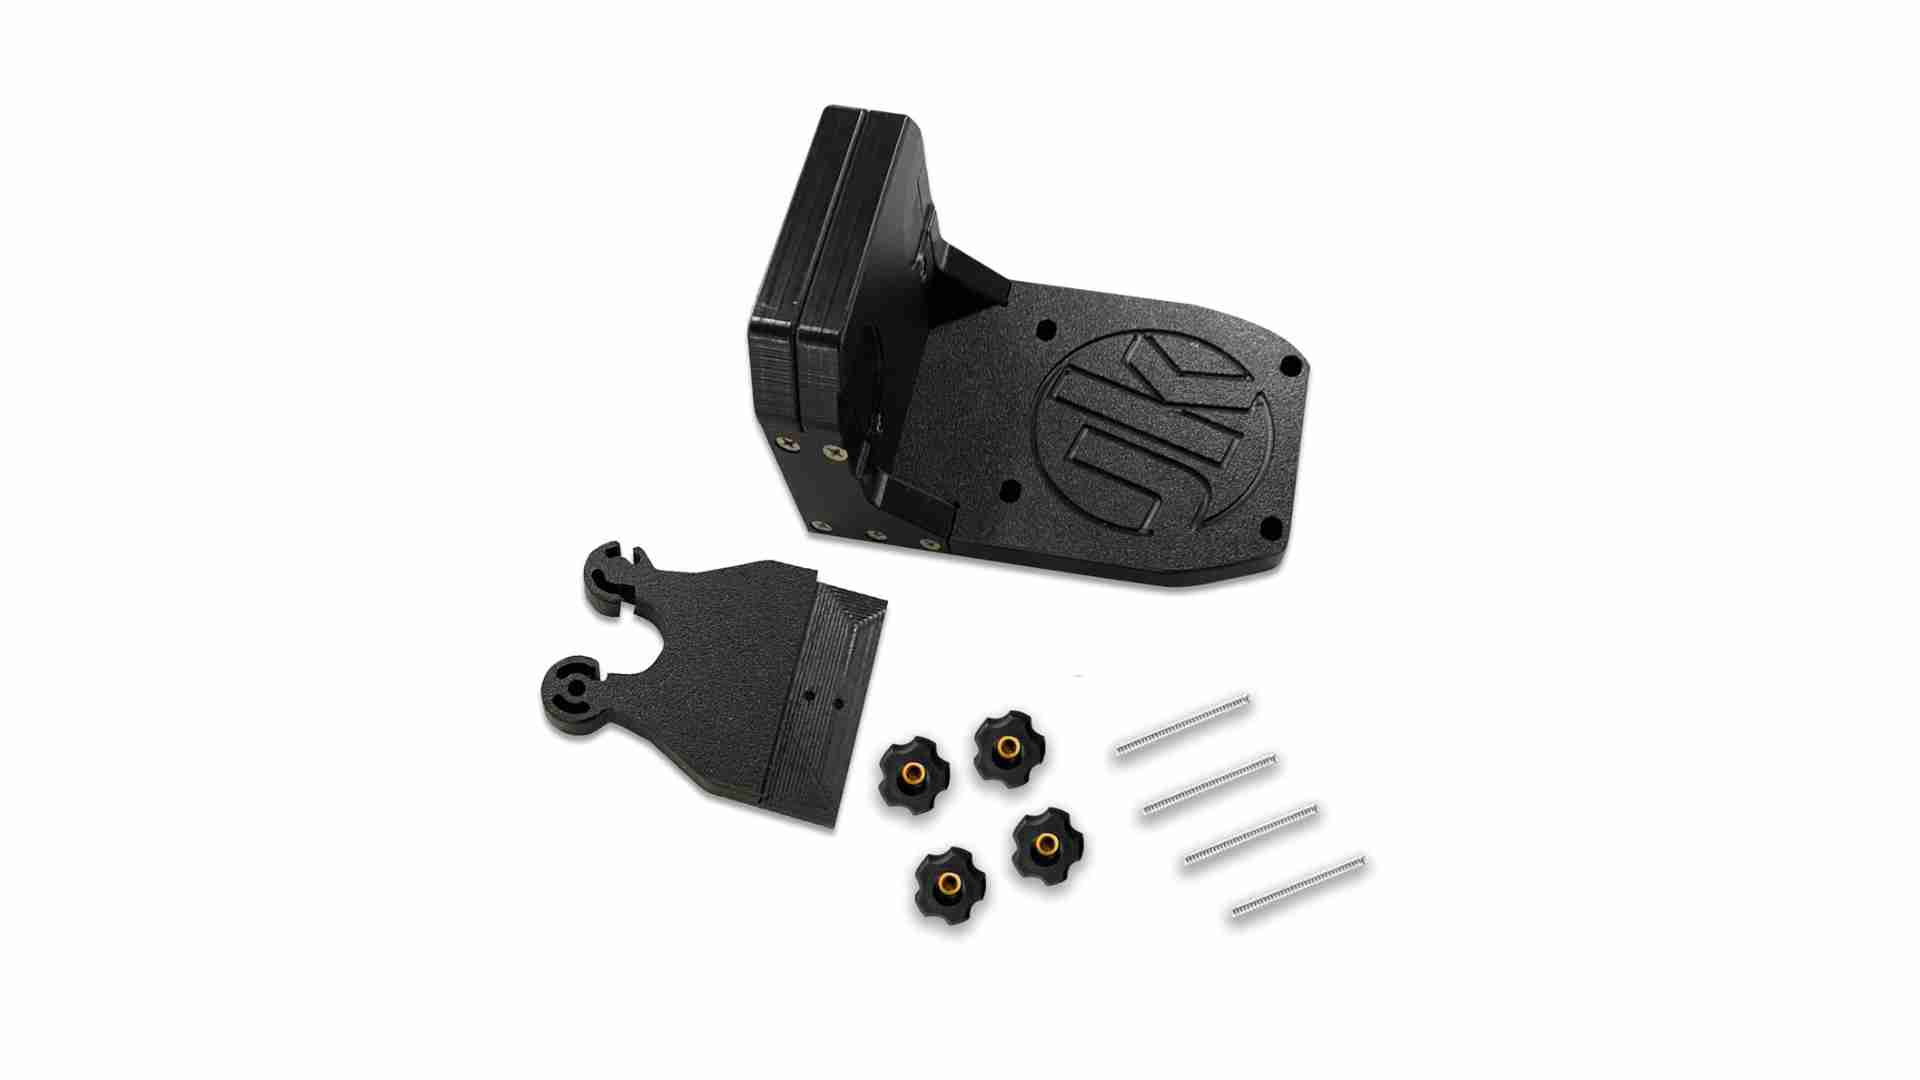
ShuttleSlide Mount
The ShuttleSlide (available at shuttleslide.com) is a commercially available sliding mount that extends the trolling motor past the bow when deployed and retracts it when stowed. It’s ideal for boats where permanent brackets would obstruct the bow.
Specifications:
- Material: Aluminum or stainless steel.
- Compatibility: Works with Minn Kota and other major brands.
- Price: $300–$500.
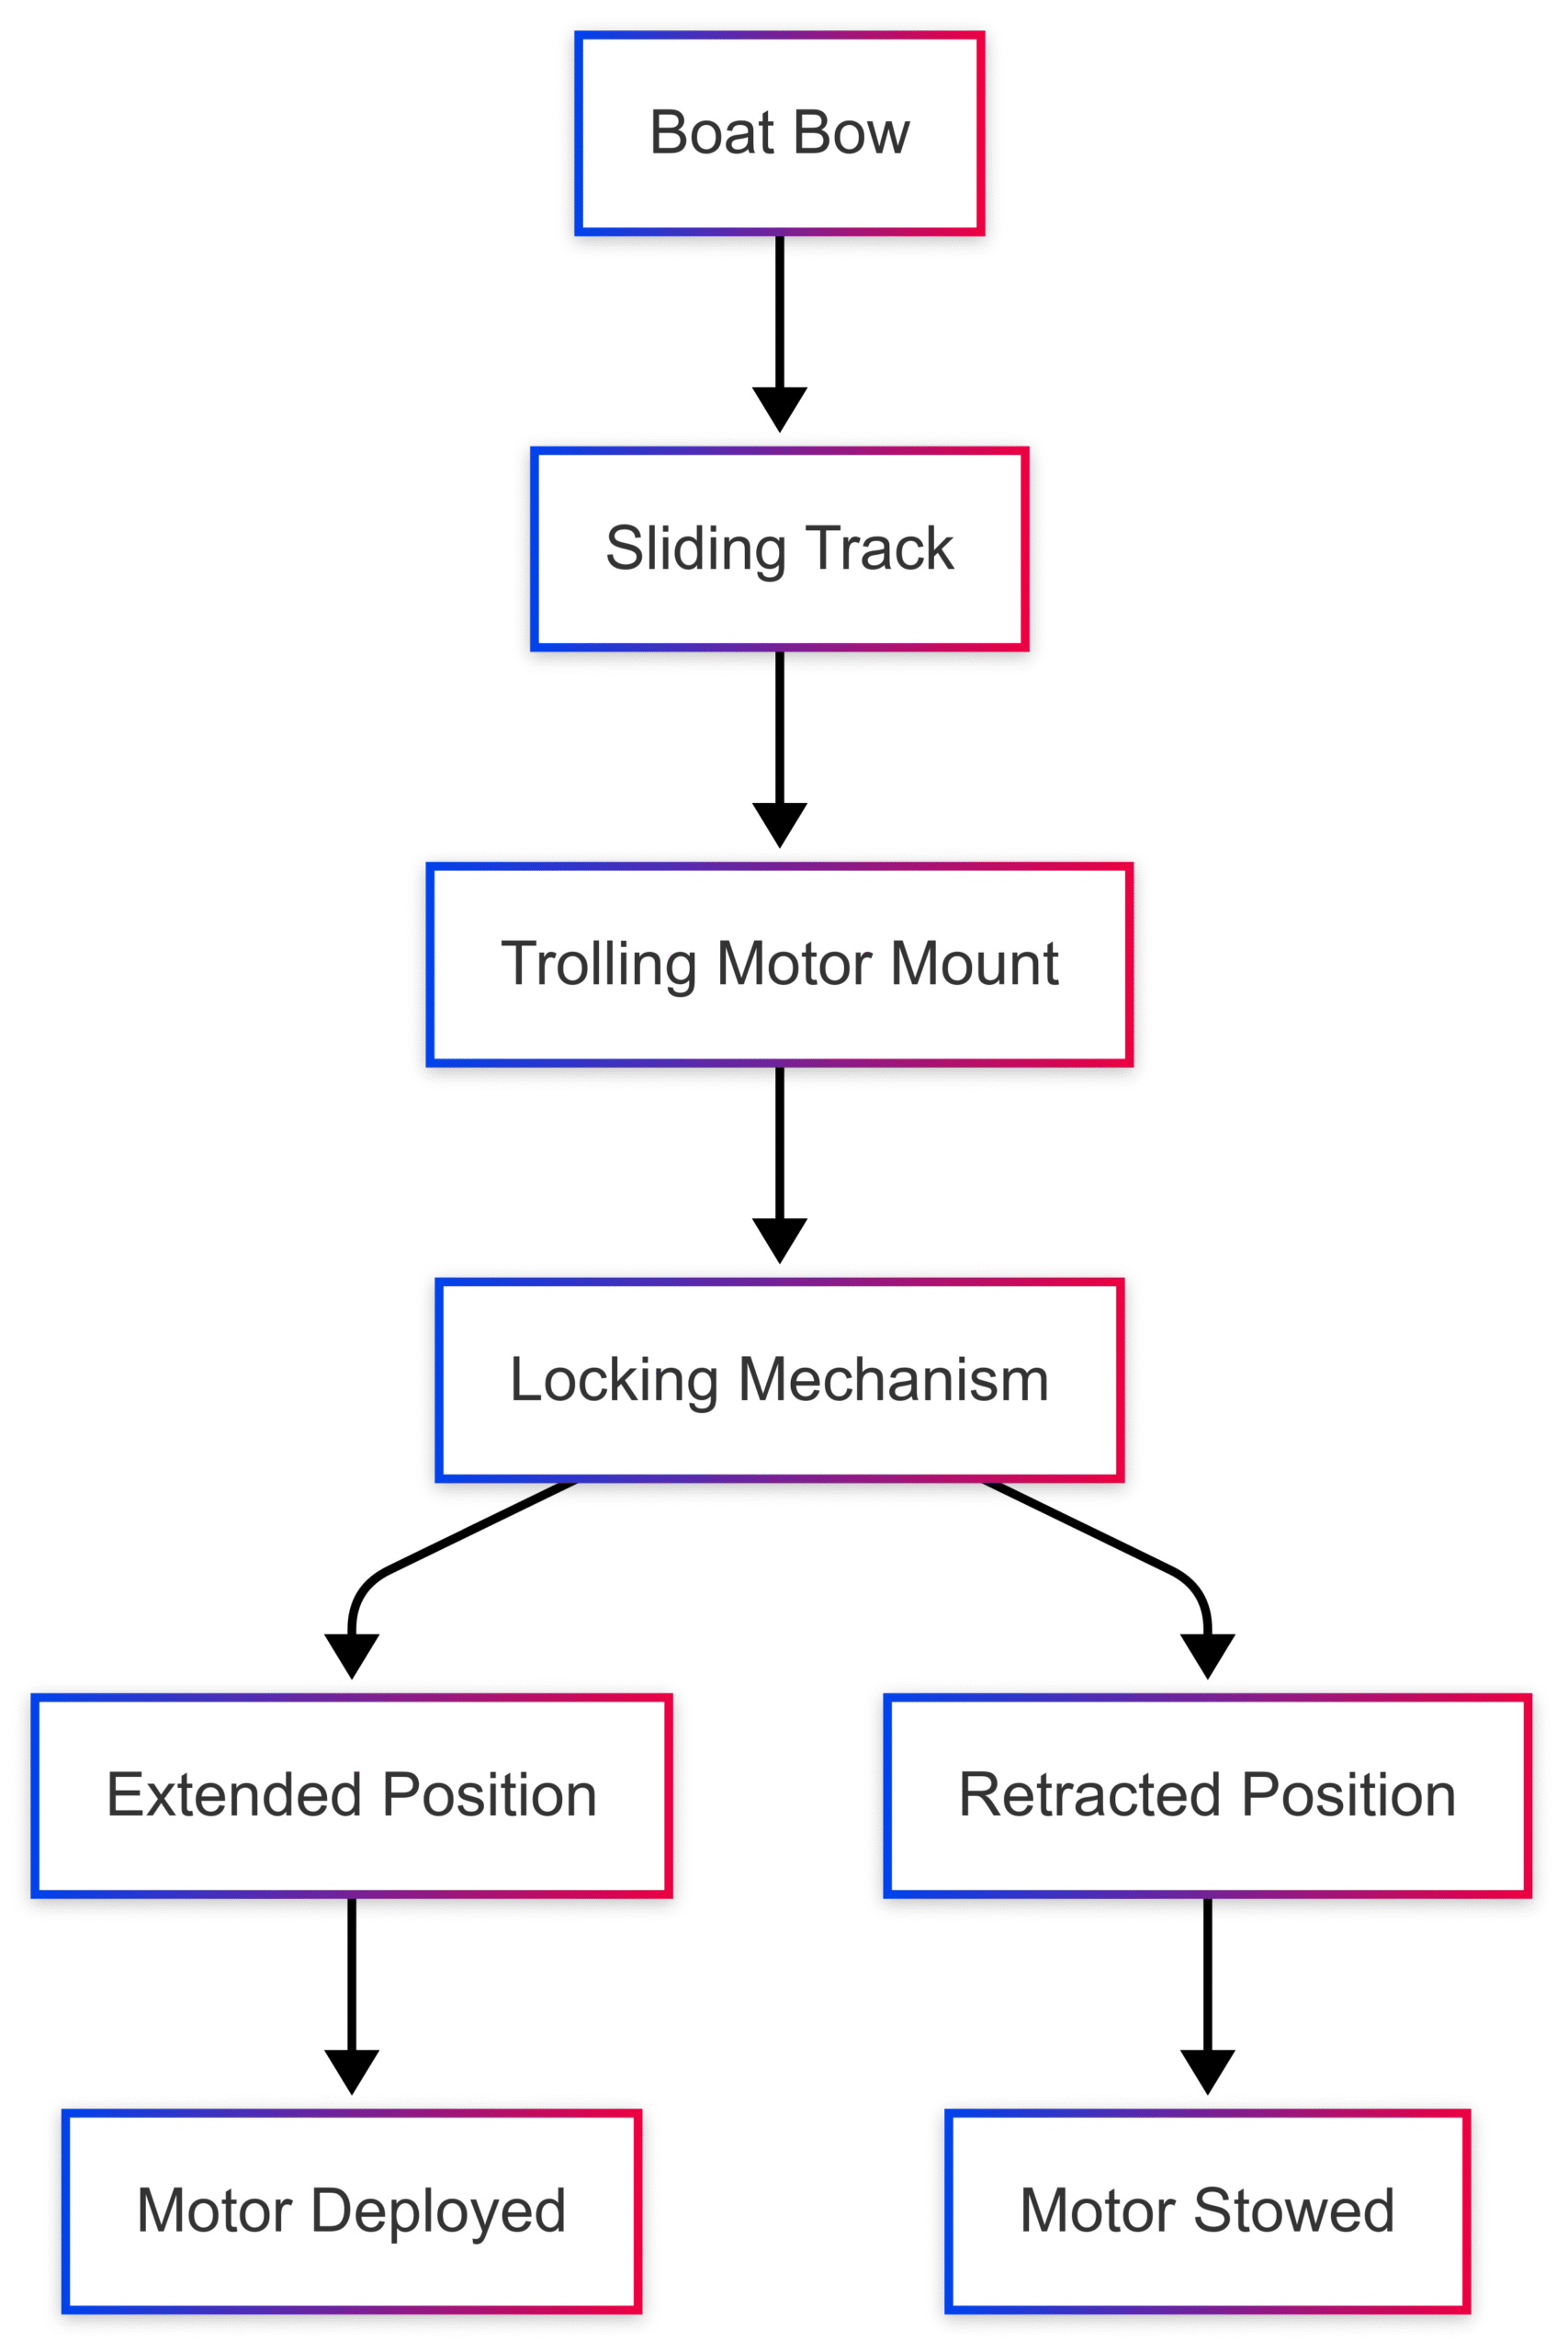
Mermaid Diagram: Below is a conceptual design of a sliding mount system.
Quick-Release Mounts
Quick-release mounts, like the Minn Kota RTA-17 ($36.99–$39.99), use a puck system with four bolts (instead of six) for easy installation and removal. They’re ideal for boats with limited flat surfaces.
User Insight: A forum user noted that while four bolts are sufficient for removable mounts, ensuring a flat, level surface is critical to prevent motor loss.
Cost: $30–$50 for basic models.
Material Choices for Trolling Motor Mounts
The material of your trolling motor mount affects its performance, durability, and environmental impact. Here’s a breakdown of common materials, their pros and cons, and sustainability considerations.
Material Comparison
| Material | Pros | Cons | Price Range (per mount) |
|---|---|---|---|
| Aluminum | Lightweight, corrosion-resistant | May flex under heavy loads | $50–$200 |
| Stainless Steel | Strong, durable, rust-resistant | Heavier, more expensive | $100–$500 |
| Composite | Lightweight, corrosion-resistant | Higher cost, less common | $150–$400 |
| Plywood | Affordable, easy to work with | Requires sealing, less durable | $20–$100 |
User Feedback: A forum user advised against starboard for high-thrust motors due to flexing, recommending aluminum with a backing plate for stability.
Sustainability Considerations
- Recyclable Materials: Aluminum and stainless steel are fully recyclable, reducing environmental impact.
- Sustainable Sourcing: Opt for marine-grade plywood from certified sustainable forests.
- Maintenance: Regular cleaning and proper disposal of old mounts minimize ecological harm.
Installation Tips for Trolling Motor Mounts
Proper installation is critical for safety and performance. Follow these steps to ensure a secure mount.
Pre-Installation Checklist
- Tools: Drill, screwdriver, wrenches, level, and measuring tape.
- Materials: Mount, hardware (bolts, screws, washers), and backing plate.
- Preparation: Verify compatibility with your motor and boat. Review manufacturer guidelines.
Step-by-Step Installation Guide
- Positioning: Choose a location based on boat size and weight distribution. For bow mounts, ensure the motor clears the bow when deployed.
- Preparation: Clean the mounting area and reinforce it if needed (e.g., with a backing plate).
- Alignment: Level the mount using a spirit level and align it with pre-drilled holes or mark new ones.
- Installation: Secure the mount with corrosion-resistant bolts, tightening to manufacturer specifications.
- Motor Attachment: Attach the trolling motor, ensuring proper alignment and secure connections.
- Testing: Test the motor on land to confirm smooth operation and stability.
Pro Tip: For boats with curved bows, use a cardboard template to mock up the mount, as suggested by a TinBoats.net user.
Maintenance and Care for Trolling Motor Mounts
Regular maintenance extends the life of your mount and ensures consistent performance.
Maintenance Tips
- Inspection: Check for loose bolts, wear, or corrosion monthly.
- Cleaning: Rinse with fresh water after saltwater use to remove residue.
- Lubrication: Apply marine-grade lubricant to moving parts as recommended.
- Storage: Remove removable mounts during off-season storage to prevent damage.
Troubleshooting Common Issues
- Vibrations: Tighten loose bolts or add rubber gaskets.
- Flexing: Reinforce with a backing plate or switch to a stronger material.
- Misalignment: Re-level the mount and check bolt torque.
Case Studies: Real-World Trolling Motor Mount Solutions
Case Study 1: Alumacraft Bow Mount
A TinBoats.net user wanted to mount a 12V trolling motor on a 16-foot Alumacraft without removing the convex bow plate. They used a 3/4-inch plywood platform, carpeted for aesthetics, and notched it around the plate. The motor was mounted off-center to avoid dock snags, with an angle brace for stability.
Outcome: The mount was solid, cost-effective ($80), and durable after epoxy sealing.
Case Study 2: Boston Whaler Aluminum Mount
An owner of a 17-foot Boston Whaler created a three-piece aluminum mount to fit the slanted deck. A welder tacked the pieces together, adjusting for compound angles, and finished with a Minn Kota quick-release base.
Outcome: The mount was level, robust, and cost $250, including welding.
Case Study 3: Glastron Removable Mount
A boater with a Glastron bowrider wanted a removable mount without drilling. They considered using the bow handrails but opted for a quick-release plate with well nuts, extending the motor 7–10 inches past the bow.
Outcome: The solution was non-invasive, costing $40, but required careful alignment to prevent torque issues.
Conclusion
Trolling motor mounts are more than just functional components—they’re opportunities to enhance your boating experience through creativity and innovation. From customized stainless steel brackets to DIY plywood platforms and sliding ShuttleSlide mounts, the possibilities are endless. By choosing the right materials, following proper installation techniques, and maintaining your mount, you can ensure years of reliable performance on the water.
Whether you’re inspired by forum users’ ingenuity or ready to invest in a custom solution, a well-designed trolling motor mount will elevate your fishing and boating adventures. Explore these ideas, experiment with your own designs, and make your trolling motor mount a standout feature of your boat.
Happy Boating!
Share KeelGuard vs. KeelShield with your friends and leave a comment below with your thoughts.
Read Comparing Minn Kota Digital and Precision Chargers until we meet in the next article.