Maintaining Trim and Tilt Fluid in Yamaha Outboard Motor
Having a well-maintained trim and tilt system is essential for every Yamaha outboard motor owner who values smooth and efficient boat maneuverability. This article aims to shed light on the crucial aspect of maintaining and servicing the trim and tilt fluid in your Yamaha outboard motor.
The trim and tilt system is the unsung hero of your boating experience, silently working to adjust the motor’s angle, allowing you to navigate various water conditions with ease. Yet, it’s often overlooked until issues arise. In this comprehensive guide, we will delve into the roles this vital fluid plays, explain the telltale signs of fluid-related problems, and walk you through essential maintenance steps to keep your trim and tilt system performing optimally. Moreover, we’ll emphasize safety precautions to ensure that you undertake these maintenance tasks with confidence and peace of mind. So, whether you’re a seasoned boater or new to the world of Yamaha outboard motors, read on to learn how proper trim and tilt fluid care can elevate your boating adventures.
The Significance of Trim and Tilt Systems
Trim and tilt systems in Yamaha outboard motors play a pivotal role in ensuring optimal performance and boat control while navigating various water conditions. These systems allow boaters to adjust the angle of the outboard motor, which can significantly impact the overall handling and efficiency of the boat.
The significance of trim and tilt systems can be summed up in several key points:
- Adjustability: Trim and tilt systems enable boaters to fine-tune the angle of the outboard motor in relation to the boat’s transom. This adjustment is crucial for optimizing boat performance under different circumstances.
- Improved Efficiency: Properly trimming the outboard motor can enhance the boat’s fuel efficiency. By finding the right trim angle, boaters can reduce drag and resistance in the water, ultimately saving on fuel costs.
- Enhanced Maneuverability: Trim and tilt systems provide greater control over the boat’s handling. Adjusting the motor’s angle can make it easier to steer, especially in choppy waters or when carrying varying loads.
- Safety: Maintaining the correct trim angle can help prevent common safety issues like porpoising (where the bow repeatedly bounces up and down) or broaching (where the boat loses control in waves). Proper trim contributes to a smoother and safer ride.
- Adaptation: Different water conditions, boat loads, and speeds require varying trim angles. Trim and tilt systems allow boaters to adapt quickly to changing circumstances for a more comfortable and enjoyable experience on the water.
In essence, the trim and tilt system is the secret to unlocking the full potential of your Yamaha outboard motor, making it a vital component for every boater to understand and maintain.
Understanding Trim and Tilt Fluid
Trim and tilt fluid is a critical component of the hydraulic system that controls the angle of Yamaha outboard motors. It plays a crucial role in facilitating the movement of hydraulic cylinders, allowing boaters to adjust the outboard motor’s angle. Here’s a breakdown of how trim and tilt fluid functions in the system:
- Hydraulic Pressure: Trim and tilt systems rely on hydraulic pressure to move the hydraulic cylinders. These cylinders are responsible for raising or lowering the outboard motor. When hydraulic fluid is pressurized and pushed into the cylinders, it extends or retracts the cylinder’s rod, thereby changing the motor’s angle.
- Smooth Adjustment: The hydraulic fluid ensures that the adjustment of the outboard motor is smooth and precise. It provides the necessary force to move the hydraulic cylinders, making it easier for boaters to trim the motor to the desired angle with minimal effort.
- Lubrication and Cooling: Trim and tilt fluid also serves as a lubricant, reducing friction within the hydraulic system components. Additionally, it helps dissipate heat generated during the hydraulic cylinder’s operation, preventing overheating and potential damage.
- Seal Protection: Proper trim and tilt fluid levels and quality are essential to maintain the integrity of hydraulic seals and prevent leaks. High-quality fluid helps extend the life of seals and ensures the hydraulic system remains sealed and operational.
- Consistency: Maintaining the correct trim and tilt fluid consistency is crucial for consistent and reliable performance of the trim and tilt system. Inconsistent or contaminated fluid can lead to erratic operation or damage to system components.
In summary, trim and tilt fluid is a hydraulic fluid that enables the precise adjustment of Yamaha outboard motors’ angles. It’s essential to ensure that the fluid is at the proper level and of the recommended quality to guarantee the smooth and efficient operation of the trim and tilt system. Regular maintenance and monitoring of the fluid are key to reliable boating experiences.
Signs of Trim and Tilt Fluid Issues
Recognizing signs of trim and tilt fluid issues in a Yamaha outboard motor is essential for timely maintenance and preventing further damage. Here are common symptoms that may indicate problems with the trim and tilt fluid:
- Slow or Erratic Movement: When the trim and tilt system operates slower than usual or exhibits erratic movement, it can indicate low fluid levels, air bubbles in the system, or fluid contamination. This may result in difficulty adjusting the outboard motor’s angle smoothly.
- Strange Noises: Unusual noises such as grinding, whining, or groaning when operating the trim and tilt system can suggest problems with the fluid or hydraulic components. These noises may indicate air in the system, worn seals, or insufficient fluid levels.
- Leakage: Visible fluid leakage around the trim and tilt system components, particularly around the hydraulic cylinders or hoses, is a clear sign of a fluid leak. Leaks can result in reduced fluid levels, affecting the system’s performance and potentially leading to damage.
- Difficulty Controlling Angle: If you experience difficulty controlling or maintaining the outboard motor’s angle, it may be due to fluid-related issues. This can result in poor boat maneuverability and safety concerns.
- Inconsistent Operation: An inconsistent response when operating the trim and tilt controls can be a symptom of fluid problems. The system may not hold the selected angle or may require multiple adjustments to achieve the desired position.
- Overheating: Overheating of the trim and tilt system components, including the hydraulic cylinders, may be a result of insufficient or contaminated fluid. Elevated temperatures can lead to damage and reduced system efficiency.
- Warning Alarms: Some Yamaha outboard motors are equipped with warning alarms that may activate in response to fluid-related issues. If you hear warning alarms, it’s essential to investigate and address the problem promptly.
Recognizing these signs and promptly addressing trim and tilt fluid issues is crucial to maintain the functionality and safety of your outboard motor. Ignoring these symptoms can lead to more extensive and costly repairs down the line. Regular inspections and maintenance of the trim and tilt system can help prevent fluid-related problems and ensure smooth boat operation.
Step-By-Step Guide on How to Check and Maintain the Trim and Tilt Fluid in Your Yamaha Outboard Motor
Proper maintenance of the trim and tilt fluid in your Yamaha outboard motor is essential for smooth and reliable operation. Here’s a step-by-step guide on how to check and maintain the trim and tilt fluid:
Tools and Materials Needed:
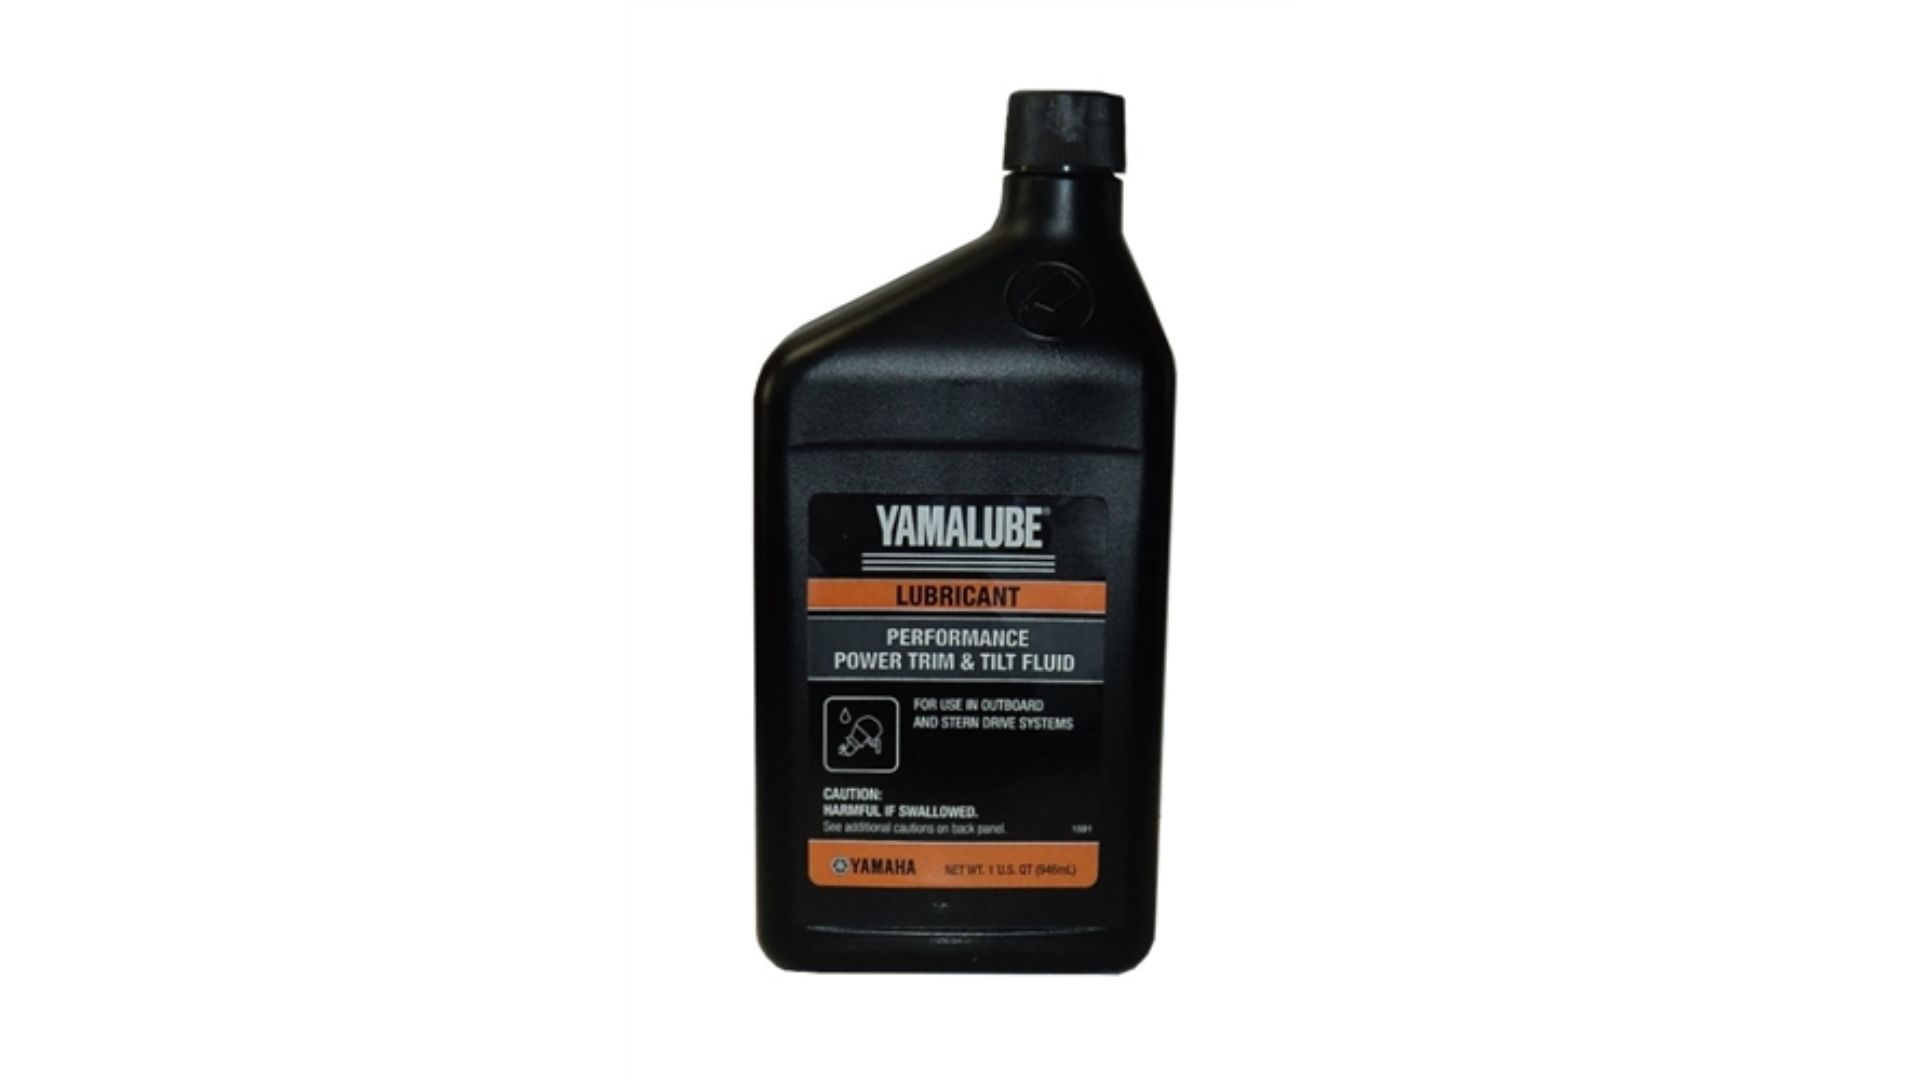
- Trim and tilt fluid (recommended by Yamaha)
- Clean cloth or paper towel
- Funnel (if necessary)
Maintenance Steps:
- Locate the Reservoir: The trim and tilt reservoir is typically located on the outboard motor’s power trim and tilt unit. It is a cylindrical or rectangular container with a removable cap or dipstick. Refer to your outboard motor’s owner’s manual for the exact location and appearance of the reservoir.
- Ensure the Outboard is in a Vertical Position: For accurate fluid level measurement, make sure the outboard motor is in a fully vertical position. This means the boat should be out of the water, and the motor should be in its lowest position, parallel to the transom.
- Clean the Reservoir Cap or Dipstick: Before opening the reservoir, use a clean cloth or paper towel to wipe the cap or dipstick clean. This prevents any dirt or debris from contaminating the fluid when you check the level.
- Check the Fluid Level: Remove the reservoir cap or dipstick and check the fluid level. The dipstick will have markings indicating the acceptable fluid level range. Ensure that the fluid level falls within this range. If it is below the minimum mark, you will need to add fluid.
- Add Fluid (If Needed): To add trim and tilt fluid, use the appropriate type recommended by Yamaha. Insert a funnel into the reservoir opening (if necessary) and pour the fluid slowly to avoid spills. Recheck the fluid level to ensure it is within the acceptable range.
- Secure the Cap or Dipstick: After verifying the fluid level, securely reattach the reservoir cap or dipstick. Ensure it is properly sealed to prevent any fluid leaks.
- Dispose of Used Fluid Properly: If you had to remove any excess fluid from the reservoir, make sure to dispose of it properly according to local environmental regulations.
- Test the Trim and Tilt System: With the outboard motor in the vertical position, test the trim and tilt system to ensure it operates smoothly and without any unusual noises. Check for any signs of leakage around the reservoir or hydraulic components.
- Record Maintenance: Keep a record of the date and details of your trim and tilt fluid maintenance. This will help you track when the next check and maintenance should occur.
Regularly checking and maintaining the trim and tilt fluid in your Yamaha outboard motor ensures that the system functions correctly, promoting safe and efficient boating. Always refer to your specific outboard motor’s owner’s manual for model-specific recommendations and guidelines regarding fluid type and maintenance intervals.
Regular Fluid Replacement as Part of Trim and Tilt System Maintenance.
Regular fluid replacement is a crucial aspect of trim and tilt system maintenance in your Yamaha outboard motor. Over time, the trim and tilt fluid may become contaminated or degrade, affecting the system’s performance. Performing a complete fluid replacement helps ensure the system remains in optimal working condition. Here’s when and how to perform a complete fluid replacement:
When to Replace Trim and Tilt Fluid:
- Scheduled Maintenance: Yamaha often provides recommended intervals for trim and tilt fluid replacement in the outboard motor’s owner’s manual. Be sure to adhere to these guidelines.
- Contamination or Moisture Ingress: If you suspect that water, dirt, or contaminants have entered the trim and tilt system, it’s essential to replace the fluid immediately.
- Visible Fluid Issues: If you notice signs of trim and tilt fluid issues, such as discoloration, unusual odors, or poor system performance, consider fluid replacement as a maintenance step.
Complete Fluid Replacement Procedure:
- Safety First: Ensure that the outboard motor is in a fully vertical position, the boat is out of the water, and the engine is turned off. Use safety measures like wearing gloves and eye protection.
- Locate Drain and Fill Points: Consult your outboard motor’s owner’s manual to locate the drain and fill points for the trim and tilt system. These are typically located on or near the hydraulic pump unit.
- Drain the Old Fluid: Place an oil pan or suitable container beneath the drain point. Remove the drain plug, and allow the old trim and tilt fluid to drain completely. Ensure that you dispose of the old fluid properly, following local regulations.
- Clean the Reservoir: While the fluid is draining, clean the trim and tilt fluid reservoir and dipstick to remove any residue.
- Refill with New Fluid: Using the appropriate trim and tilt fluid recommended by Yamaha, slowly refill the reservoir. Use a funnel if necessary to prevent spills. Ensure that the fluid level falls within the acceptable range indicated on the dipstick.
- Purge Air from the System: After refilling the reservoir, cycle the trim and tilt system several times, both up and down, to purge any air bubbles from the hydraulic system. Recheck the fluid level and top up if needed.
- Check for Leaks: Inspect the system for any signs of leaks around the hydraulic components or reservoir. Address any leaks immediately.
- Test the System: With the outboard motor in the vertical position, test the trim and tilt system to ensure it operates smoothly and without any unusual noises.
- Record Maintenance: Keep a record of the date and details of the fluid replacement for future reference and to track maintenance intervals.
Performing a complete trim and tilt fluid replacement at the recommended intervals or when issues arise helps maintain the system’s reliability and performance, ensuring a safe and enjoyable boating experience. Always refer to your specific outboard motor’s owner’s manual for model-specific recommendations and guidelines regarding fluid type and maintenance procedures.
Importance of Safety When Working with Trim and Tilt Fluid.
Safety is paramount when working with trim and tilt fluid in your Yamaha outboard motor. Follow these safety precautions to ensure a secure maintenance process:
- Protective Gear: Always wear appropriate protective gear, including safety glasses or goggles to shield your eyes from fluid splashes and gloves to protect your hands from contact with the fluid.
- Engine Off: Before starting any maintenance on the trim and tilt system, ensure that the outboard motor is turned off and securely anchored to prevent accidental movement. The engine should be in the vertical position.
- Stabilize the Boat: Ensure the boat is stable and securely positioned on land or a stable dock. Avoid performing maintenance in rough or choppy waters, as this can compromise safety.
- Follow Yamaha’s Guidelines: Refer to your outboard motor’s owner’s manual for specific safety guidelines and recommendations provided by Yamaha. Yamaha’s instructions take precedence and should be followed diligently.
- Proper Tools: Use the right tools and equipment for the job, and make sure they are in good condition. This includes using the correct type and size of wrenches for drain and fill plugs.
- Fluid Containment: Place an appropriate container, such as an oil pan, under the drain point to collect the old trim and tilt fluid. Ensure that you have a plan for proper disposal of the old fluid, following local environmental regulations.
- Steady Hand: When adding new trim and tilt fluid, pour it slowly and steadily into the reservoir to prevent spills or overfilling.
- Cleanliness: Keep the work area clean and free of clutter to avoid accidents and to make it easier to spot potential leaks.
- Secure Cap and Plug: After completing the fluid replacement, ensure that the reservoir cap is securely fastened and the drain and fill plugs are tightened to prevent leaks.
- Inspections: Perform thorough visual inspections of the trim and tilt system, including the hydraulic components and hoses, for any signs of damage or wear. Address any issues promptly.
- Ventilation: If working in an enclosed space, ensure proper ventilation to avoid inhaling fumes from the fluid.
- Record-Keeping: Keep a record of all maintenance procedures, including fluid replacements, dates, and any issues or observations for future reference.
By adhering to these safety precautions and following Yamaha’s specific guidelines, you can ensure a safe and successful trim and tilt fluid maintenance process. Prioritizing safety not only protects you and others but also helps maintain the reliability and performance of your Yamaha outboard motor’s trim and tilt system.
Some Trim and Tilt System Issues May Require Professional Servicing
While basic trim and tilt system maintenance tasks can often be performed by boat owners, there are situations where professional servicing by a Yamaha-certified technician or service center is highly recommended. Here are some advantages of seeking professional assistance:
- Expertise: Yamaha-certified technicians have extensive training and experience working on Yamaha outboard motors and their associated systems, including the trim and tilt system. They are well-versed in diagnosing complex issues and performing accurate repairs.
- Specialized Tools: Professionals have access to specialized tools and equipment designed for servicing Yamaha outboard motors. These tools can be essential for efficient and precise repairs.
- Diagnosis: Identifying the root cause of trim and tilt system problems can be challenging, especially if they involve internal components or hydraulic issues. Certified technicians have diagnostic tools and procedures to pinpoint issues accurately.
- Genuine Parts: Service centers typically use genuine Yamaha parts for replacements, ensuring compatibility and quality. Using authentic parts helps maintain the integrity of the trim and tilt system.
- Warranty Considerations: If your outboard motor is under warranty, performing maintenance or repairs yourself may void the warranty. Professional servicing by a certified technician ensures that warranty coverage remains intact.
- Safety: Complex repairs, such as addressing hydraulic leaks or rebuilding the trim and tilt unit, can be hazardous if not done correctly. Professionals are trained to handle these tasks safely.
- Efficiency: Professional servicing can save you time and frustration. Certified technicians can often complete repairs more efficiently than someone with limited experience.
- Comprehensive Inspection: During professional servicing, technicians can conduct a comprehensive inspection of the trim and tilt system and other components of the outboard motor, identifying potential issues that you might have overlooked.
- Peace of Mind: Knowing that your trim and tilt system has been serviced by a certified technician provides peace of mind. You can trust that your boat’s maneuverability and control will be reliable on the water.
In summary, while basic maintenance tasks can be handled by boat owners, more complex issues or those involving internal components and hydraulics are best addressed by professionals. Seeking assistance from a Yamaha-certified technician or service center ensures that your trim and tilt system functions correctly, maintaining the overall performance and safety of your Yamaha outboard motor.
Conclusion and Smooth Boating
In conclusion, maintaining the trim and tilt fluid in your Yamaha outboard motor is crucial for ensuring smooth and trouble-free boating experiences. Throughout this article, we’ve explored the significance of trim and tilt systems, the role of trim and tilt fluid, signs of fluid issues, maintenance steps, and important safety precautions. Here’s a recap of the key takeaways:
- Importance of Trim and Tilt Systems: Trim and tilt systems are essential for adjusting your outboard motor’s angle, optimizing boat performance, and enhancing control on the water.
- Understanding Trim and Tilt Fluid: Trim and tilt fluid facilitates hydraulic movement in the system, requiring proper levels and quality for smooth operation.
- Signs of Fluid Issues: Be vigilant for signs like slow or jerky movement, unusual noises, or difficulty controlling the outboard’s angle, as these may indicate trim and tilt fluid problems.
- Maintenance Steps: Regularly check and maintain trim and tilt fluid by locating the reservoir, checking fluid levels, and adding the correct type of Yamaha-recommended fluid. Periodic fluid replacement is also essential.
- Safety Precautions: Prioritize safety when working with trim and tilt fluid. Wear protective gear, ensure the engine is off, and stabilize the boat to prevent accidents.
- Professional Servicing: For complex issues or if your outboard motor is under warranty, seek assistance from a Yamaha-certified technician or service center for expert diagnosis and repairs.
By following these guidelines and ensuring proper trim and tilt fluid maintenance, boat owners can enjoy the benefits of enhanced control, smoother maneuverability, and optimal performance while out on the water. Prioritizing maintenance and safety will contribute to enjoyable and trouble-free boating adventures.
Share Mercury High Performance Gear Lube for Outboard Engines with your friends and Leave a comment below with your thoughts.
Read Install a Swing Away Tongue on Your Boat Trailer until we meet in the next article.