The Ultimate Guide to Bilge Pump Float Switches
Discover the ultimate guide to bilge pump float switches, covering types, installation, maintenance, and troubleshooting for boat safety.
Bilge pump float switches are critical for maintaining a safe and dry boat, automatically activating bilge pumps to remove excess water from the bilge. This comprehensive guide explores their types, installation, troubleshooting, maintenance, and why they are indispensable for marine safety. Whether you’re a seasoned boater or new to vessel ownership, understanding bilge pump float switches ensures your boat remains protected from water ingress, offering peace of mind on the water.
What Are Bilge Pump Float Switches?
Bilge pump float switches are electrical devices that automate bilge pumps, which remove water from a boat’s lowest compartment, the bilge. When water levels rise, the float switch detects this change and triggers the pump to operate. Once the water is pumped out, the switch deactivates the pump, preventing unnecessary operation. These switches are essential for preventing flooding, which could compromise a boat’s safety and stability.
How They Work
A float switch operates by sensing water levels in the bilge. In mechanical float switches, a buoyant float rises with the water, closing an electrical circuit to activate the pump. When the water level drops, the float lowers, opening the circuit and turning the pump off. Electronic float switches, on the other hand, use sensors to detect water presence, offering a more modern, precise alternative without moving parts.
Importance in Marine Safety
Bilge pump float switches are vital for marine safety. They prevent water accumulation, which can lead to instability, equipment damage, or even sinking in severe cases. By automating water removal, they allow boaters to focus on navigation and enjoyment, knowing the bilge system is ready to handle unexpected water ingress, such as from leaks, rain, or waves.
Types of Bilge Pump Float Switches
Choosing the right float switch depends on your boat’s size, bilge conditions, and operational preferences. The two primary types are mechanical and electronic float switches, each with distinct advantages and considerations.
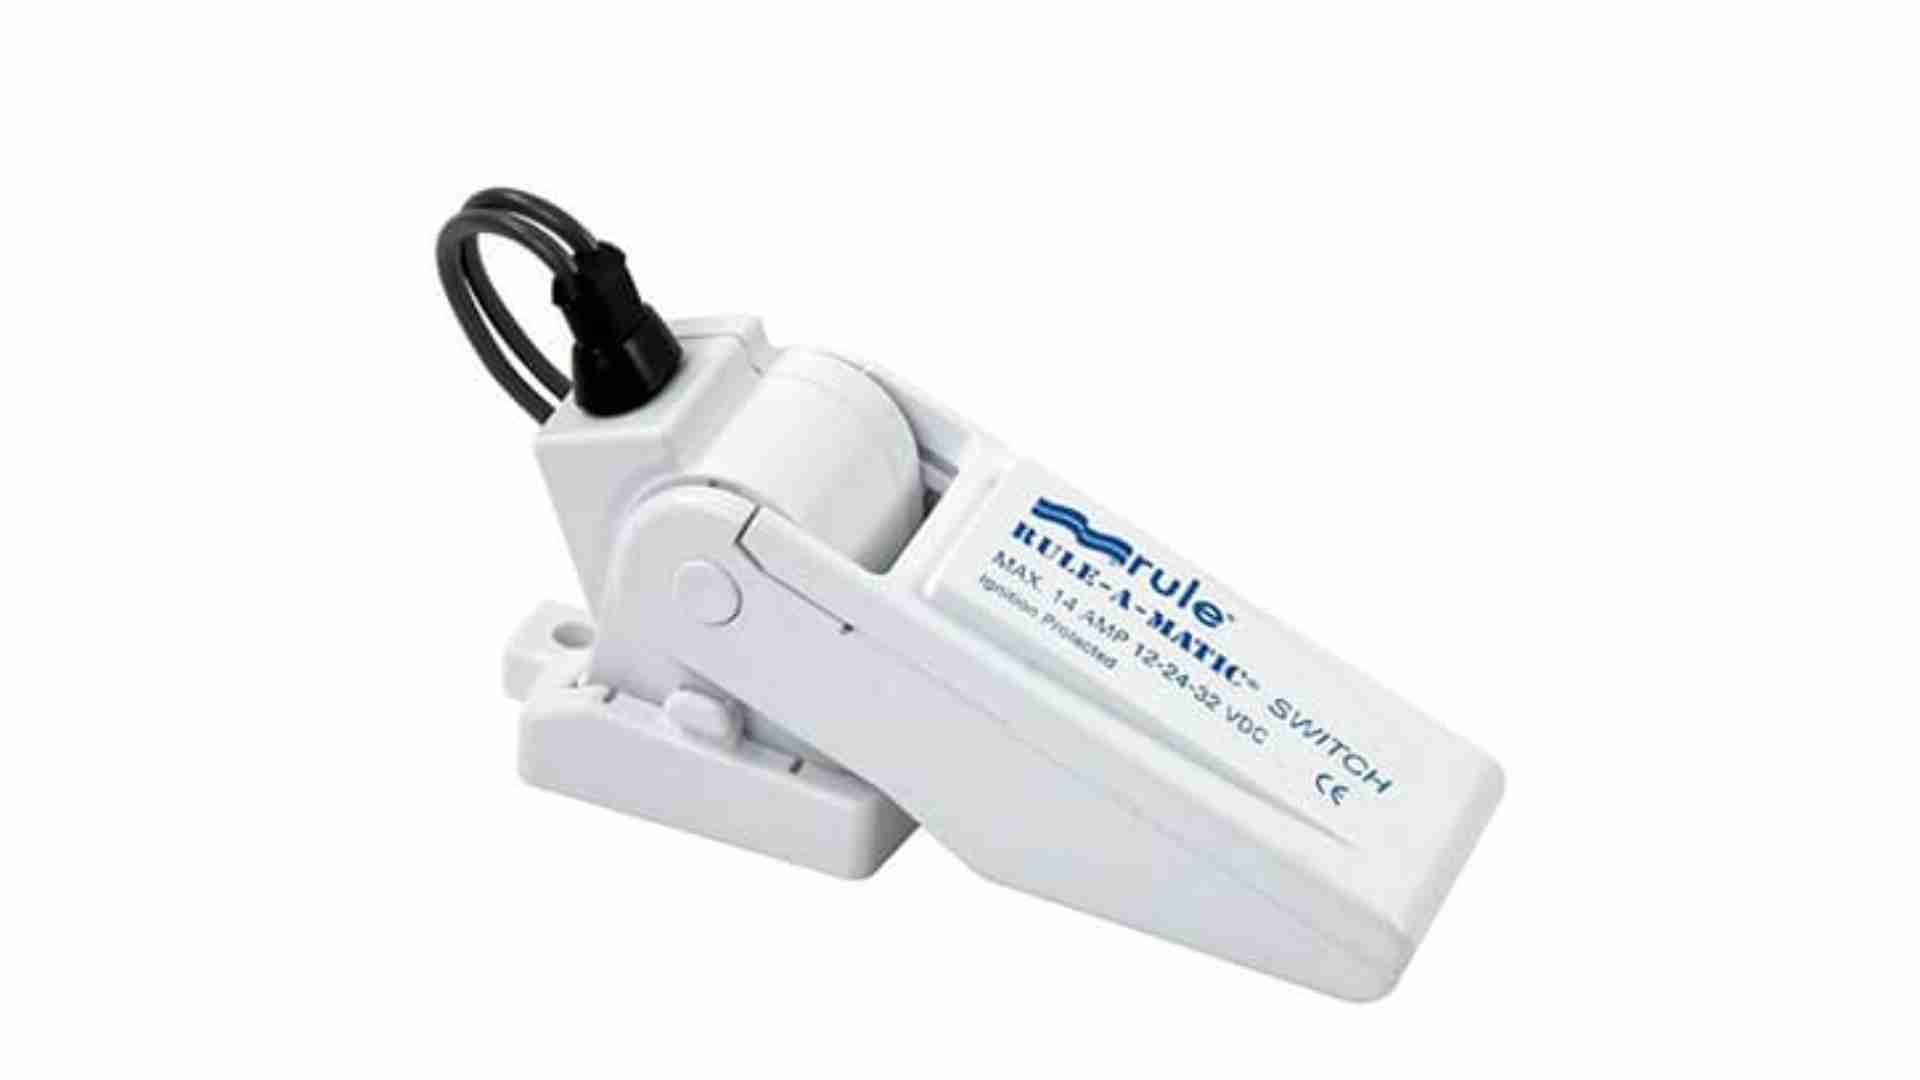
Mechanical Float Switches
Mechanical float switches rely on a physical float, often a ball or lever, that moves with the water level to activate the pump. Their simplicity makes them reliable and cost-effective, typically priced between $15 and $50.
- Advantages:
- Simple design, easy to install and understand.
- Audible “click” when activated, confirming operation.
- Affordable, making them accessible for small boats or budget-conscious owners.
- Disadvantages:
- Larger size may not suit boats with tight bilge spaces.
- Susceptible to debris or corrosion, requiring regular cleaning.
- Moving parts can wear out or get stuck over time.
Popular models include the Rule-A-Matic ($30–$40) and Johnson Mayfair ($25–$45), known for their durability in clean bilge environments.
Electronic Float Switches
Electronic float switches use sensors to detect water levels, eliminating moving parts. Priced between $50 and $150, they are a premium option favored for their precision and longevity.
- Advantages:
- Compact design, ideal for confined bilge spaces.
- Resistant to debris and corrosion, reducing maintenance needs.
- Adjustable sensitivity for customized operation.
- Disadvantages:
- Higher cost compared to mechanical switches.
- May not function reliably in oily or soapy bilge water, as sensors can misread.
- Requires stable power supply, which can be a concern for boats without constant charging.
Notable models include the Water Witch 230 ($80–$120) and Ultra Pump Switch ($100–$140), praised for their reliability and use by professional fleets like the U.S. Coast Guard.
Comparison Table: Mechanical vs. Electronic Float Switches
| Feature | Mechanical Float Switch | Electronic Float Switch |
|---|---|---|
| Price Range | $15–$50 | $50–$150 |
| Mechanism | Physical float movement | Sensor-based detection |
| Space Requirement | Larger, less flexible | Compact, versatile |
| Durability | Susceptible to debris | Resistant to debris |
| Maintenance | Regular cleaning needed | Minimal maintenance |
| Best For | Budget boats, clean bilges | High-tech needs, confined spaces |
Choosing Between Automatic Pumps and Float Switches
A common dilemma for boat owners, especially those upgrading a manual bilge pump system, is whether to install a separate float switch or opt for an automatic bilge pump with an integrated switch. This decision is particularly relevant for a 20-foot boat like the one described, currently in a driveway but destined for mooring with a solar trickle charger.
Automatic Bilge Pumps
Automatic bilge pumps combine a pump and switch in one unit, often using a built-in float or sensor to detect water. Models like the Rule-Mate 2000 GPH ($150–$250) are popular but have drawbacks.
- Pros:
- All-in-one solution, simplifying installation.
- Compact design for smaller boats.
- Cons:
- Lower quality components in some models, leading to frequent failures.
- Non-float automatic pumps cycle every few minutes, draining batteries and causing noise.
- Replacing a failed switch requires replacing the entire pump, increasing costs.
Separate Float Switch with Existing Pump
Adding a float switch to an existing manual bilge pump, such as a Rule 2000 GPH ($100–$150), offers flexibility and reliability.
- Pros:
- Independent components allow replacing only the failed part (pump or switch).
- Easier to test and maintain, especially mechanical switches.
- Cost-effective, with switches starting at $15.
- Cons:
- Requires additional wiring and installation effort.
- Mechanical switches may need periodic cleaning to prevent sticking.
Recommendation for a 20-Foot Boat
For a 20-foot boat like the one described, a separate float switch paired with the existing manual pump is the more robust solution. This setup allows you to retain manual control while adding automatic functionality, crucial for mooring periods when the boat is unattended. A mechanical float switch, such as the Rule-A-Matic, is recommended for its affordability and reliability in clean bilges. For long-term mooring with a solar trickle charger, ensure the switch is wired directly to the battery with a fuse to avoid battery drain, as discussed in the wiring section below.
Installation Guide for Bilge Pump Float Switches
Proper installation ensures your float switch operates reliably. Below is a step-by-step guide, tailored for a beginner upgrading a manual bilge pump system.
Tools Required
- Phillips screwdriver
- Wire stripper/cutter
- Heat shrink tubing and heat gun (or electrical tape)
- Electrical connectors (heat-shrink butt connectors recommended)
- Mounting hardware (screws or adhesive mounts)
- Wire crimping tool
- Multimeter (for testing continuity)
Step-by-Step Installation
- Select Mounting Location:
- Choose a spot just above the pump’s activation level, ensuring the float can move freely without obstructions.
- For a 20-foot boat, place the switch near the pump in the bilge, typically in the engine compartment or midship.
- Mount the Switch:
- Secure the switch using provided hardware or marine-grade adhesive. Ensure it’s stable to prevent movement during rough seas.
- Wire the Float Switch:
- Connect the float switch in parallel with the existing manual switch to retain both manual and automatic functionality.
- For a typical setup (brown wire as positive, black as negative):
- Connect one float switch wire to the brown (positive) wire of the pump, before the fuse.
- Connect the other float switch wire to the positive battery terminal via a fuse (5–10 amps, depending on pump specs).
- Ensure the pump’s black (negative) wire remains connected to the battery’s negative terminal.
- Insulate Connections:
- Use heat-shrink butt connectors and a heat gun to seal all connections, preventing corrosion in the marine environment.
- Test the System:
- Manually lift the float (for mechanical switches) or simulate water presence (for electronic switches) to confirm pump activation.
- Add a small amount of water to the bilge to verify the pump removes it effectively.
- Secure Wiring:
- Route wires upward to avoid water exposure, securing them with cable ties away from moving parts.
Wiring Diagram

This diagram illustrates wiring the float switch in parallel with the manual switch, ensuring the pump activates when either switch is closed.
Troubleshooting Common Issues
Even well-installed float switches can encounter issues. Below are common problems and their solutions.
Common Problems
- Float Switch Not Activating Pump: Caused by faulty wiring, a stuck float, or insufficient power.
- Pump Runs Continuously: Indicates a stuck float or faulty sensor.
- Inaccurate Water Level Detection: Often due to debris or oily water affecting the switch.
- Intermittent Operation: Suggests loose connections or corrosion.
Solutions
- Check Power Supply:
- Use a multimeter to verify the battery provides 12V to the switch.
- Inspect the fuse and replace if blown (typically $1–$5 for a 5–10A fuse).
- Inspect Wiring:
- Look for loose or corroded connections. Clean or replace with heat-shrink connectors ($5–$10 for a pack).
- Clean the Switch:
- Remove debris or buildup from mechanical floats or electronic sensors using a soft brush and marine-safe cleaner.
- Verify Float Movement:
- Ensure mechanical floats move freely. Lubricate pivot points if recommended by the manufacturer.
- Test Continuity:
- For mechanical switches, use a multimeter to check continuity by lifting the float. No continuity indicates a faulty switch.
- Consult Manufacturer:
- If issues persist, refer to the manufacturer’s troubleshooting guide or contact support.
Maintenance and Care
Regular maintenance extends the life of your float switch and ensures reliable performance.
Maintenance Tips
- Inspect Regularly: Check for wear, corrosion, or damage every 3–6 months.
- Clean the Switch: Remove dirt or debris from the float or sensor to prevent sticking or misreading.
- Test Functionality: Manually activate the switch monthly to confirm pump operation.
- Check Wiring: Ensure connections are tight and free of corrosion.
- Monitor Pump Behavior: Listen for unusual sounds or vibrations, indicating potential issues.
Maintenance Log Template
| Date | Task Performed | Observations | Action Taken |
|---|---|---|---|
| MM/DD/YYYY | Inspected switch and wiring | No corrosion, float moves freely | None |
| MM/DD/YYYY | Tested pump activation | Pump activates at 2″ water level | Adjusted switch position |
| MM/DD/YYYY | Cleaned switch | Debris found on float | Cleaned with brush |
Keeping a log helps track maintenance and identify recurring issues.
When to Replace Your Float Switch
Replace your float switch if you notice:
- Visible Damage or Corrosion: Compromises reliability.
- Frequent Malfunctions: Indicates internal failure.
- Inaccurate Detection: Leads to flooding or pump overuse.
- Excessive Run Times: Suggests inefficiency or sensor issues.
- Outdated Technology: Newer models offer better performance.
For a 20-foot boat, replacing a faulty switch with a reliable model like the Ultra Pump Switch ($100–$140) ensures long-term protection, especially for mooring.
Wiring Considerations for Long-Term Mooring
For a boat moored with a solar trickle charger, wiring the float switch directly to the battery (with a fuse) ensures the pump operates even when the battery switch is off. This setup minimizes the risk of flooding during unattended periods, as the solar charger maintains battery levels. Use a 5–10A fuse to protect the circuit, and consider a high-capacity pump (e.g., Rule 2000 GPH, $100–$150) for emergencies.
Wiring Diagram for Moored Boat

This configuration ensures automatic operation without draining the battery, critical for mooring.
Selecting the Right Float Switch
When choosing a float switch, consider:
- Boat Size: Smaller boats benefit from compact electronic switches; larger vessels may need multiple switches.
- Bilge Conditions: Clean bilges suit mechanical switches; oily or debris-filled bilges require electronic switches.
- Budget: Mechanical switches are cheaper but require more maintenance.
- Power Availability: Electronic switches need a stable power source, ideal for boats with solar chargers.
Recommended Models and Prices
| Model | Type | Price Range | Features |
|---|---|---|---|
| Rule-A-Matic | Mechanical | $30–$40 | Reliable, affordable, easy to test |
| Water Witch 230 | Electronic | $80–$120 | No moving parts, used by Coast Guard |
| Ultra Pump Switch | Electronic | $100–$140 | Durable, debris-resistant, high-end |
| Johnson Mayfair | Mechanical | $25–$45 | Budget-friendly, ball-bearing design |
Conclusion
Bilge pump float switches are indispensable for maintaining a safe and dry boat, automating water removal to prevent flooding. By understanding the differences between mechanical and electronic switches, following proper installation and wiring practices, and committing to regular maintenance, you can ensure your bilge system performs reliably. For a 20-foot boat transitioning to mooring, adding a separate float switch to an existing manual pump offers a robust, cost-effective solution. With the right switch, proper wiring, and routine care, you can navigate with confidence, knowing your vessel is protected.
Happy Boating!
Share The Ultimate Guide to Bilge Pump Float Switches with your friends and leave a comment below with your thoughts.
Read The Ultimate Guide to Inline Fuel Shut Off Valves until we meet in the next article.